Easy DIY Light Hack

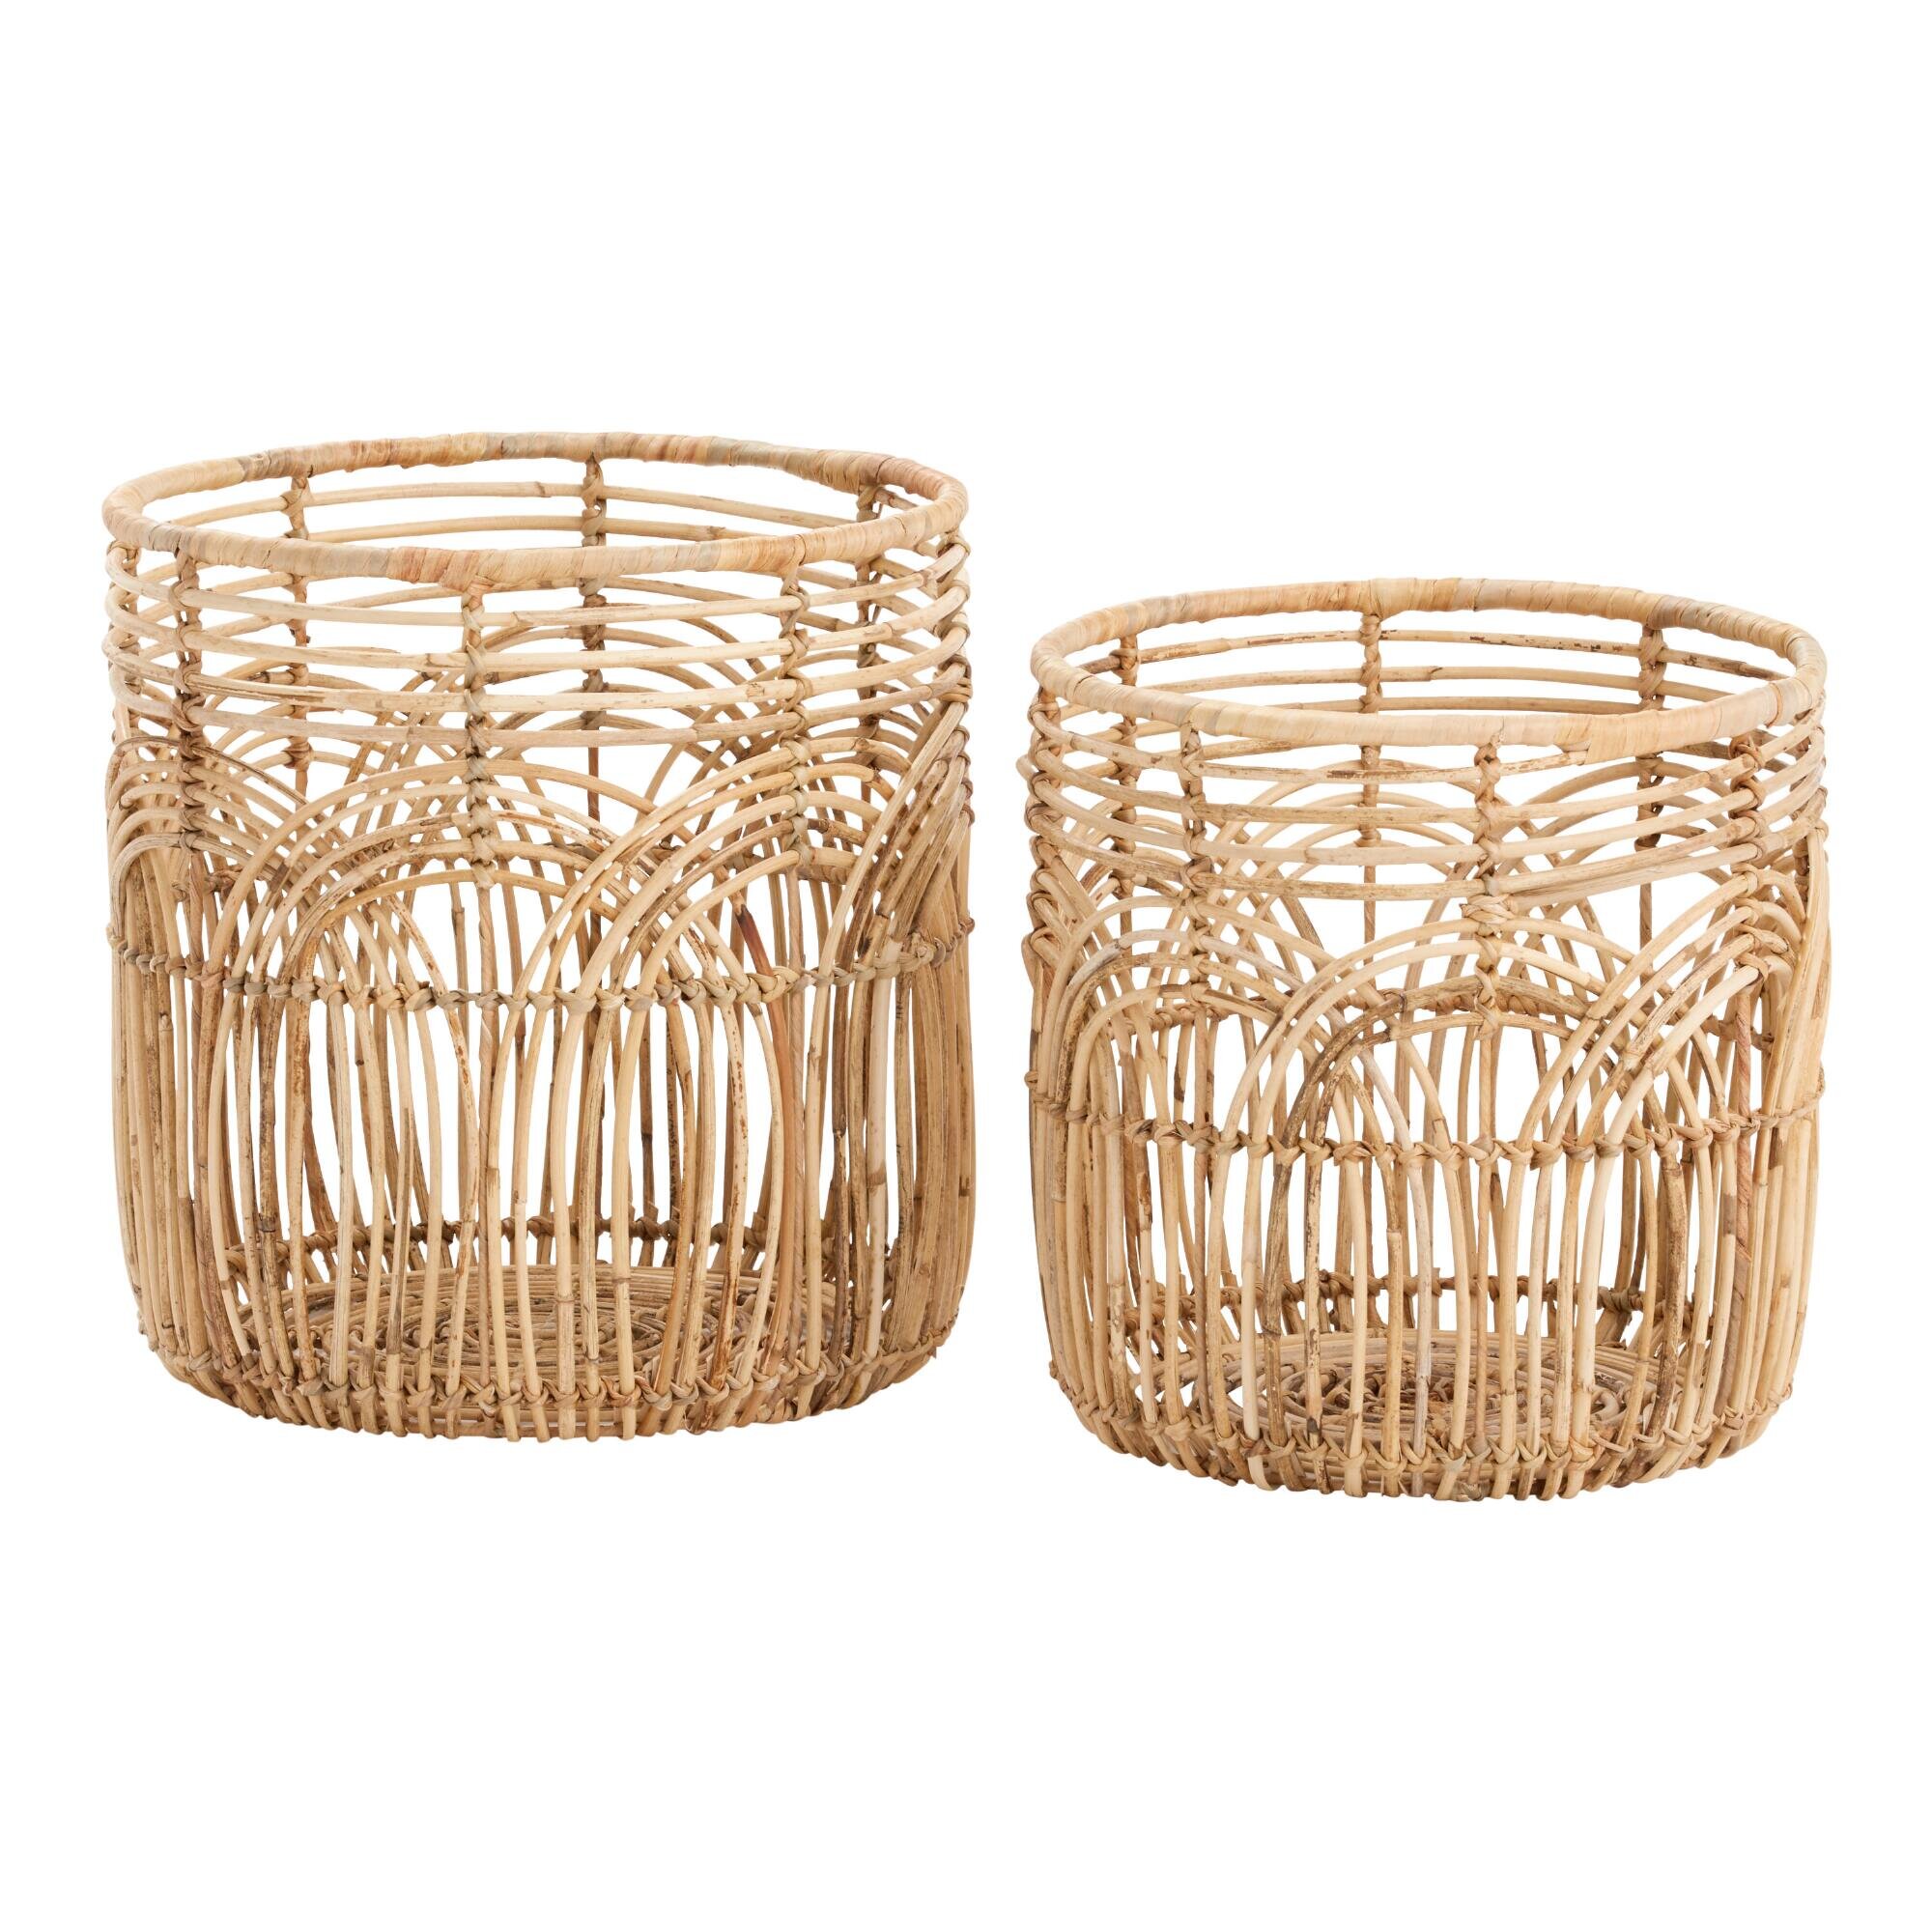
DIY BASKET LIGHT

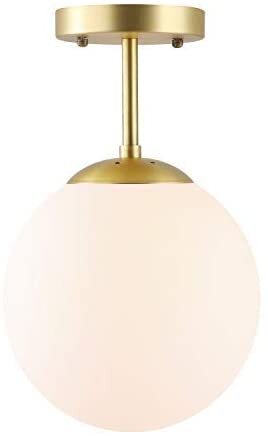
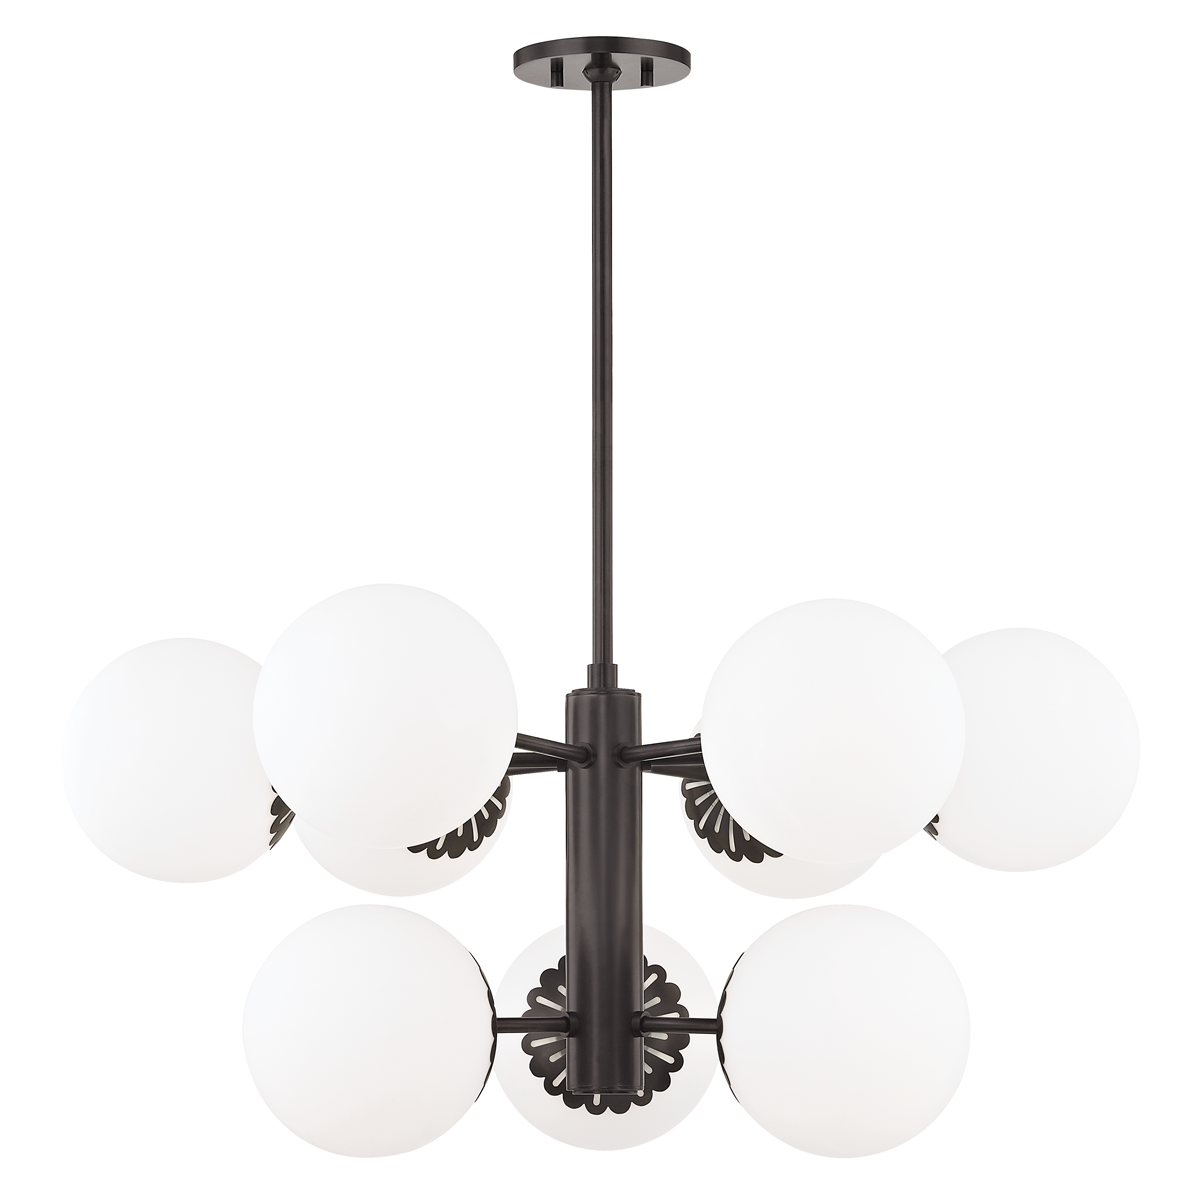
My inspiration for this DIY is the Shades of Light Serene Deco Pendant

My inspiration for this DIY is the Shades of Light Serene Deco Pendant


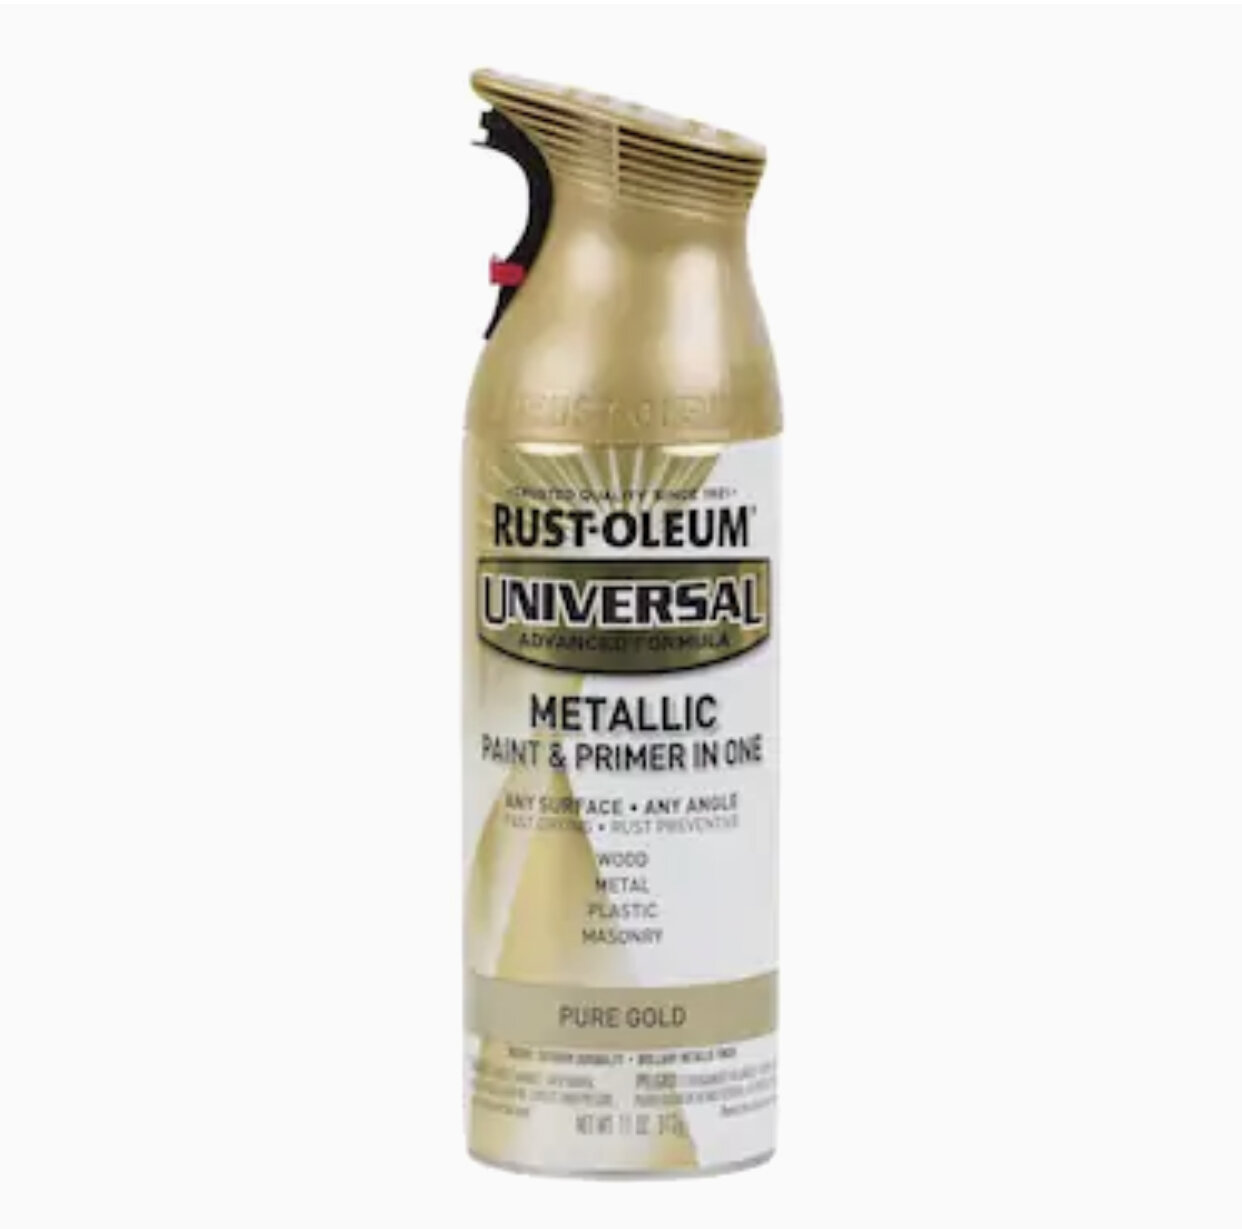
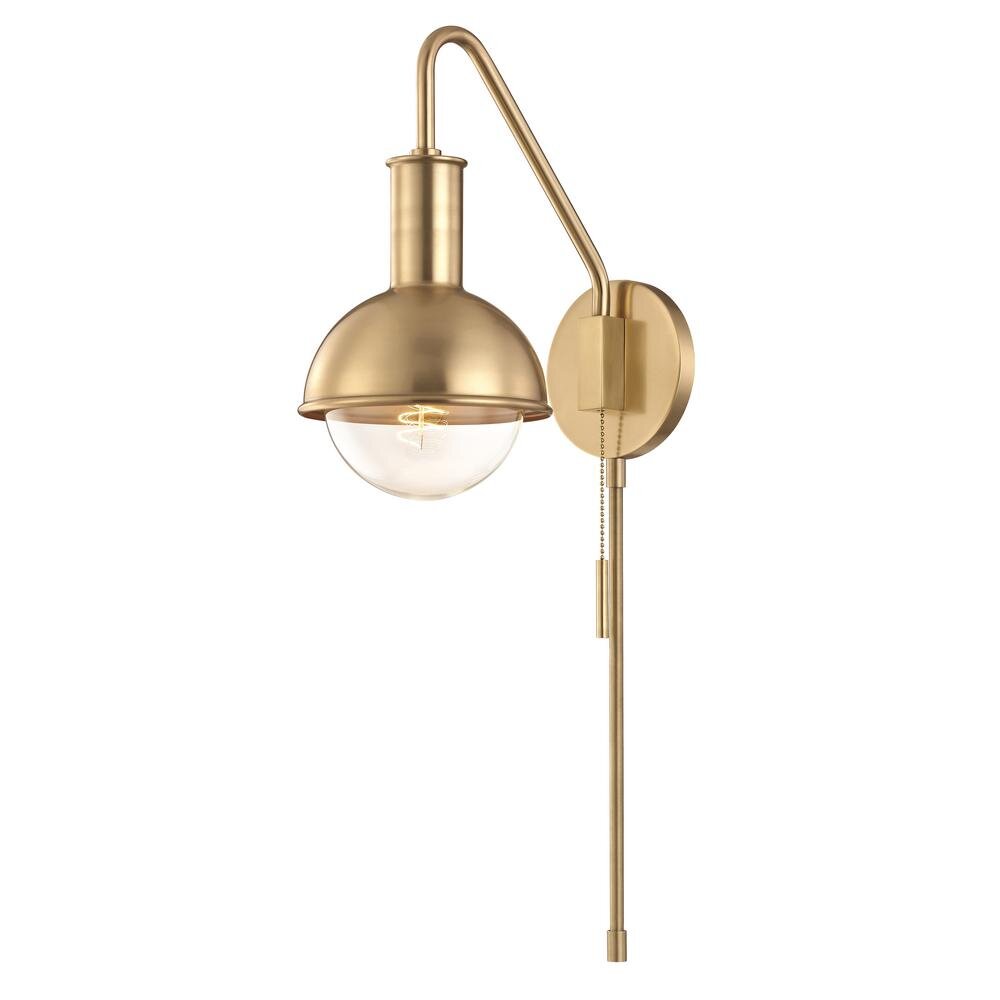
Below I’ve listed three different lighting options to choose from, but of course you can find your own in store or even use an extra basket you might have around the house. You’ll also need some strong sheers or a cutting tool strong enough to cut through the basket, and possibly a mounting plate for the basket depending on which pendent you go with. I’ll be demonstrating during the DIY how and what you will need, but it will be something simple you can pick up at the hardware store.

Supplies:

Best Match:

Budget Friendly:

Semi Flush Mount

Anthropologie Mirror Hack

Anthropologie Mirror Hack Tutorial

AnthropologiemirrorDIY.jpg

Who else has a serious crush on the iconic Anthropologie ornate gold mirror?! I love everything about this style of mirror except for it’s hefty price tag. A mirror like this will put you back hundreds, even thousands of dollars. I wasn’t about to drop cash like that when I had a sneaking suspicion I could DIY myself a decent dupe!

Antrhopologiemirrordupe.jpg

Below are the supplies I used to create my on Anthropologie inspired mirror. Let me show you how I did it!

SUPPLIES:

A quick note on supplies. The mirror I used from Target is currently out of stock! I know right? It’s the perfect mirror for this project and with a price tag of $60, I’m glad I scooped it up when I did. I’ve listed a similar mirror, but as you can see, the dimensions are a bit different.

Once I had my mirror it was time to decide on which Onlay’s I wanted to use. Onlays are wooden appliques used to decorate furniture and trim molding. Amazon.com has a wide selection to choose from, and the sky is the limit on which direction you could decide to go when choosing a style.

Onlays.jpg

The Onlay pieces I ordered ended up being just a little too large from my liking, so I cut them down to size with my jigsaw and tried them in a variety of positions before finding the style I was happy with.

I last minute decided to add an extra trim piece to the base of my mirror. I cut a piece of 1x2 board to the length of the mirror, and felt like this piece really took the mirror design up a notch!

AntrhoMirrorHack.jpg

Once I had all my pieces together, I spray painted my mirror frame, trim piece, and the wooden Onlays. I used Rustoleum spray paint in True Gold, and because I wanted my mirror to have more of an antique finish, once the spray paint had dried, I rubbed each piece down with Rub ‘n Buff in antique gold. This gave the mirror more of a dimensional look. It’s the perfect touch for Spring in my living room!

AnthroMirror1.jpg


Once the pieces were dried, I attached them to the mirror frame using Liquid nails construction adhesive and let them dry overnight. That was IT for this super simple mirror project. My total cost for this project was $85 dollars when I was finished. I love the romantic Parisian feel it lends to my living room. Using the mirror as my mantle center piece, I added taper candles, vintage books, and fresh florals for a vintage romantic look.

Anthromirror.jpg

Looking for more diy’s?

Plant Wall Display

Living Wall Tutorial

When it comes to decorating a house, filling the walls with art and special things can become overwhelming. It’s easy to get into a rut of repeating the same types of displays over and over again (gallery walls anyone?).

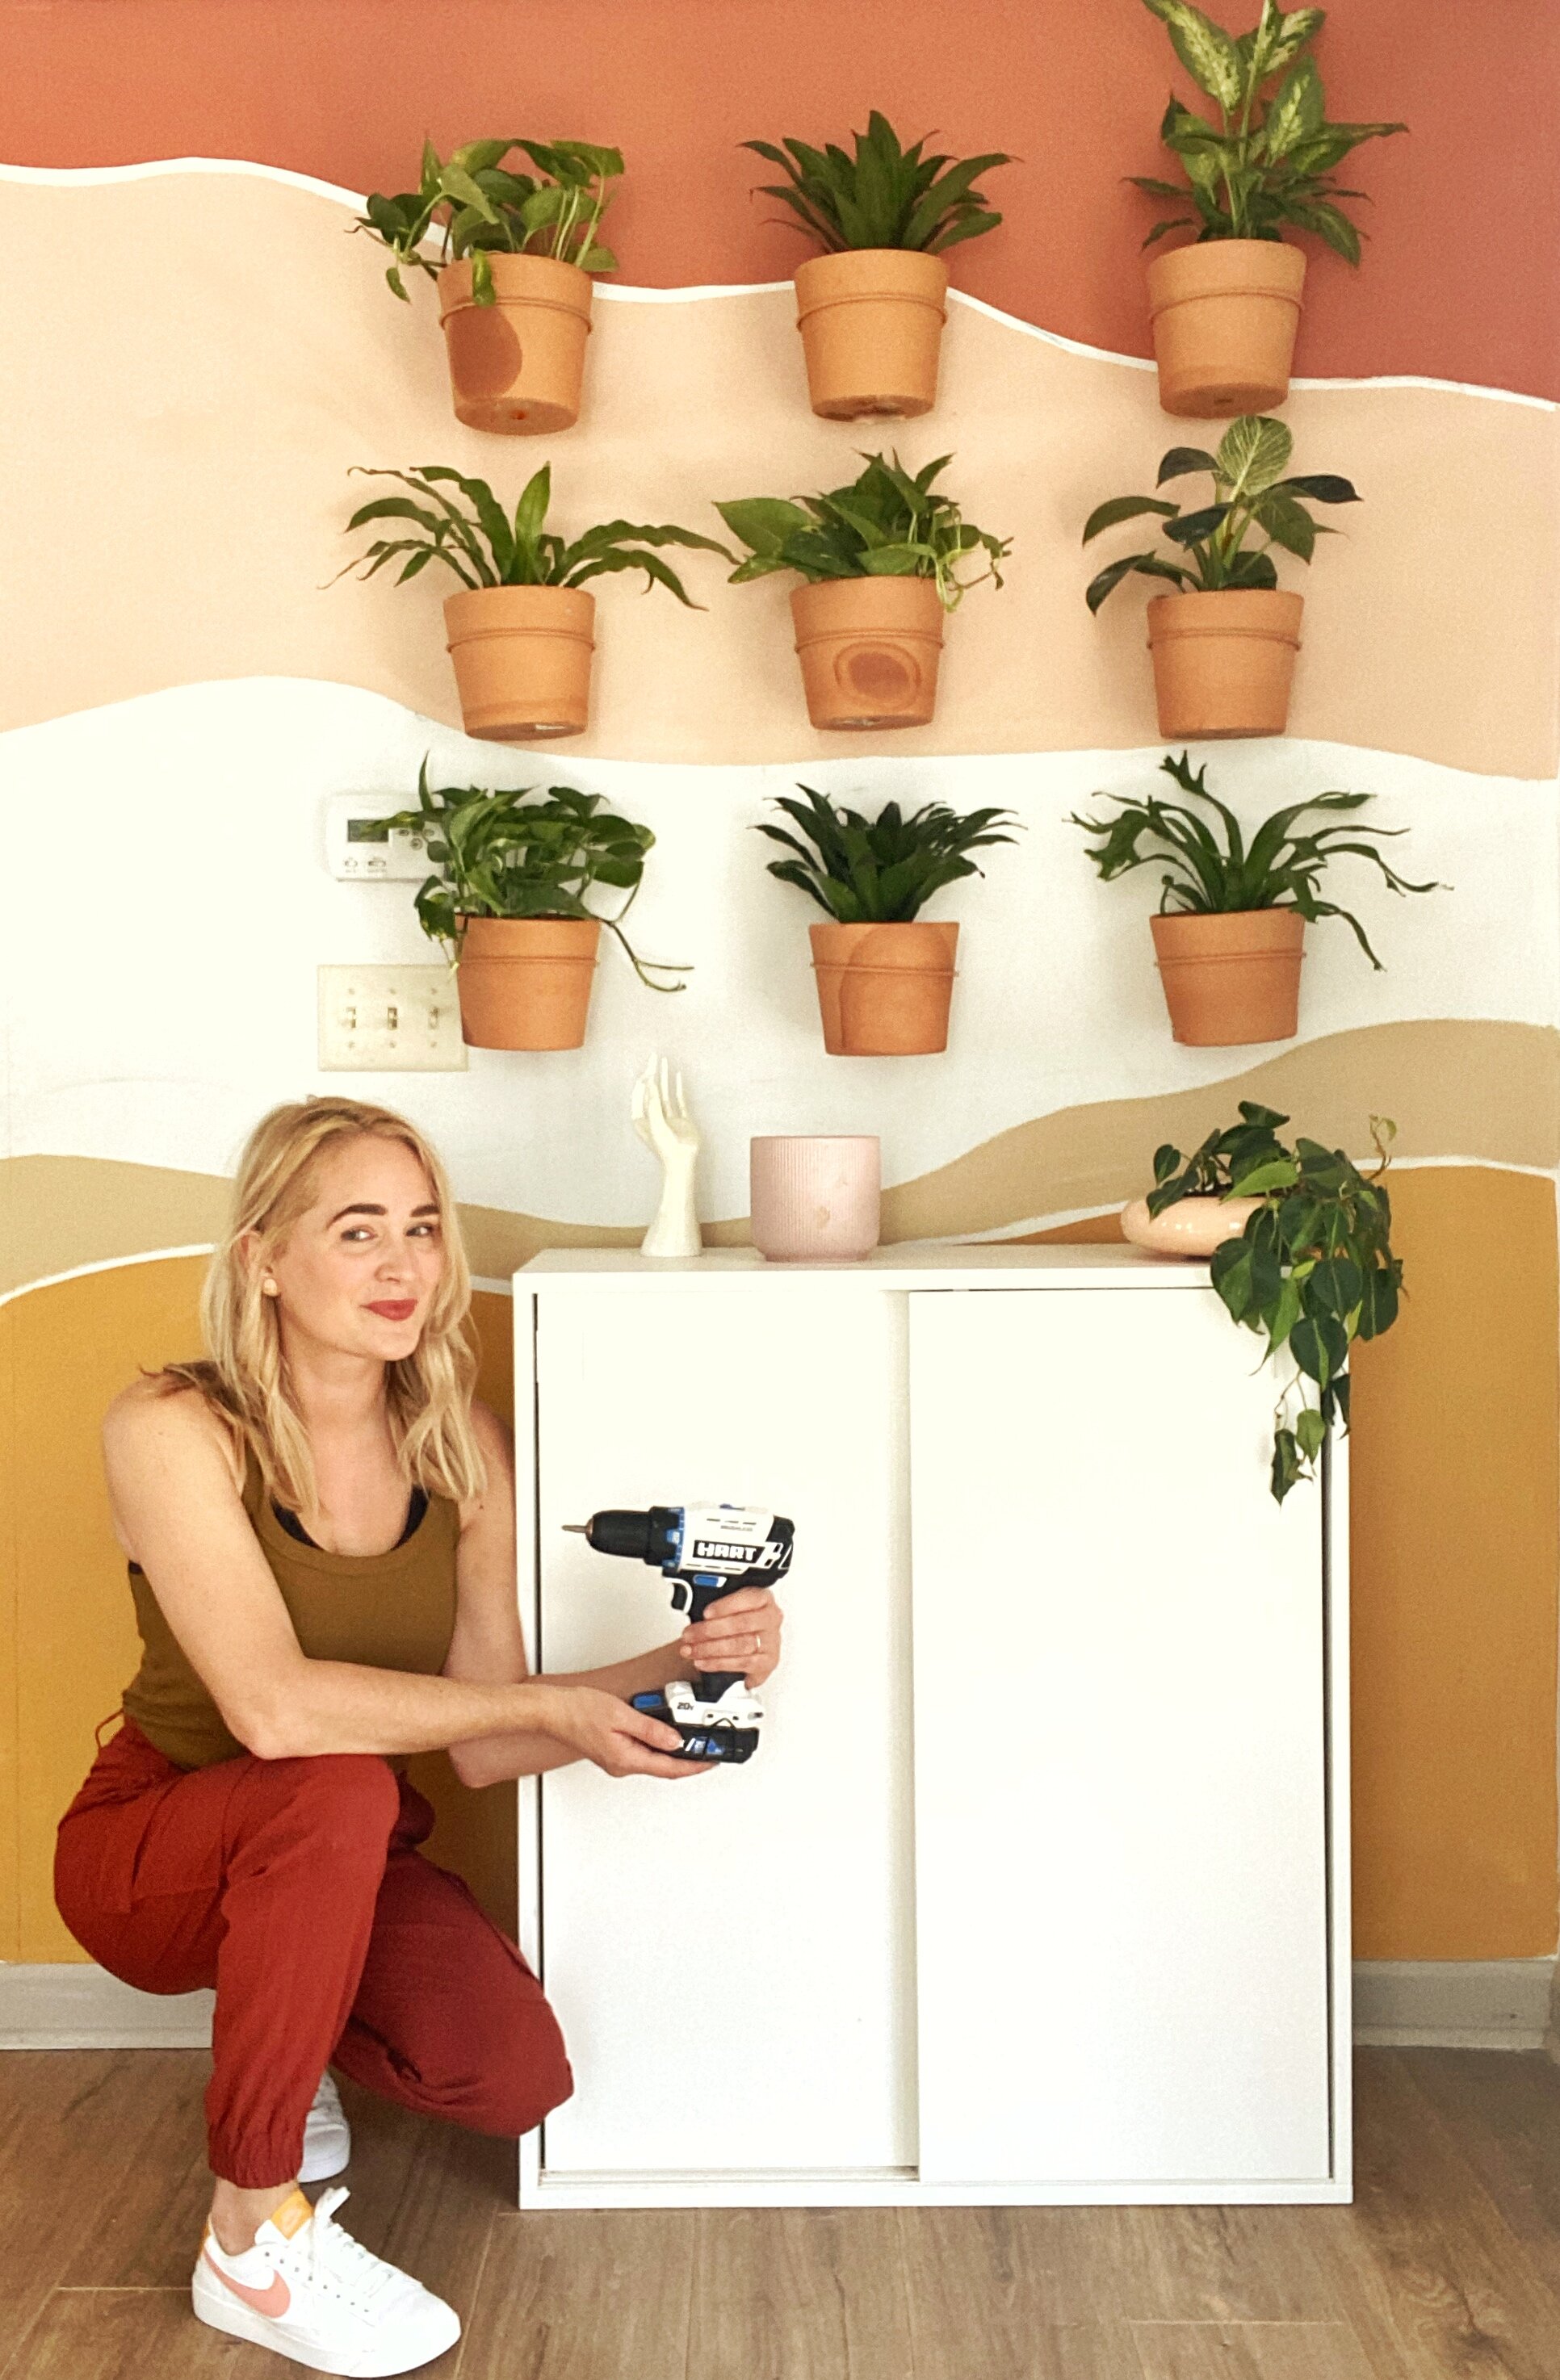
For the accent wall in my living room I wanted to do a little something different, and a living wall seemed like the perfect option!

LivingWall.jpeg

Some things to consider before deciding whether or not a plant wall is right for your home is whether the space gets amply natural light, and if you have the ability to keep those little plant babies alive. If you answered no to either of those questions, while a living wall might not be the best option for you, you could always do a version using faux plants. Hobby Lobby has a great selection of realistic faux plants that would look just as beautiful but with zero maintenance.

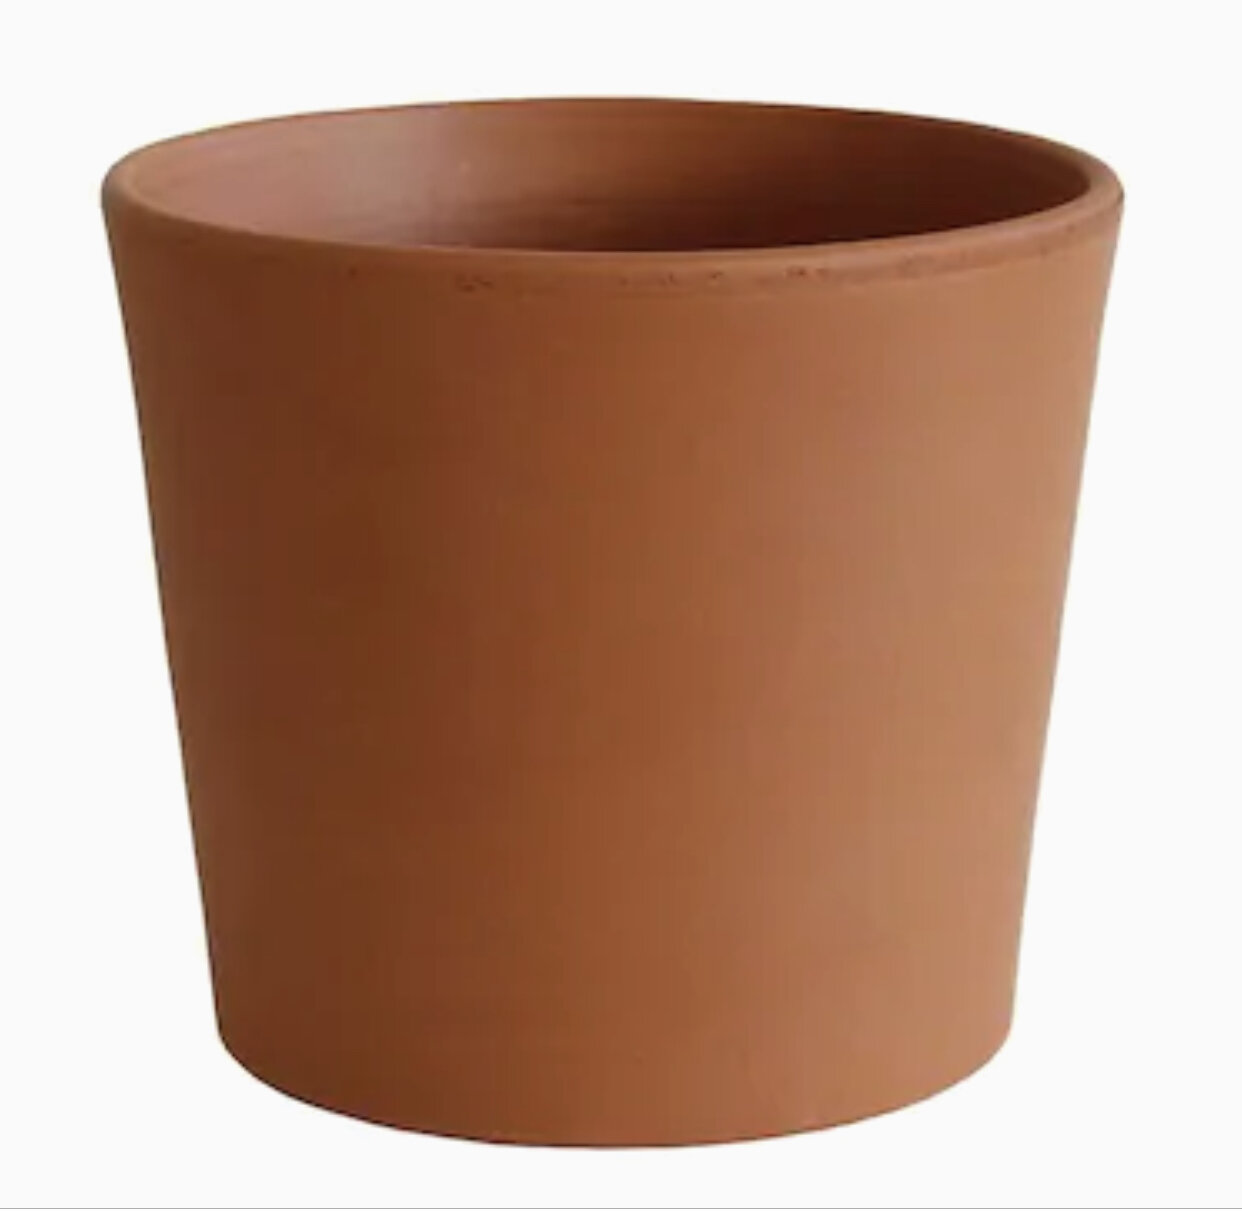
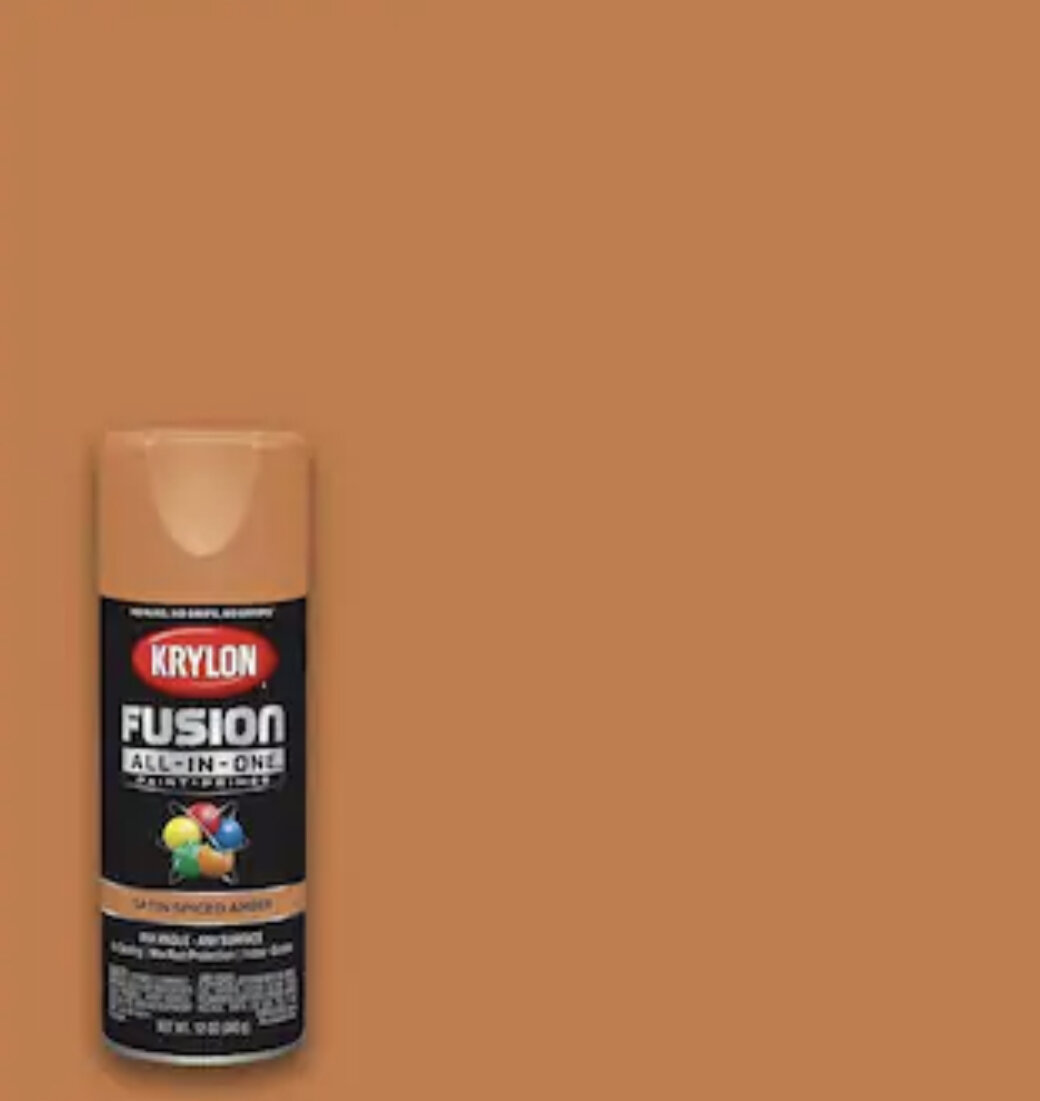
I’ve listed the supplies I’ve used below, but feel free to make this project your own, experimenting with different pots, sizes, or placement. The sky really is the limit with the different looks you could go for here. I decided to paint my planter rings in a matching color to my pots for a more minimalist look. I used Krylon’s Satin Spiced Amber and it was a perfect match.

SUPPLIES:

TOOLS:

Once you’ve decided on the size and placement of your planters, use your level and make sure all your markings are level and the correct distances apart. Then it’s time to install sturdy anchors to support your planter rings.

Unless you’re screwing the planter rings straight into a 2 x 4 behind the drywall, you’ll need to install a drywall anchor first. The last thing you want is a potted plant falling from the wall and breaking to pieces leaving broken pottery and dirt all over your floor.

My favorite anchors are these Toggle anchors. They are incredibly easy to install and are super sturdy. Using your drill and a 5/16 -inch drill bit, drill a hole in the drywall where the top screw will go into the ring. Next push the anchor into the hole. Using the red pin that comes with anchor, tap into the center hole with a hammer. The flaps of the anchor will expand behind your drywall, creating a sturdy hold for your screw. Now you are ready to screw in the planter rings. Because the particular anchors I choose hold enough weight, I only installed one per planter. You of course could do both holes, although I find that sometimes it’s hard to line the anchors up perfectly and it can leave a crooked ring. Instead I just drove a long screw in the second hole and called it a day!

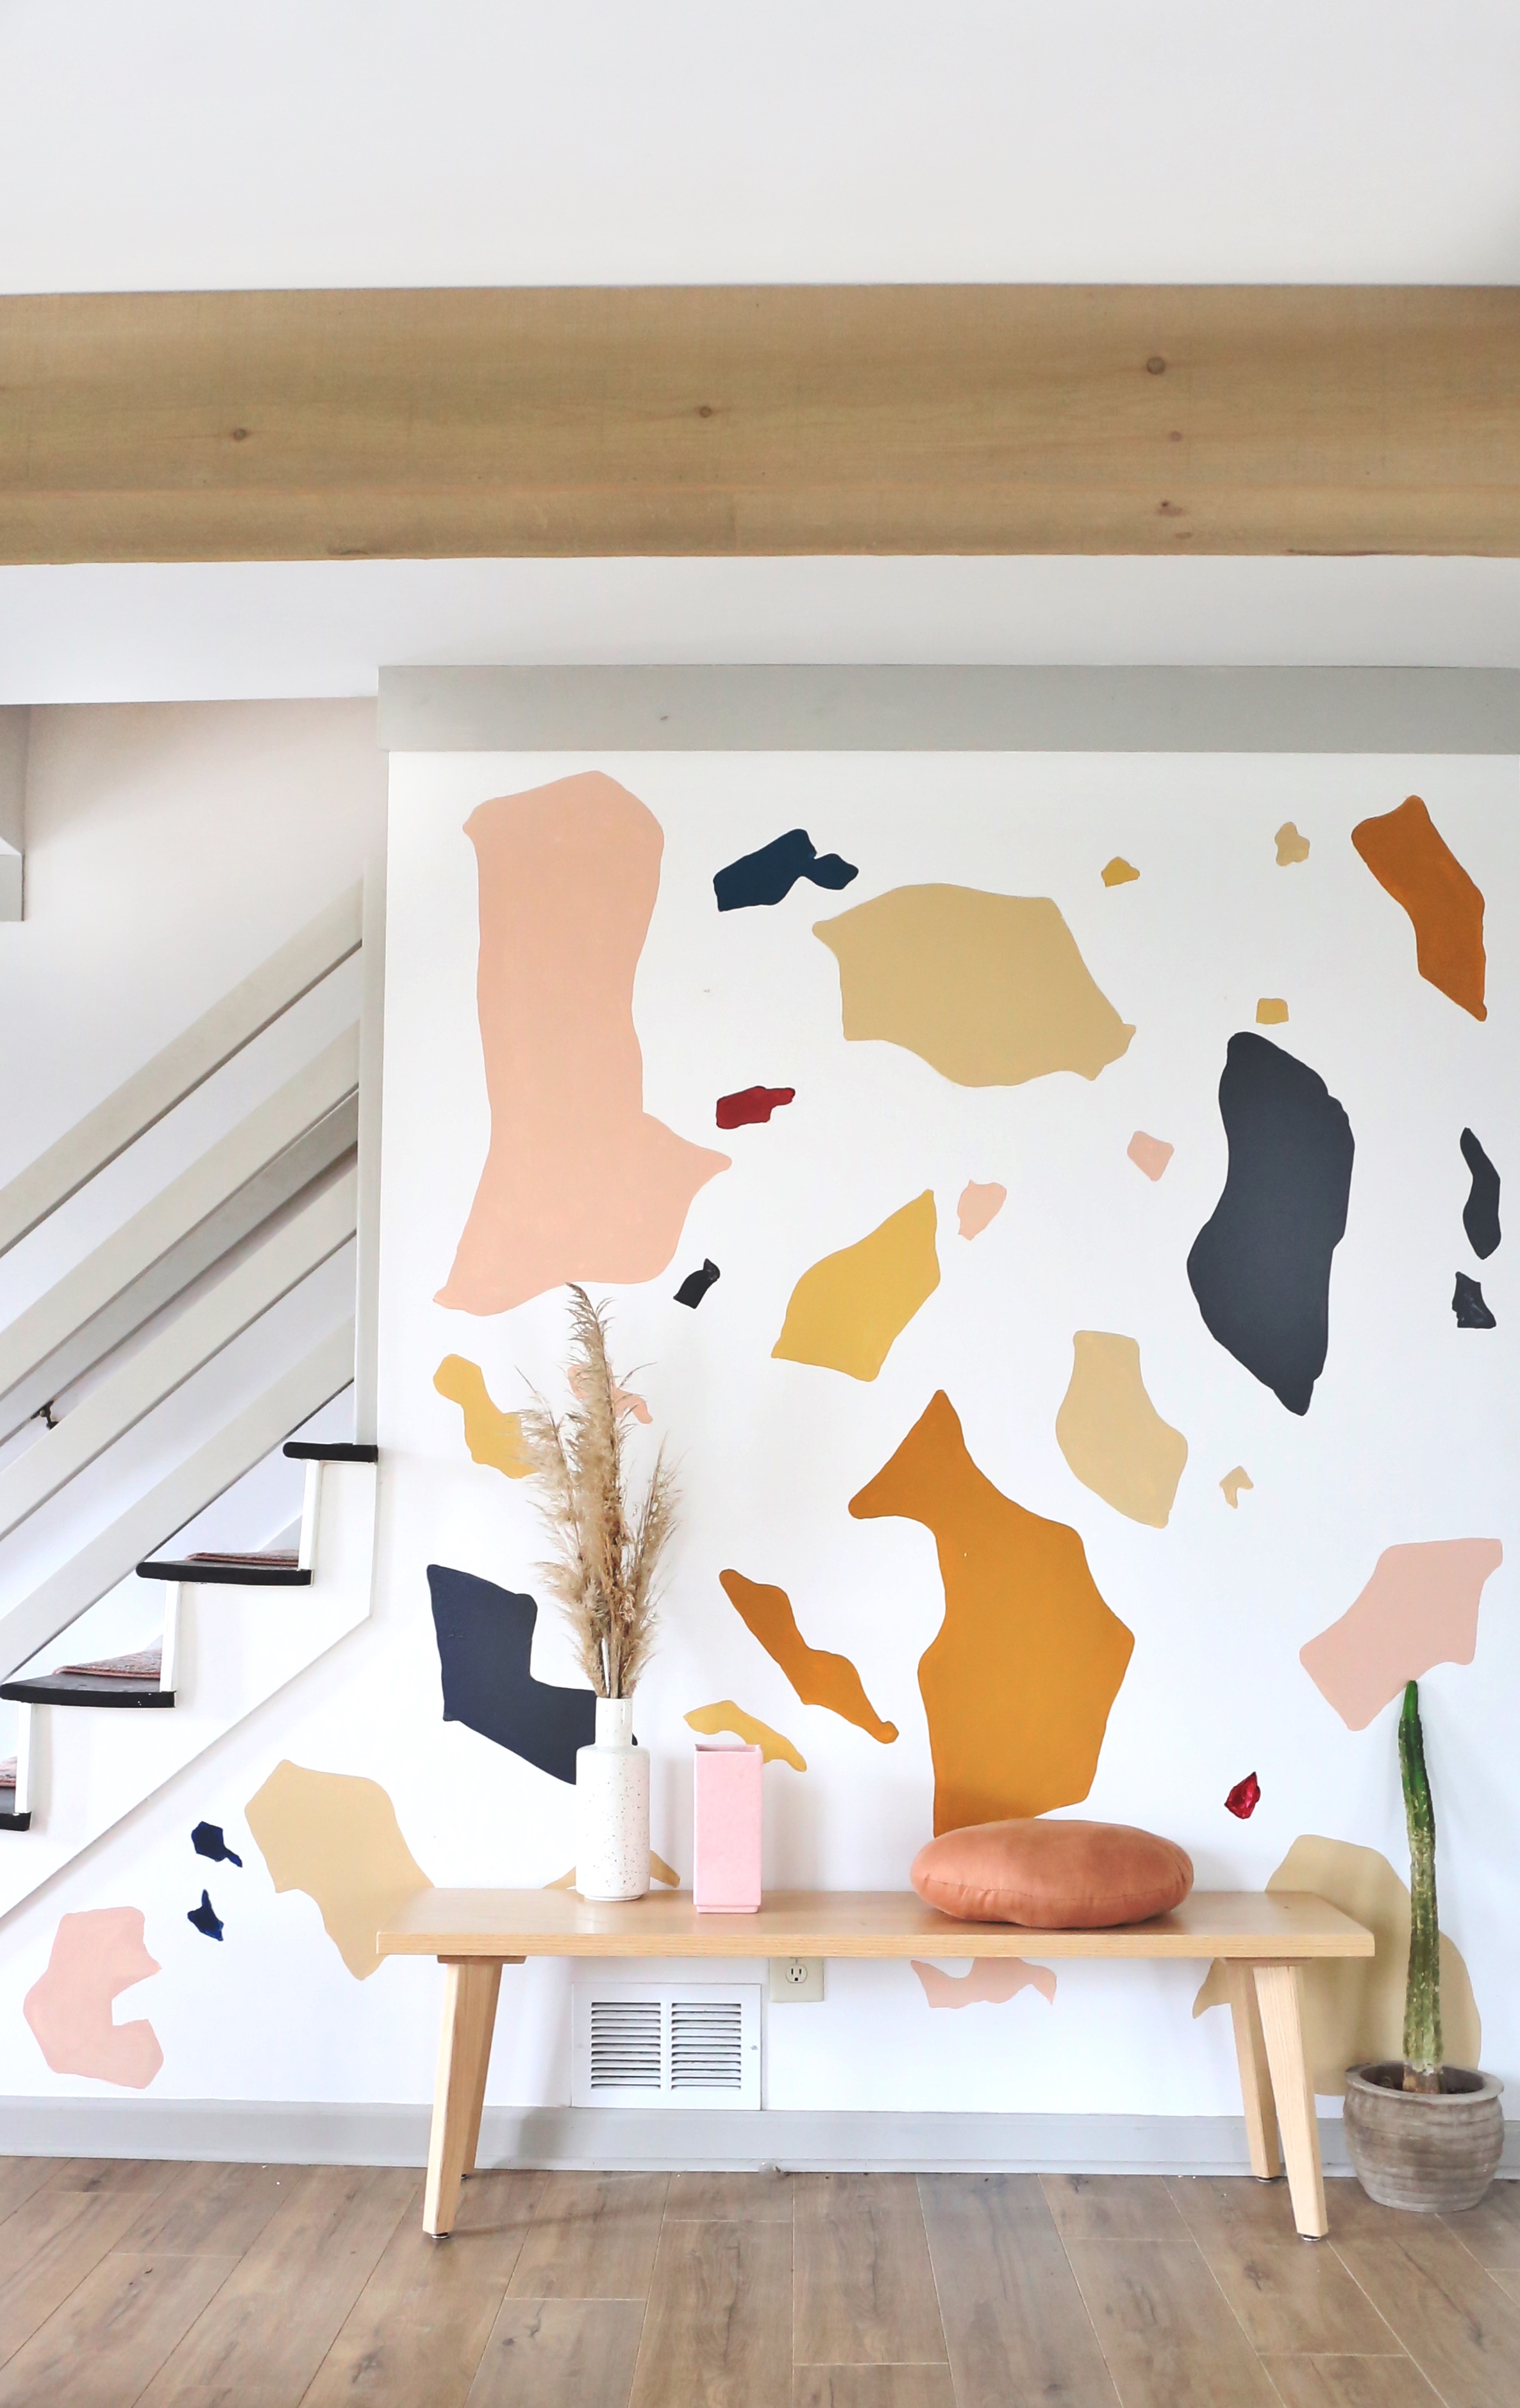
Once all the anchors were in, before I actually installed the rings, I last minute decided I wanted my project to have a bit more pizzaz! Using chalk I traced out a simple wall mural, then painted it using paint I had in the basement from previous projects.

PlantWallTutorial.jpg

The colors I used are as follows, top to bottom: Florentine Clay by Valspar, Peach Maison by Sherwin Williams, Warm Beige by Valspar, and Honeycomb by Sherwin Williams.


LivingWallDIY.jpg

Once the planters were installed, finishing my living wall was as simple as screwing in the planter rings and popping in their corresponding planters.

Since my planters have holes in the bottom, I’ve kept my plants in their original plastic containers. This makes them incredibly easy to pop out and water in the sink!

I’m loving the whole feel my new living wall had added to my living room! I love the way the terracotta pots seep up the water after I’ve watered the paint and look like pieces of watercolor art! And I’m loving how incredibly easy this DIY was.

Until next time!

Jodi

5 Design Forward AirBnB’s for Outdoor Lovers

Looking for a vacation rental that offers just as much beauty on the inside as it does outside? I’ve compiled a list of 5 Amazing AirBnb’s set in idyllic locations, but are also just as inspiring inside as out. Each is designed with impeccable taste, sure to inspire the designer in you.

Read More

We Transformed our Yard into a Haunted Graveyard for Halloween

Creating a Haunted Graveyard for Halloween

HalloweenDecor.jpg

It sure has been a year, hasn’t it? With Halloween only a few weeks away, and so many uncertainties surrounding the Holiday season of 2020, I’ve realized the only thing that I can really count  on this year is celebrating the season through decorating! We may not have trick-or-treating this year, but that doesn’t mean I can’t spook my neighborhoods passing by, and spread them some Halloween cheer!


HauntedDollHalloween.jpg

I decided to go ALL OUT this year, creating a frightfully fearsome graveyard scene right in my front yard. Home Depot hands down has the most realistic Halloween Decor in my opinion, so I made them my one stop shop and was able to order everything online and have it shipped directly to my house using contactless shipping! I’m all about that contactless shipping, and thankfully the Home Depot had everything I needed this year to decorate!


HalloweenDecorHauntedGraveyard.jpg


To reach my front yard, you must take a spooky path up the front walk, canopied by overgrown oak trees and surrounded by groupings of azaleas and ferns. I began the haunted experience at the beginning of the path with a ghostly doll, calling those who pass by in her chilling voice.  

To bring the setting to life, I surrounded the doll with colorful pumpkin, a few graveyard bones,  and placed caution signs, hand painted on pallets wood, along the path, warning intruders to turn back! 

dogskelatondecor.jpg


As you look past the doll, you can see her lonely pet dog, spooking a Skelton behind a tree. An oversized spider web flanking the scene, and a path of orange pumpkins beckoning you to follow their path to the graveyard. 

HauntedGraveyardHalloween


As guests wander further up the path, they are greeted by the terrifying Gravedigger. His realistic animated features and glowing eyes are chilling, as well as the words of doom he speaks to any approaching guest. 

Standing at seven feet tall, the Gravedigger is truly a master piece of a decoration! I’m not going to lie, he’s spooked even me as I’ve been alone outside with him in the dark! 

HallweenDecorwithSkeletons.jpg


But the Gravedigger is only just the beginning. Past him lie a host of Skeltons throughout the graveyard! One breaks free from his crypt, climbing up through the broken tomb.   


HauntedSkeletonDecor.jpg

Three Grim Reapers call out enchantments togethers, their eyes aglow, and their bony hands reaching out! 

HauntedCemetaryHalloween.jpg


A collection of tombstones, surrounded by pumpkins, scattered bones, and a few lanterns bring the entire scene to life.  To complete our scene, the cemetery watcher stands tall in the back of the graveyard, hour glass in hand, counting down the hours until the final doom!

HalloweenDecor.jpg


If you couldn’t already tell, I had so much fun creating this Halloween scene, and I know my neighbors are enjoying it as well! I’ve already had multiple tour requests! 

A big thank you to Home Depot for sponsoring this project! If you are decorating for Halloween this year, you MUST CHECK THEM OUT! They truly are your one stop shop for all your Halloween Decor needs! 

 ITEMS USED IN MY HAUNTED GRAVEYARD 


ANIMATED DOLL CRYPT AND MAUSOLEUM FLOATING REAPERS CEMETERY STATUE

GRAVEDIGGER                 SKELETON               SPIDER WEB             TOMBSTONES

SKELETON HOUND BAG OF BONES


Small Space Bathroom Makeover

I remember the day I naively suggested to Tim that we tackle the kid’s bathroom remodel over the weekend. In my mind the project would be a hefty week’s project at most. Oh innocent me. I had truly no idea what an undertaking a bathroom remodel would be!

BathroomRemodelSink.jpg

Here we are, 2 months later, and I can proudly say through my exhausted smile that we are finally finished. I am not exaggerating when I tell you that we had trouble at every turn. Every single turn. But we pushed through and have learned so much! Let me give you a tour!

Our bathroom was original to the house, not seeing any updgrades since it’s 1980”s builder grade beginning. Outdated fixtures, a yellow tinted plastic shower and tub combo inset, dark brown trim, and stained grout graced our bathroom desperate in need of a refresh!

Bathroomremodeltiling.jpg

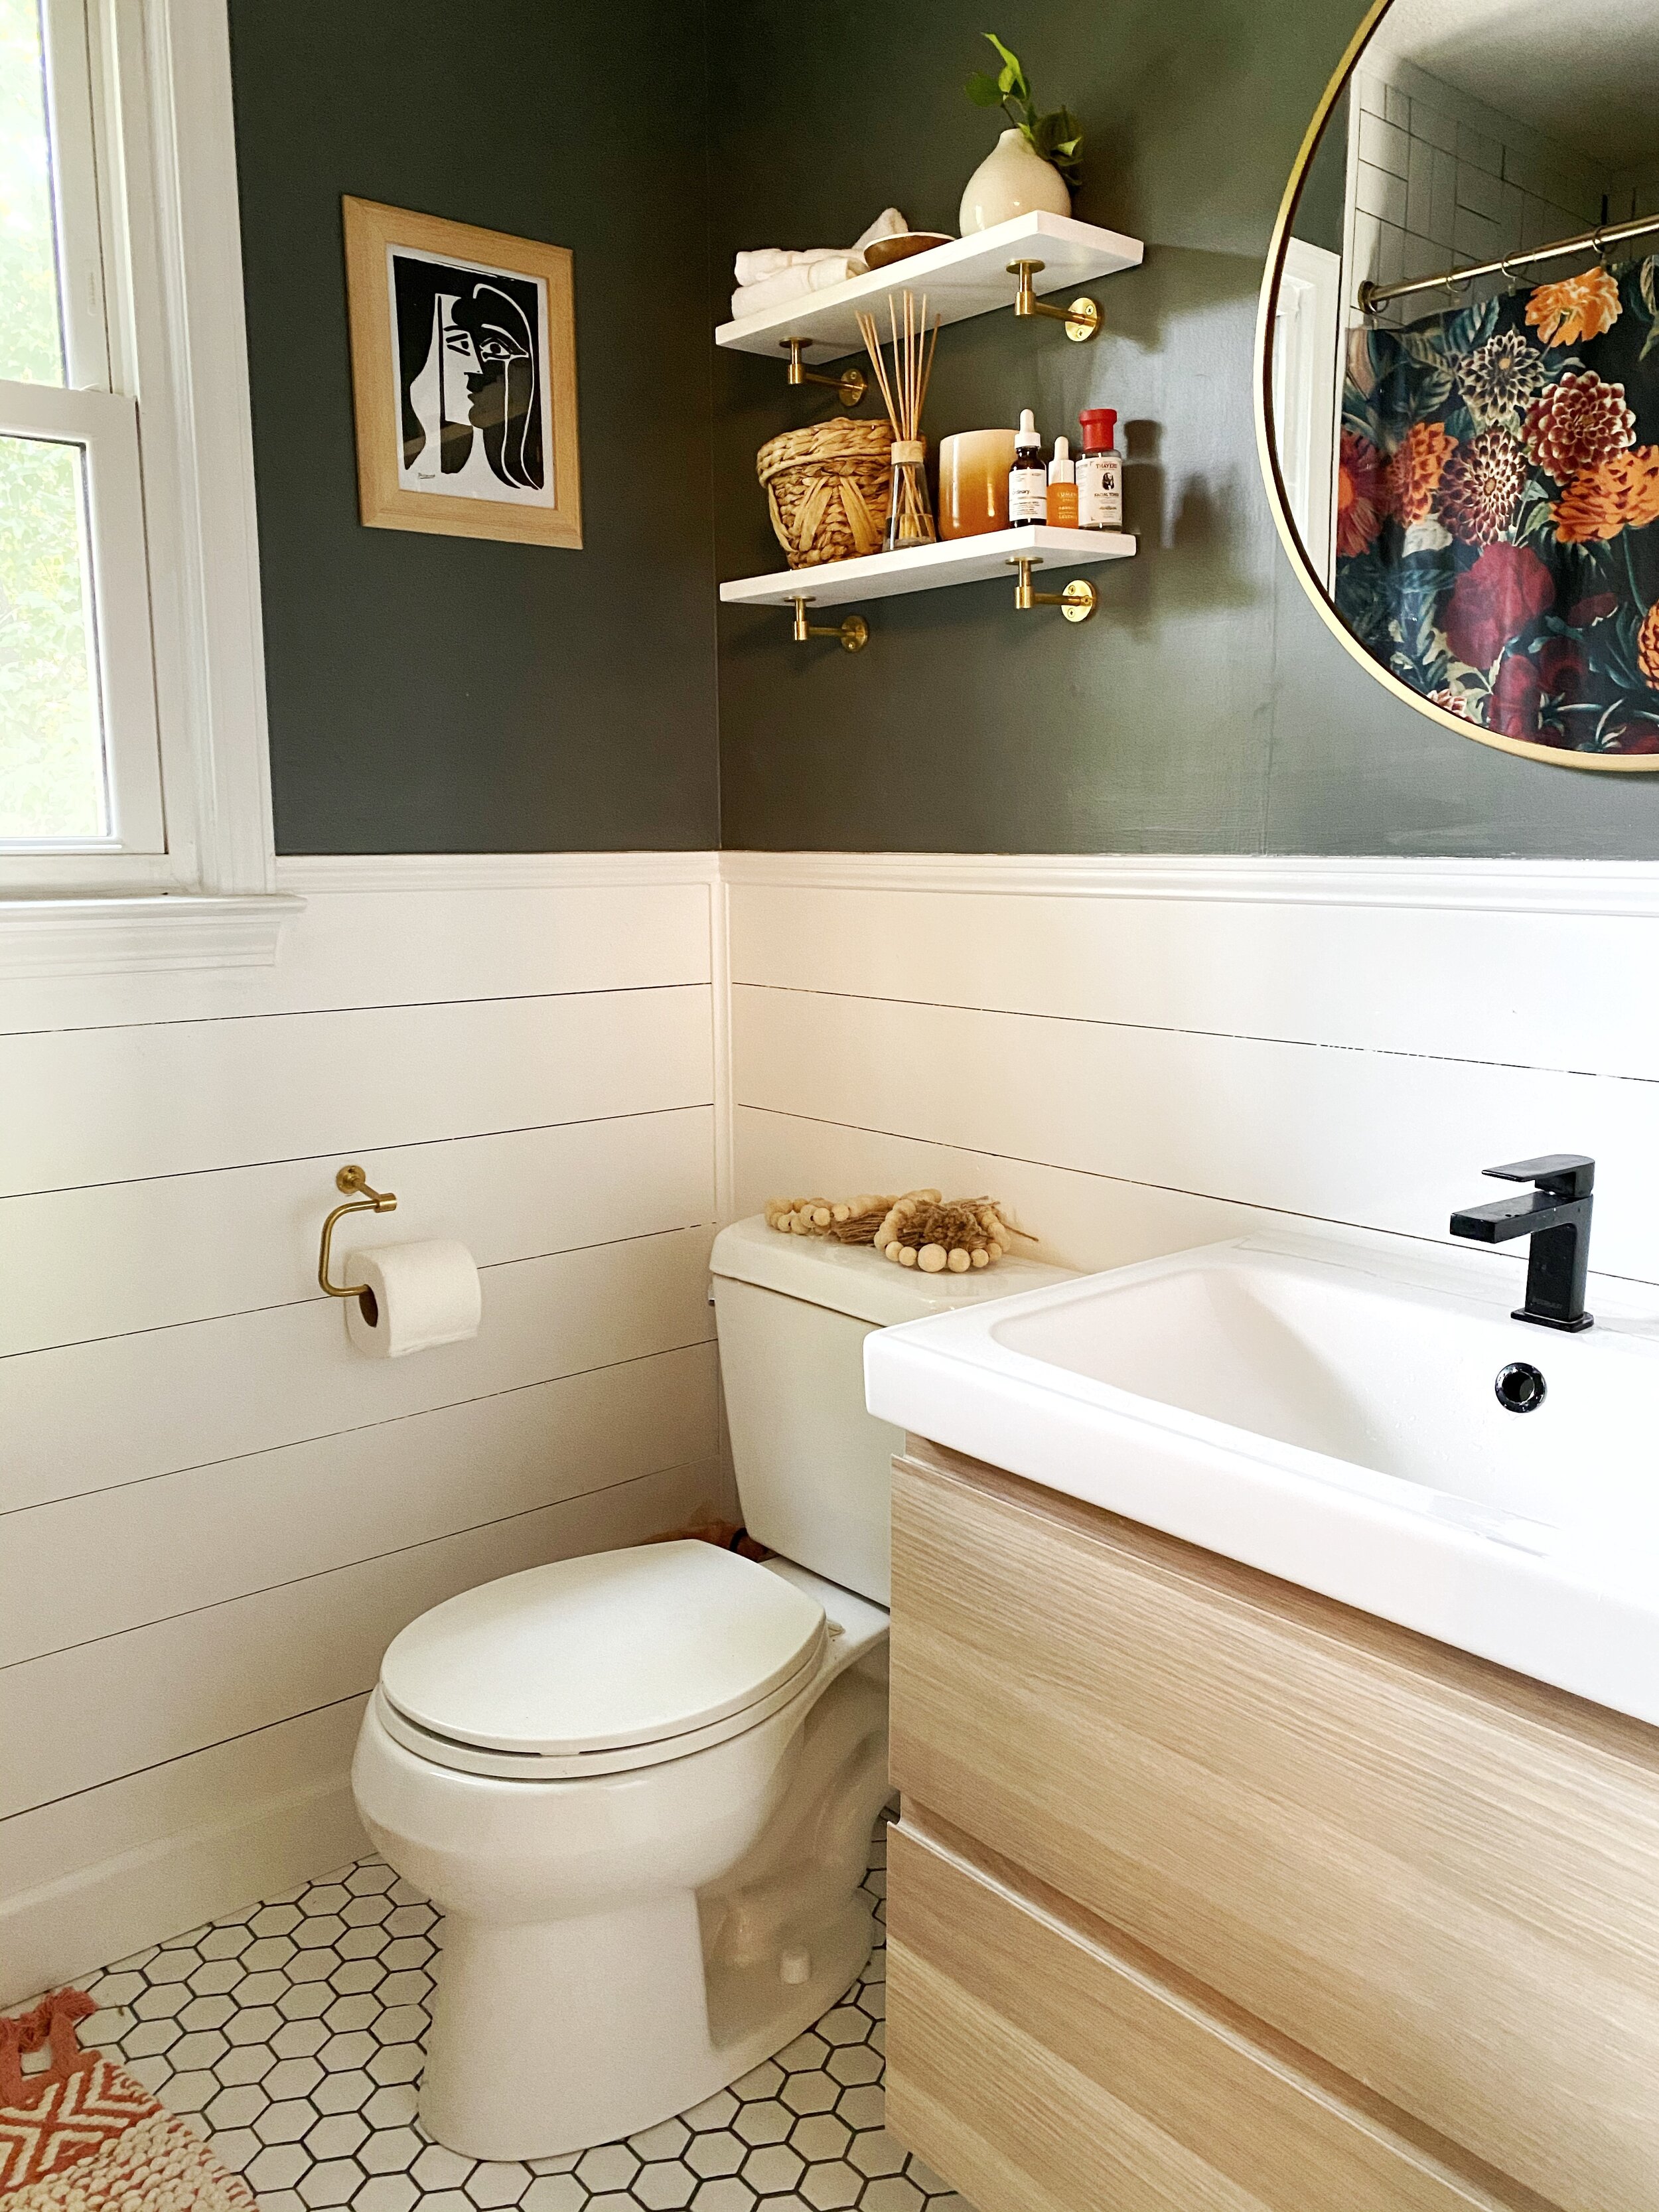
I went for neutral choices in this bathroom. We were working on a slim budget, so choosing classic color tones and tile options helped keep the bathroom costs down while allowing us to play with color using accessories..

For the shower I used budget friendly subway tile, but installed it in a basketweave pattern to creating an unexpected play on lines.

tilegrid.jpg

We originally hit a snag with our tile. Leaving a gap for grout lines between the tile was throwing off the dimension of the square in the pattern, as you can see from the photo above. We ended up installing the tile end to end with no gaps to solve this problem. Subway tile has a slight groove around it’s edges, creating a slim grout line even with no spacing between the tiles. Installing them with no gap ended up being the perfect solution. Our modern shower head and tub faucet are from Peerless Faucet and part of their Xander Collection, you can find them HERE.

BathroomRemodeltile.JPG

For the walls we added interest by installing faux shiplap using strips of plywood board cut into 8 inch wide strips. We applied them using liquid nails first, and then air nailed them in place. To finish the shiplap detail we added a small piece of trim at the top.

BathroomRemodelShiplap.JPG

The Vanity is GODMORGON from Ikea. We had to configure our plumbing and the cabinet drawers quite a bit in order to get the vanity installed correctly. If you are considering the GODMORGON bathroom vanity, I would suggest watching a few Youtube videos on how to install it first and make sure you’e up for the challenge! In the end we lost a bit of drawer space on the bottom, but felt it was worth the trade to get it’s sleek modern look.


For the sink faucet we choose the Xander Single-Handle Lavatory faucet from Peerless Faucet in the striking Matte Black finish, matching our shower fixtures, you can find them HERE. I love the simple modern lines paired with the light wood of the vanity and the classic subway tile.

BathroomRemodelsink1.JPG

We tore down the old shelving unit about the toilet and added two minimal shelves from Pepe and Carols. Also from Pepe and Carols is the vanity wall sconce and the brass toilet paper holder.

BathroomRemodelShelves.jpg

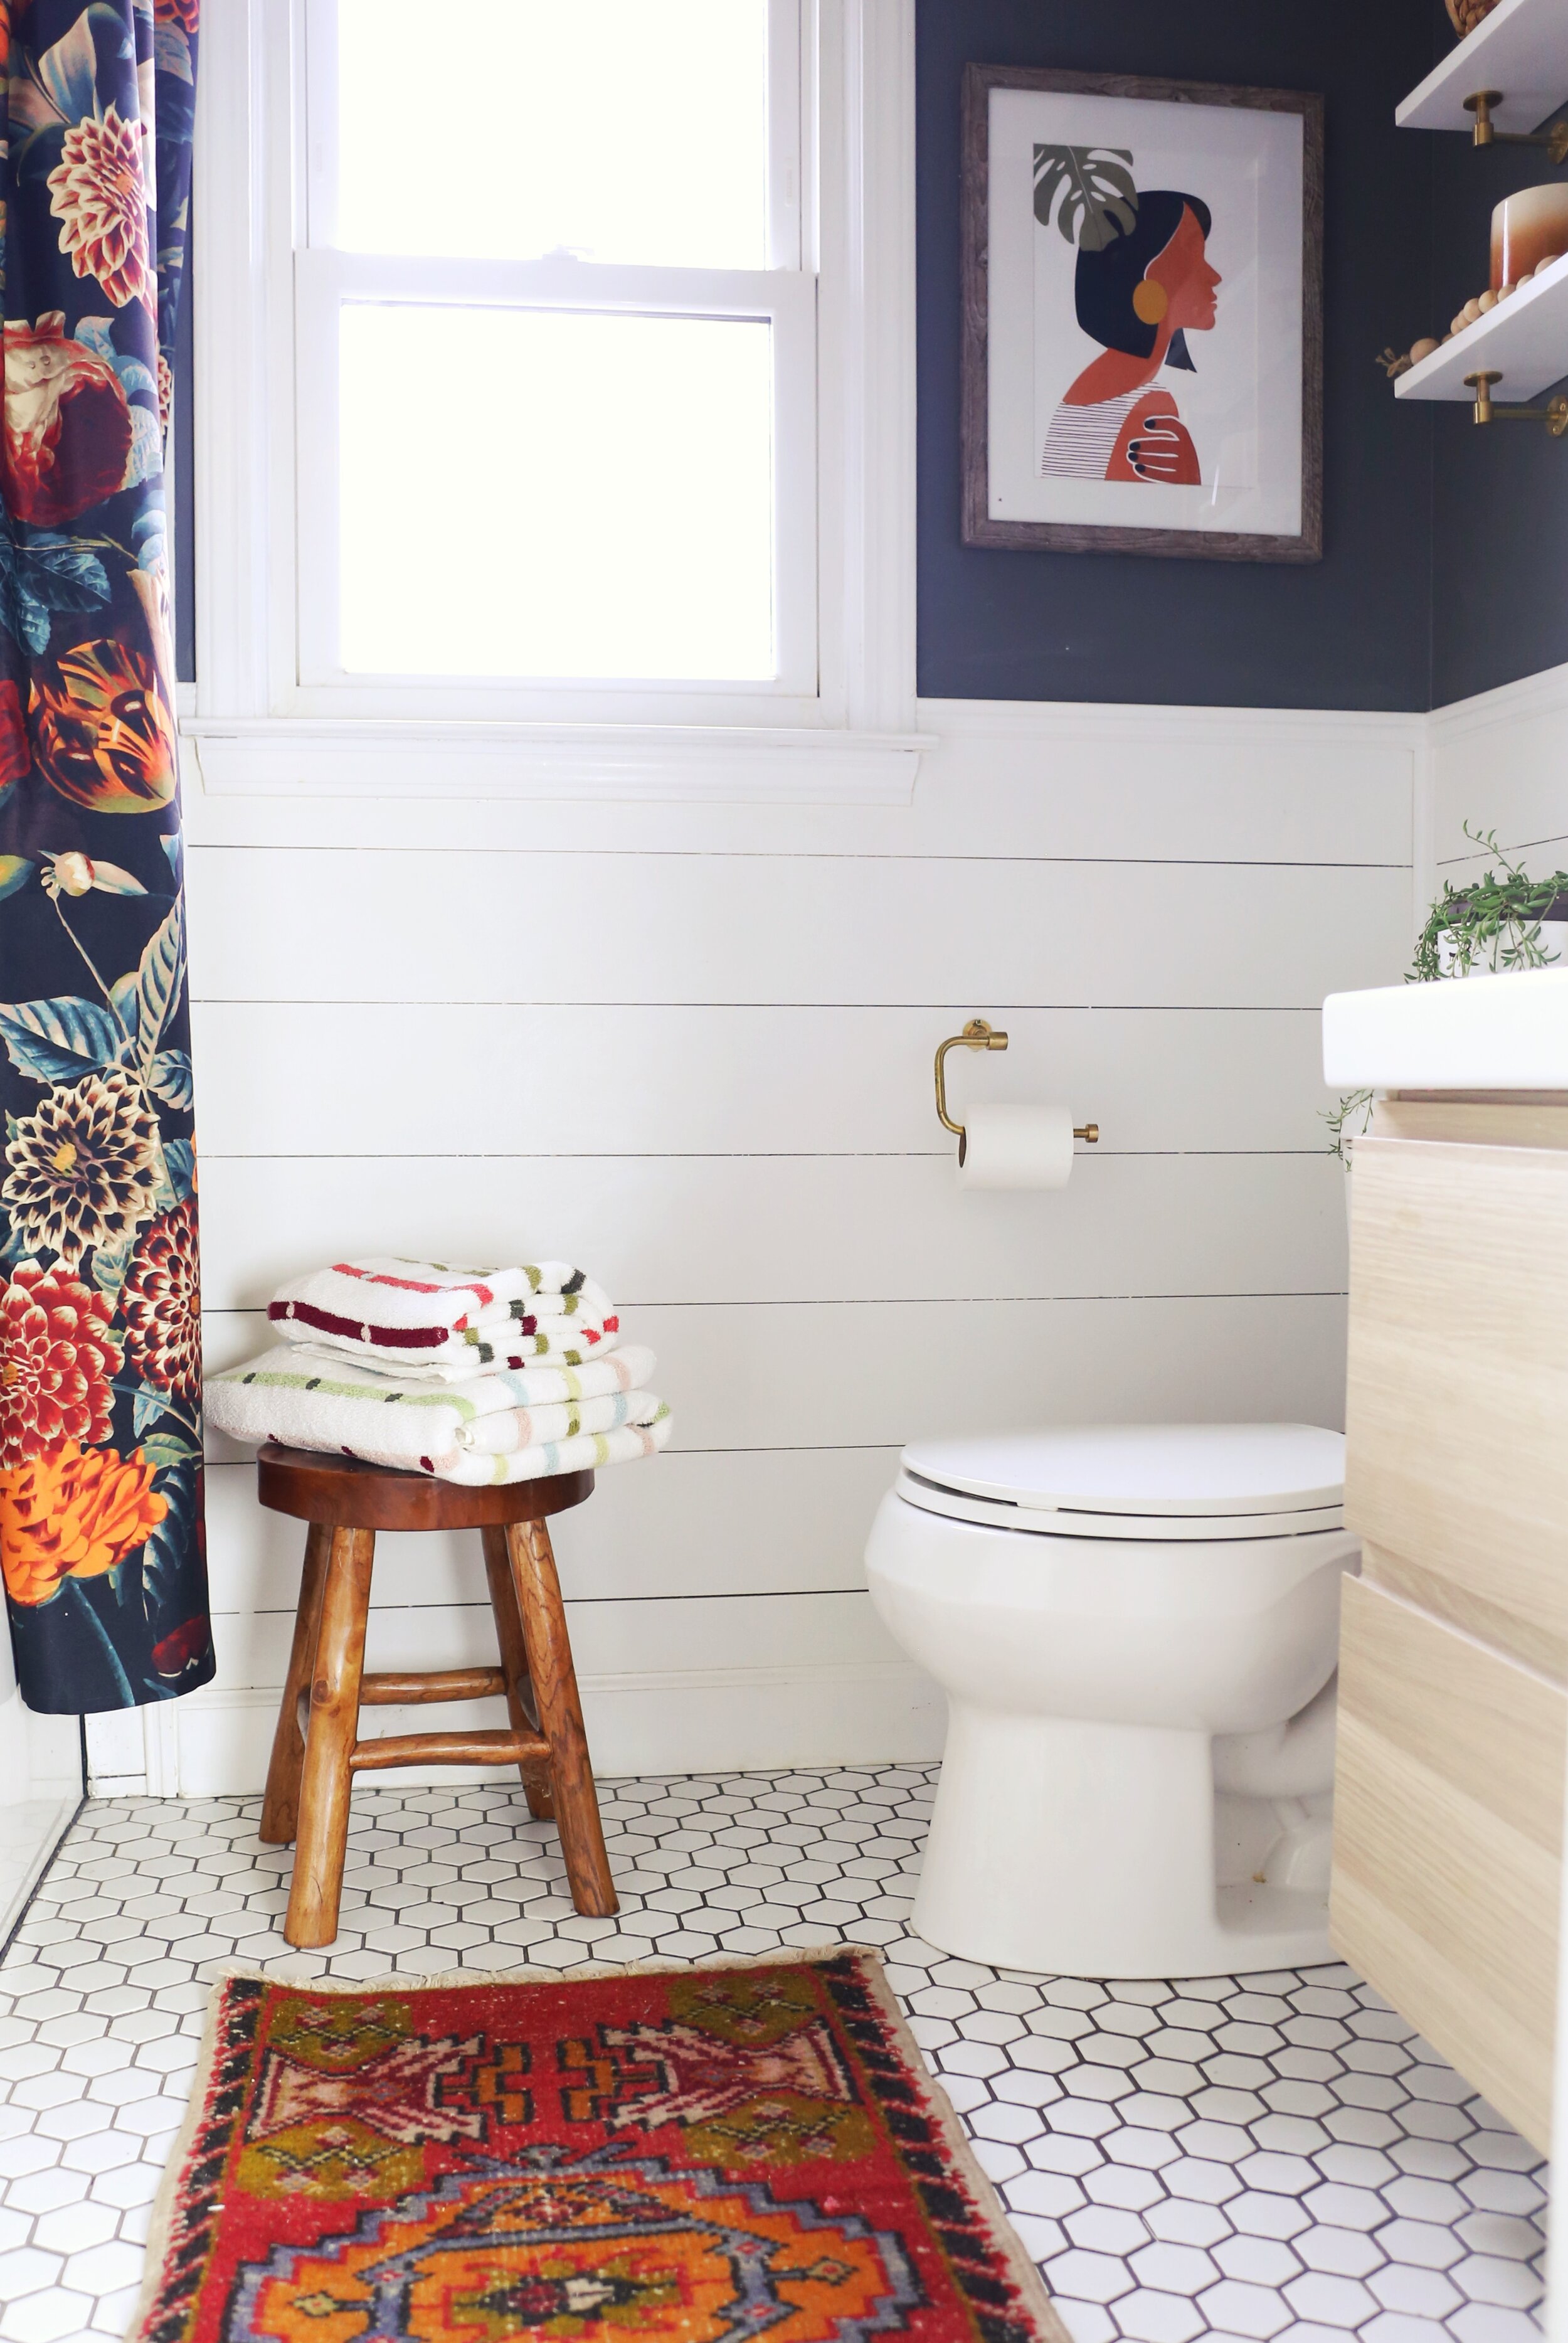
No bathroom is complete without a splash of color. We added this floral shower curtain from Society6, bath mat from World Market, and a colorful set of towels to complete the bathroom look!

BathroomRemodel.jpg

I’m so happy to finally be finished with this what seemed like a never ending project! At the end of the day it was worth all the struggle, and we learned so much!

So what do you think? Should we tackle the Master Bathroom next!?


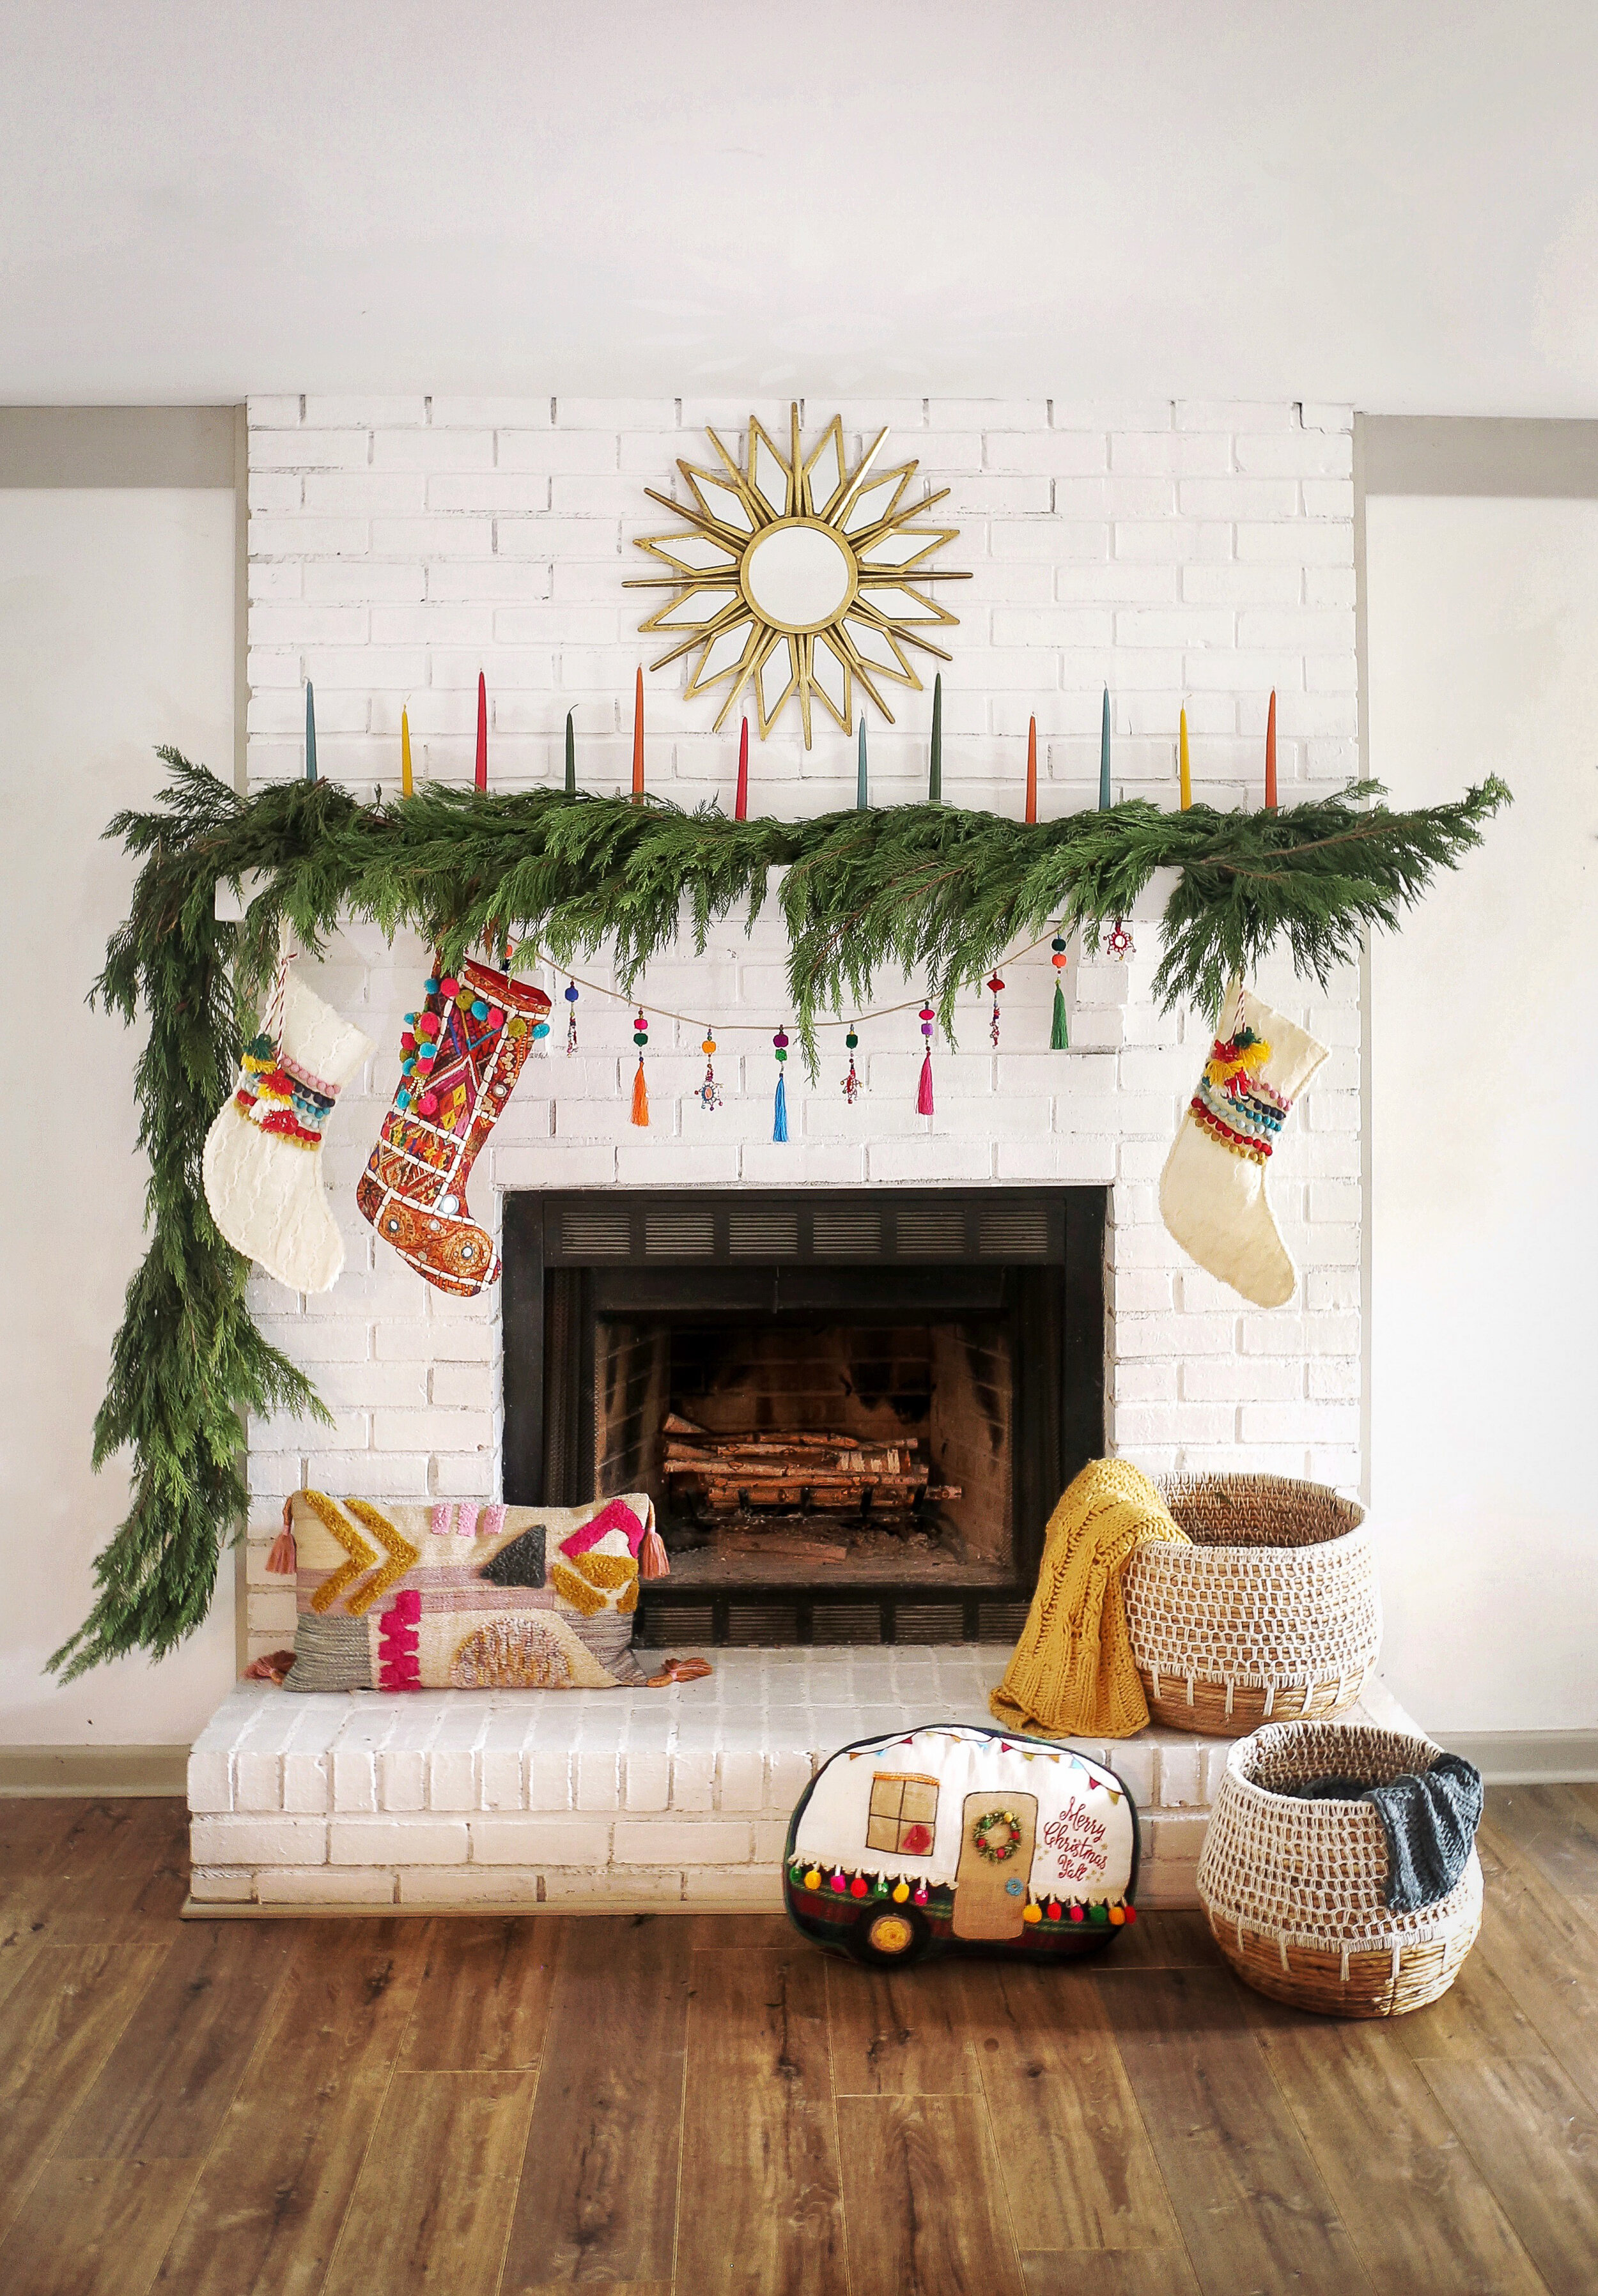
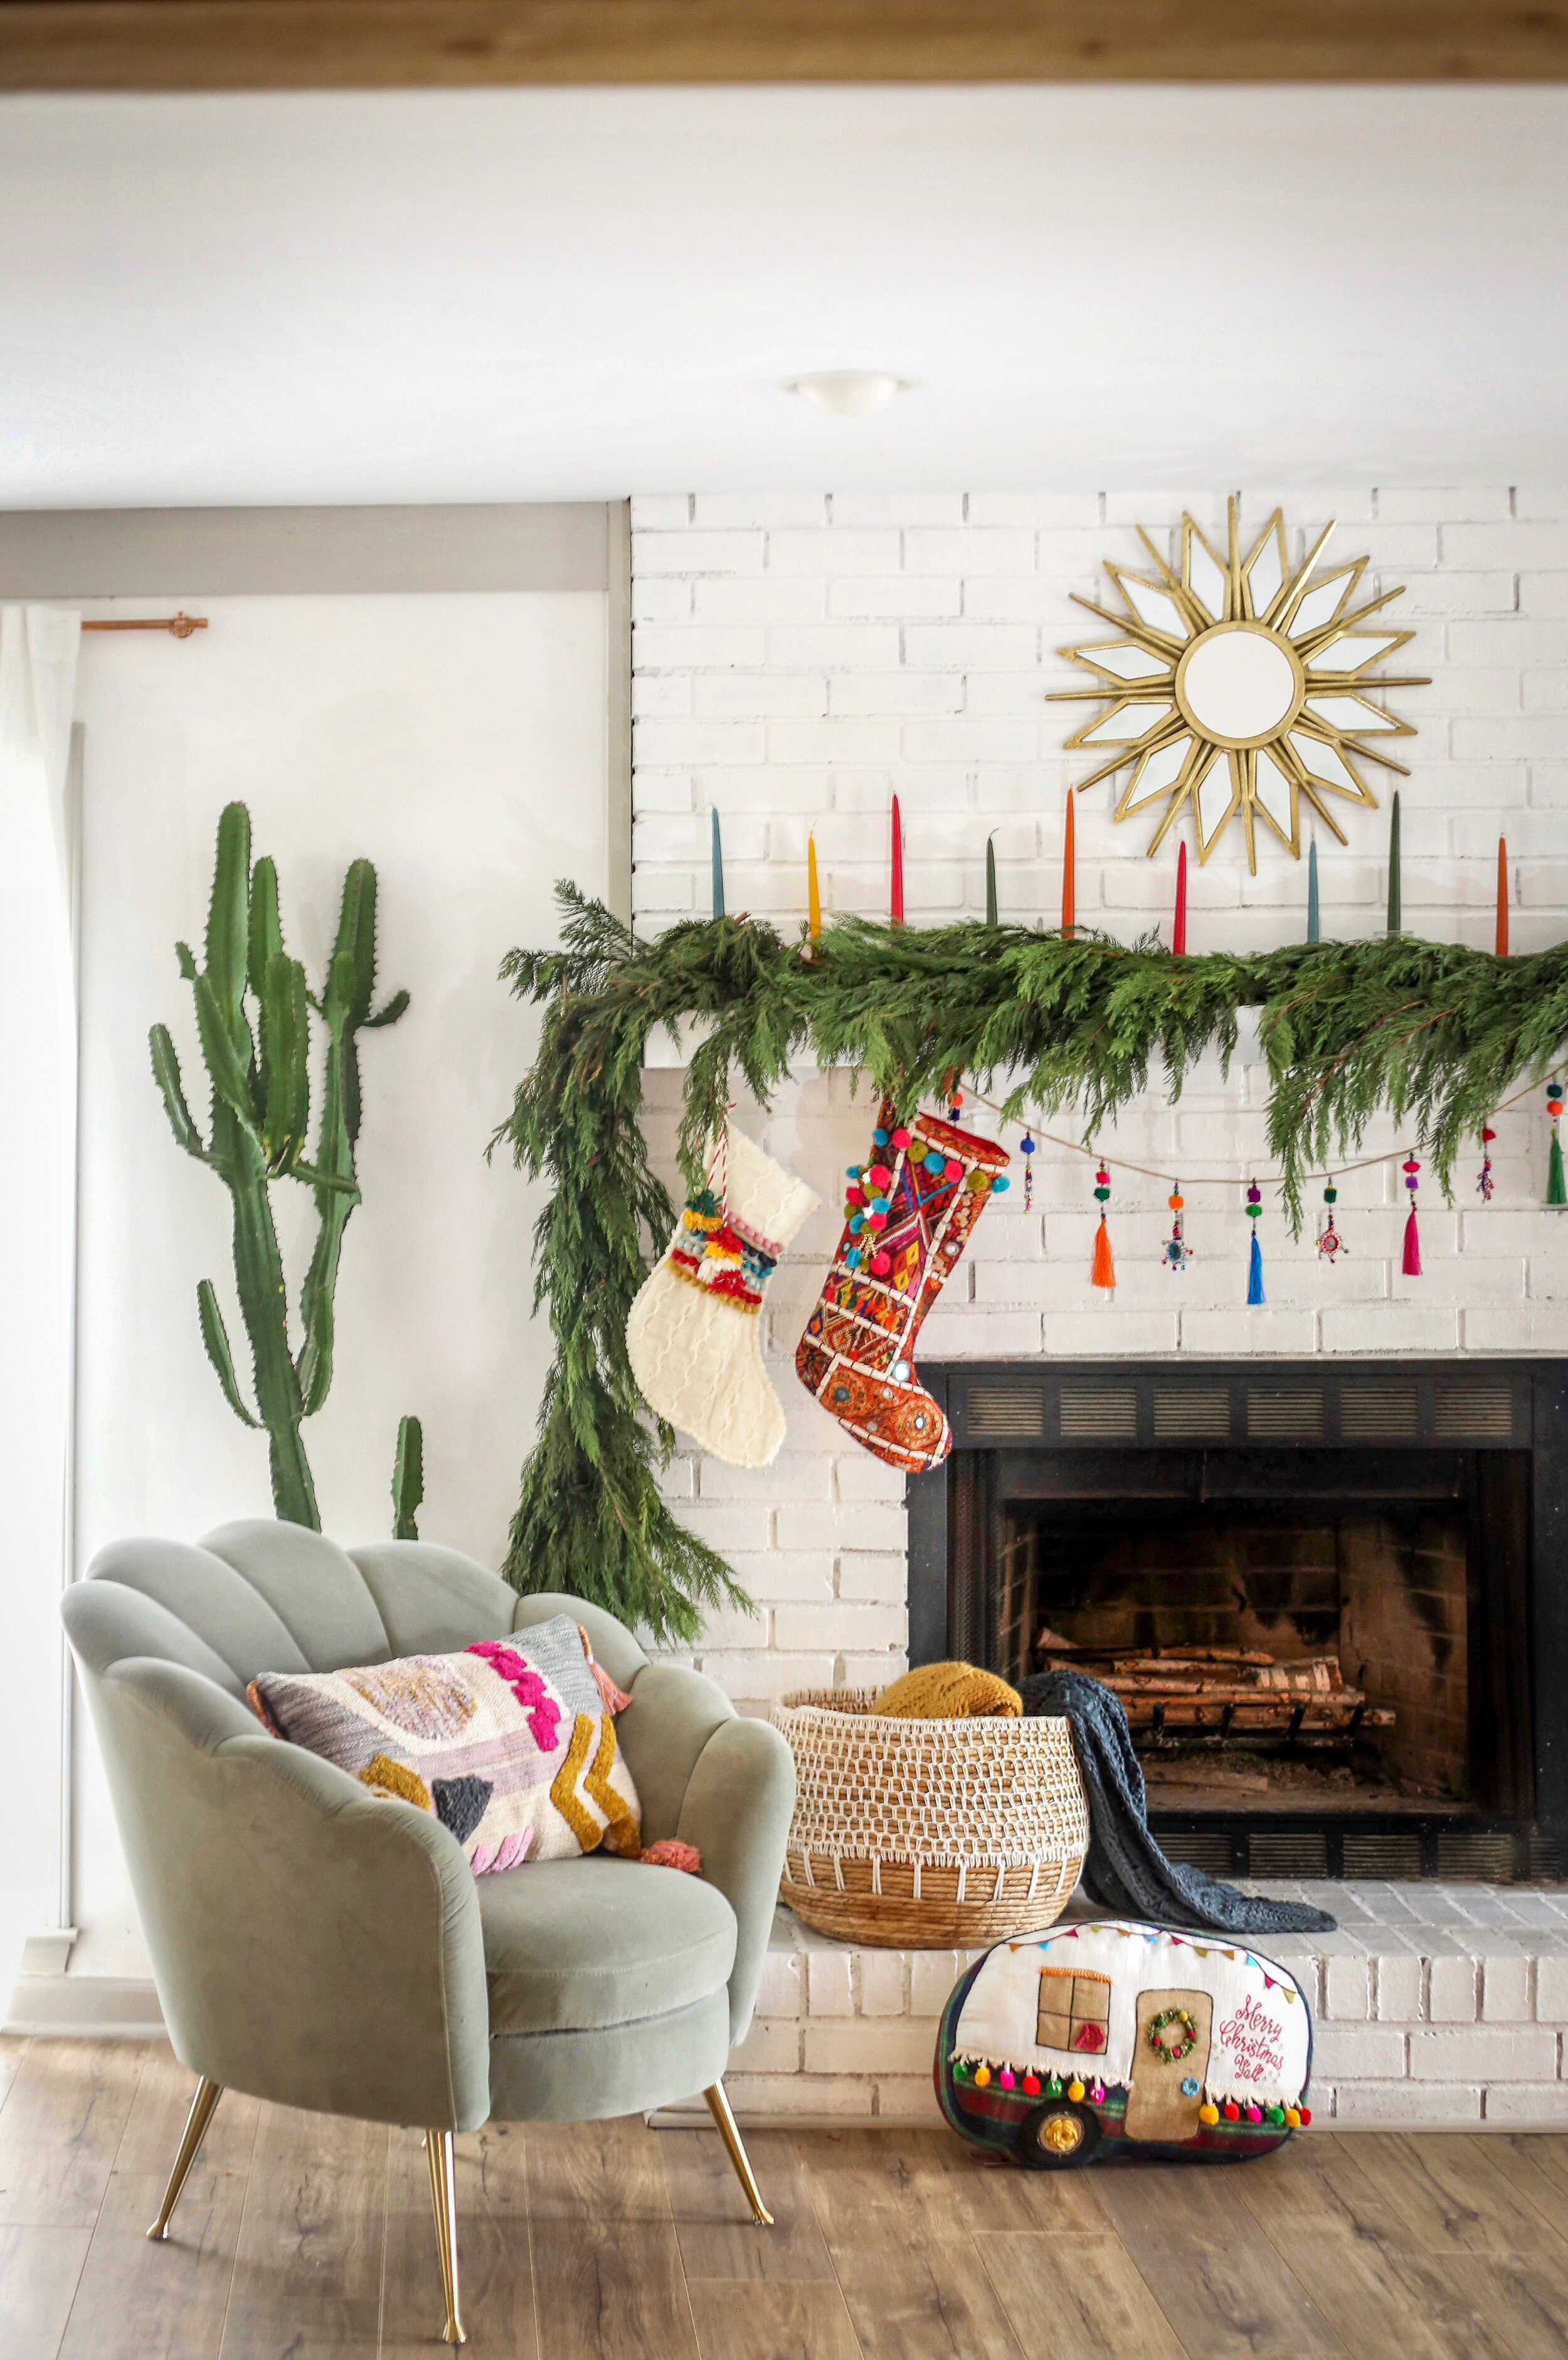
My Colorful Boho Christmas Mantel

deciding on a colorful Boho Christmas Mantel was an easy choice for me this year…

CPWM_Fireplace_7-3.jpg


With the addition of my vintage pink couch, the look of my living room had changed drastically, and I knew a classic red and green Christmas color scheme wouldn’t fit the style of my living room anymore. Not that I minded at all, I’ve always been drawn to unconventional color schemes, and Holiday decorating was no exception.


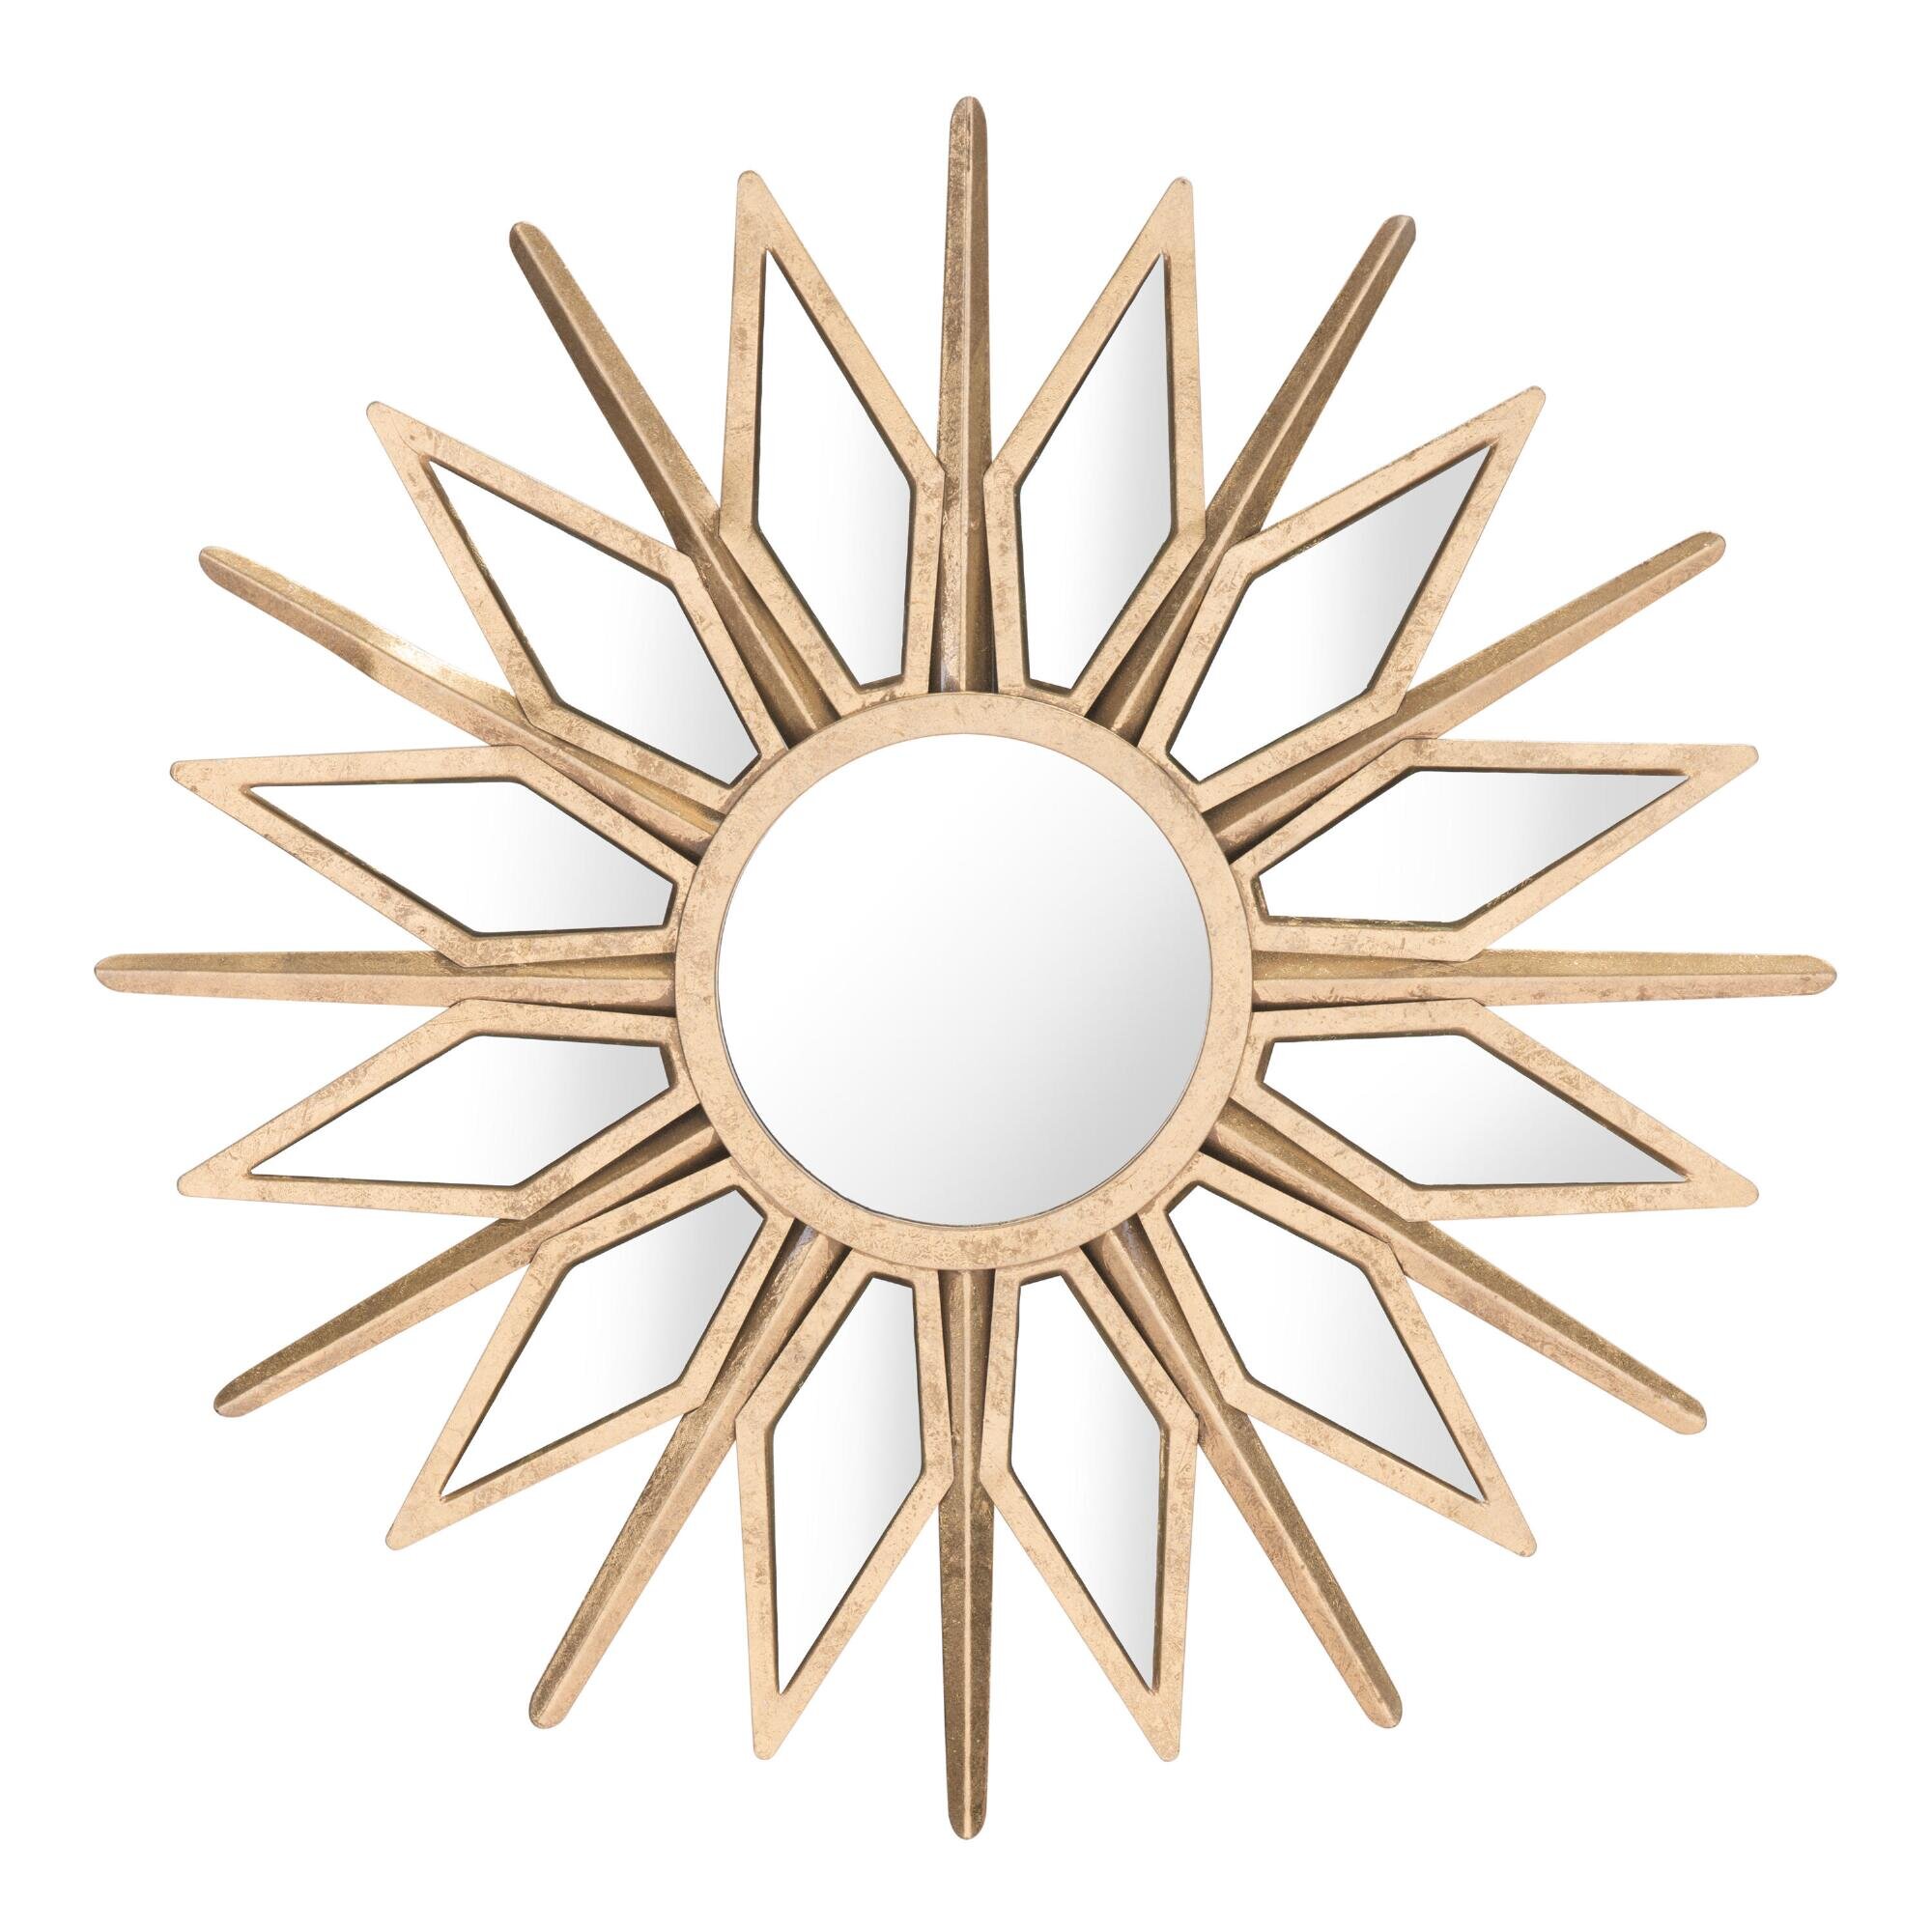
I started the look with this star shaped Mirror from World Market. I typically hang a circular mirror in this space, so adding the star version was a more festive version of what is normally in place.

CPWM_Fireplace_4-3.jpg

I knew I wanted to incorporate an array of colorful candles at varying heights across the mantel. I choose from World Market’s selection of candles because while colorful, they are warm toned and a little muted, reminding me of the large vintage Christmas lights you can sometimes see resurrected.

Finding the right candle holders was a little bit more tricky. With the amount of candles I was going to add, I couldn’t find any varying height taper holders that weren’t going to be out of my budget.

CPWM_Fireplace_5-3.jpg

I ended up going with simple glass taper holders found at Walmart (or I’m sure you could find them at the Dollar Store as well) which only cost me $1. Since they were all the same heights, I ended up using small blocks of wood underneath to stack them at different heights. Since I was going to add a garland I knew it would be easy to cover up the candle holders so it didn’t matter so much what they looked like.

To add a little more boho charm, I strung a colorful tasseled garland across the front of the mantel, and then hung some mismatched stockings.

A kind neighbor let me snip some branches from their overgrown cypress trees. I used these branches to create my garland, by simply typing them branch by branch together with floral wire.

CPWM_Fireplace_2-3.jpg

For a casual and playful look, I hung the garland asymmetrically.

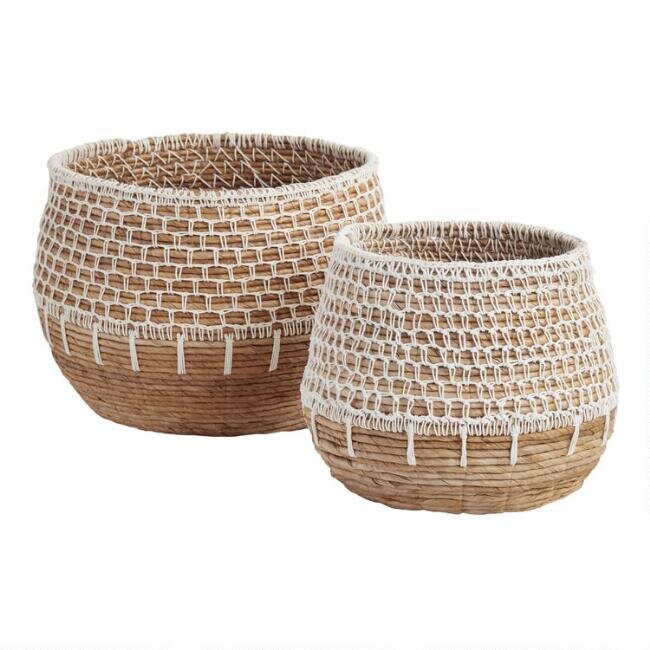
To finish everything off, I scattered some colorful pillows around the hearth for seating, and tucked warm blankets into wicker baskets for some added texture and warmth.

And that’s all there is to it to create a fun colorful boho Christmas mantel. I’ve added a little vid if you want to see the creation in process (I snagged the short clips from my Instagram Stories, so bare with the choppiness of it all).

CPWM_Fireplace_10.jpg

You can find all the products I used linked below!


Merry Colorful Christmas my friends!


-Jodi


How to Paint a Range Hood

If you are like me, you may have asked yourself ‘Is it possible to paint my vent hood?’


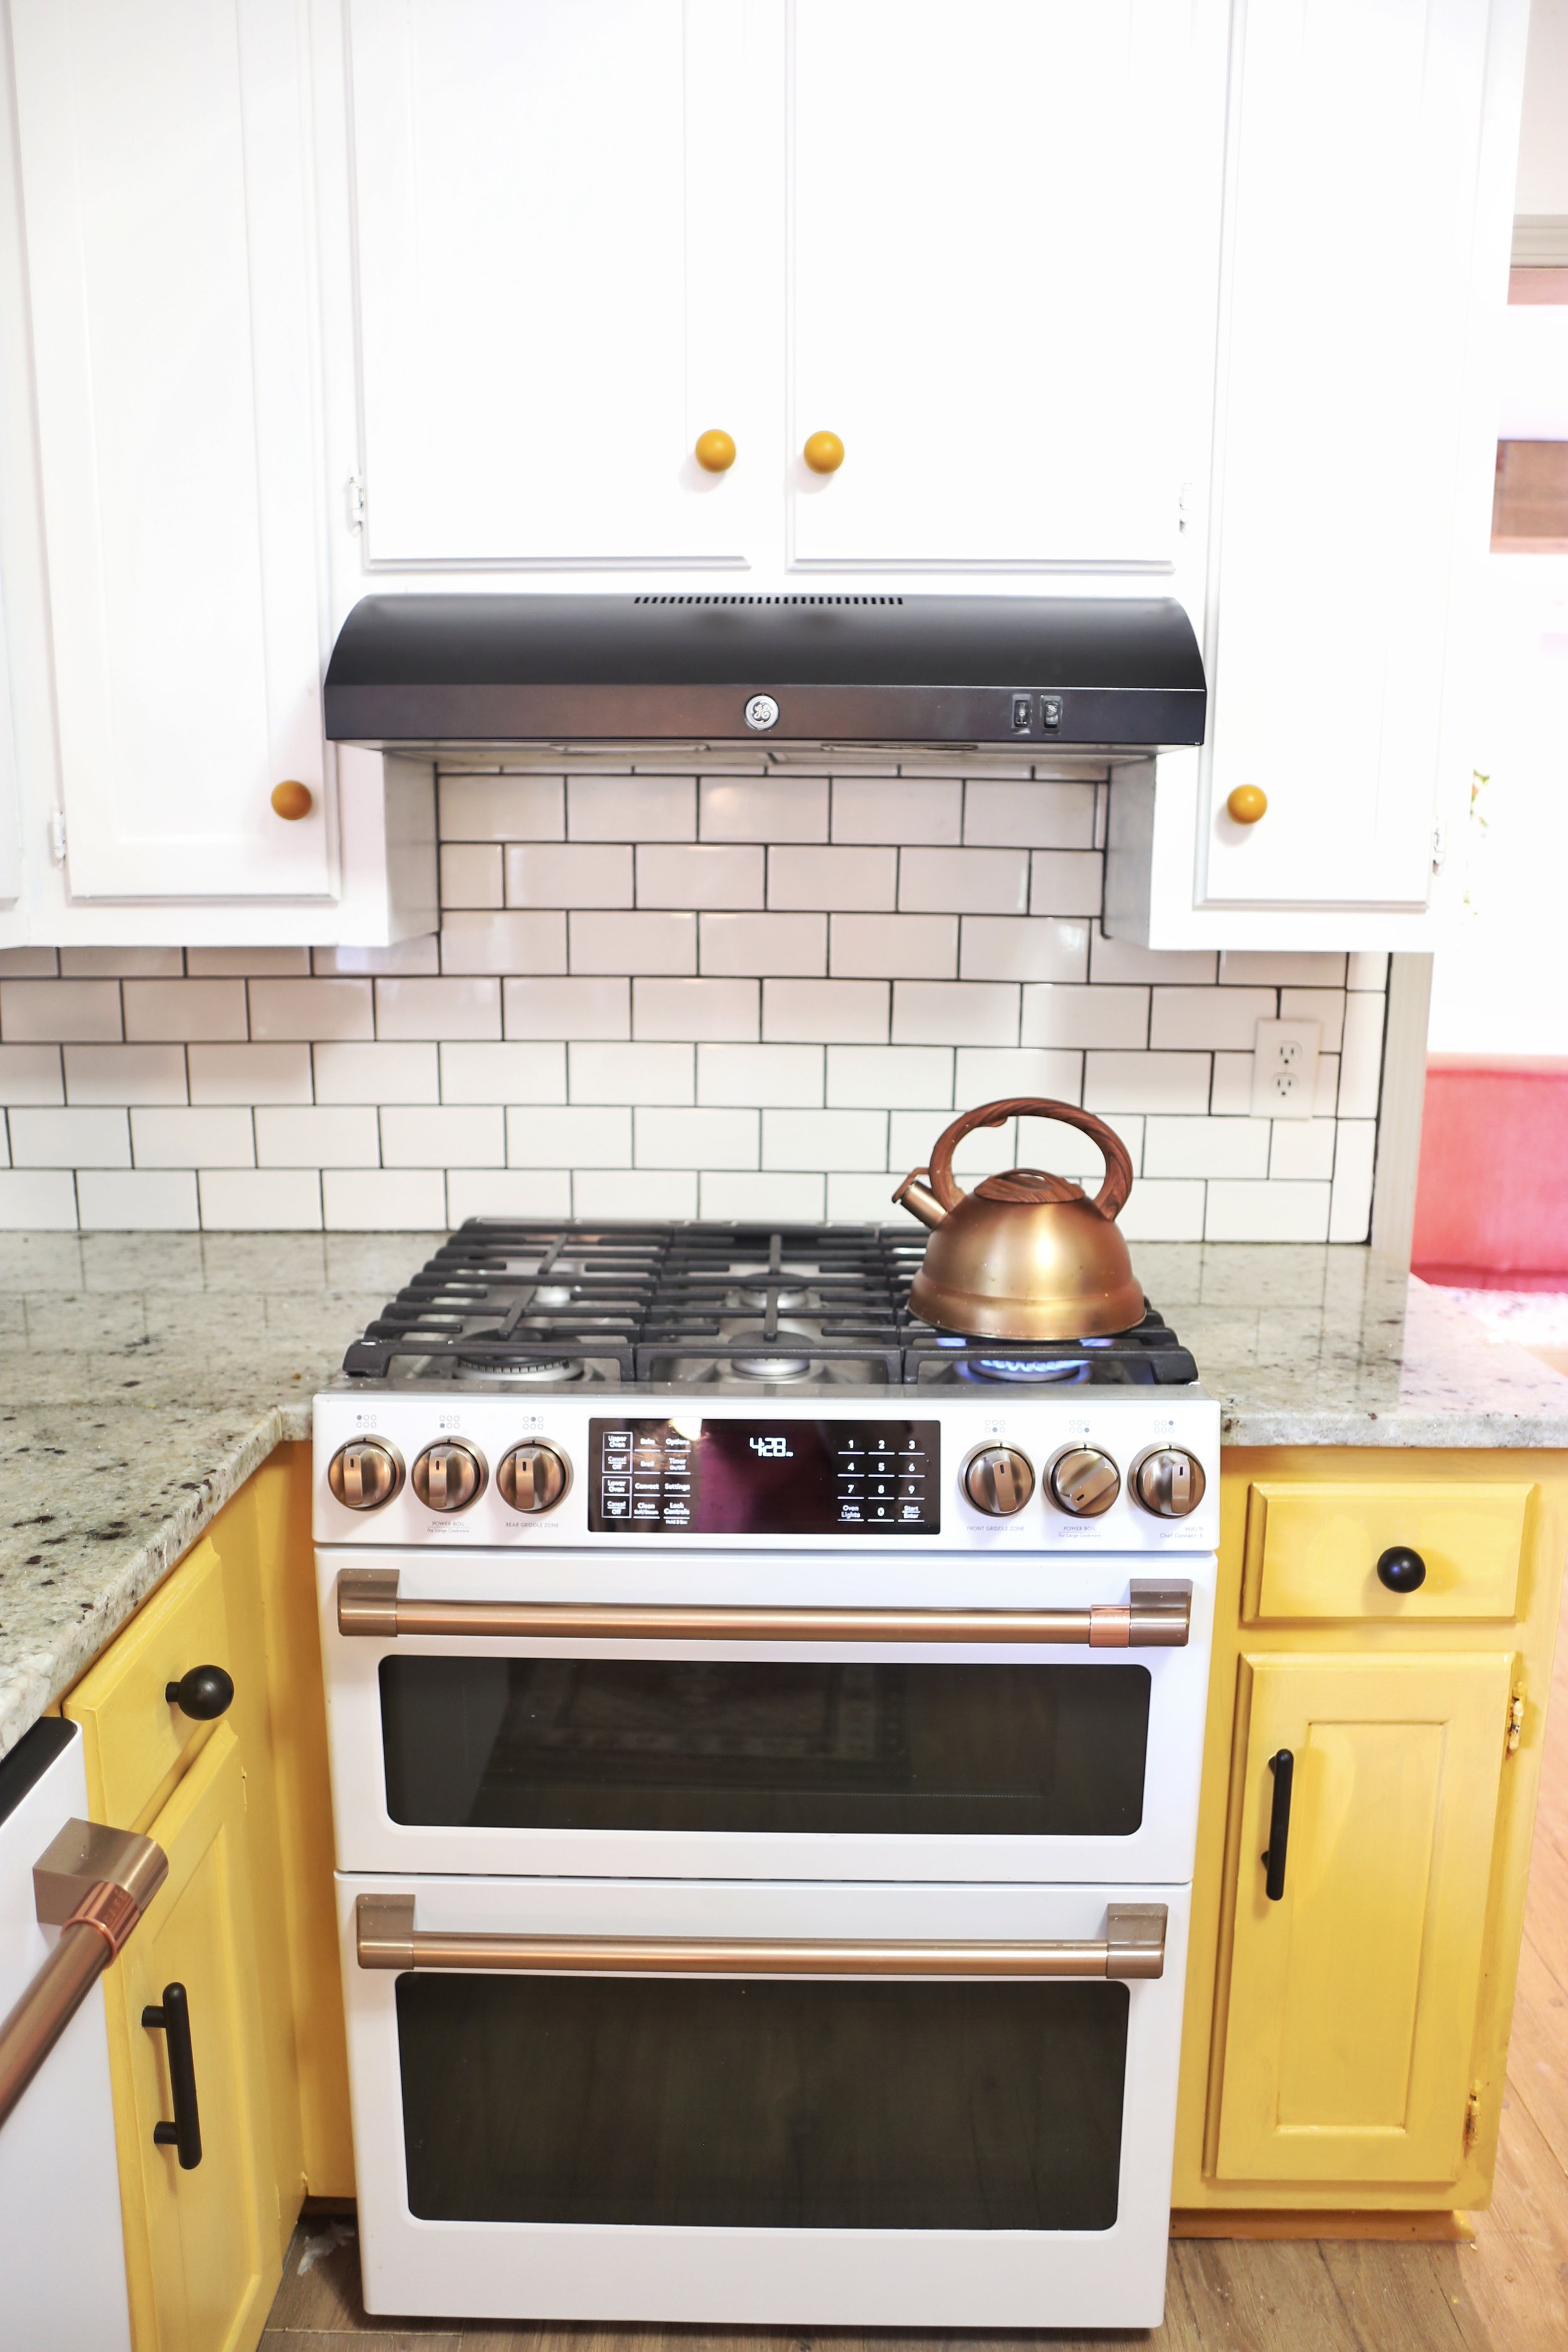
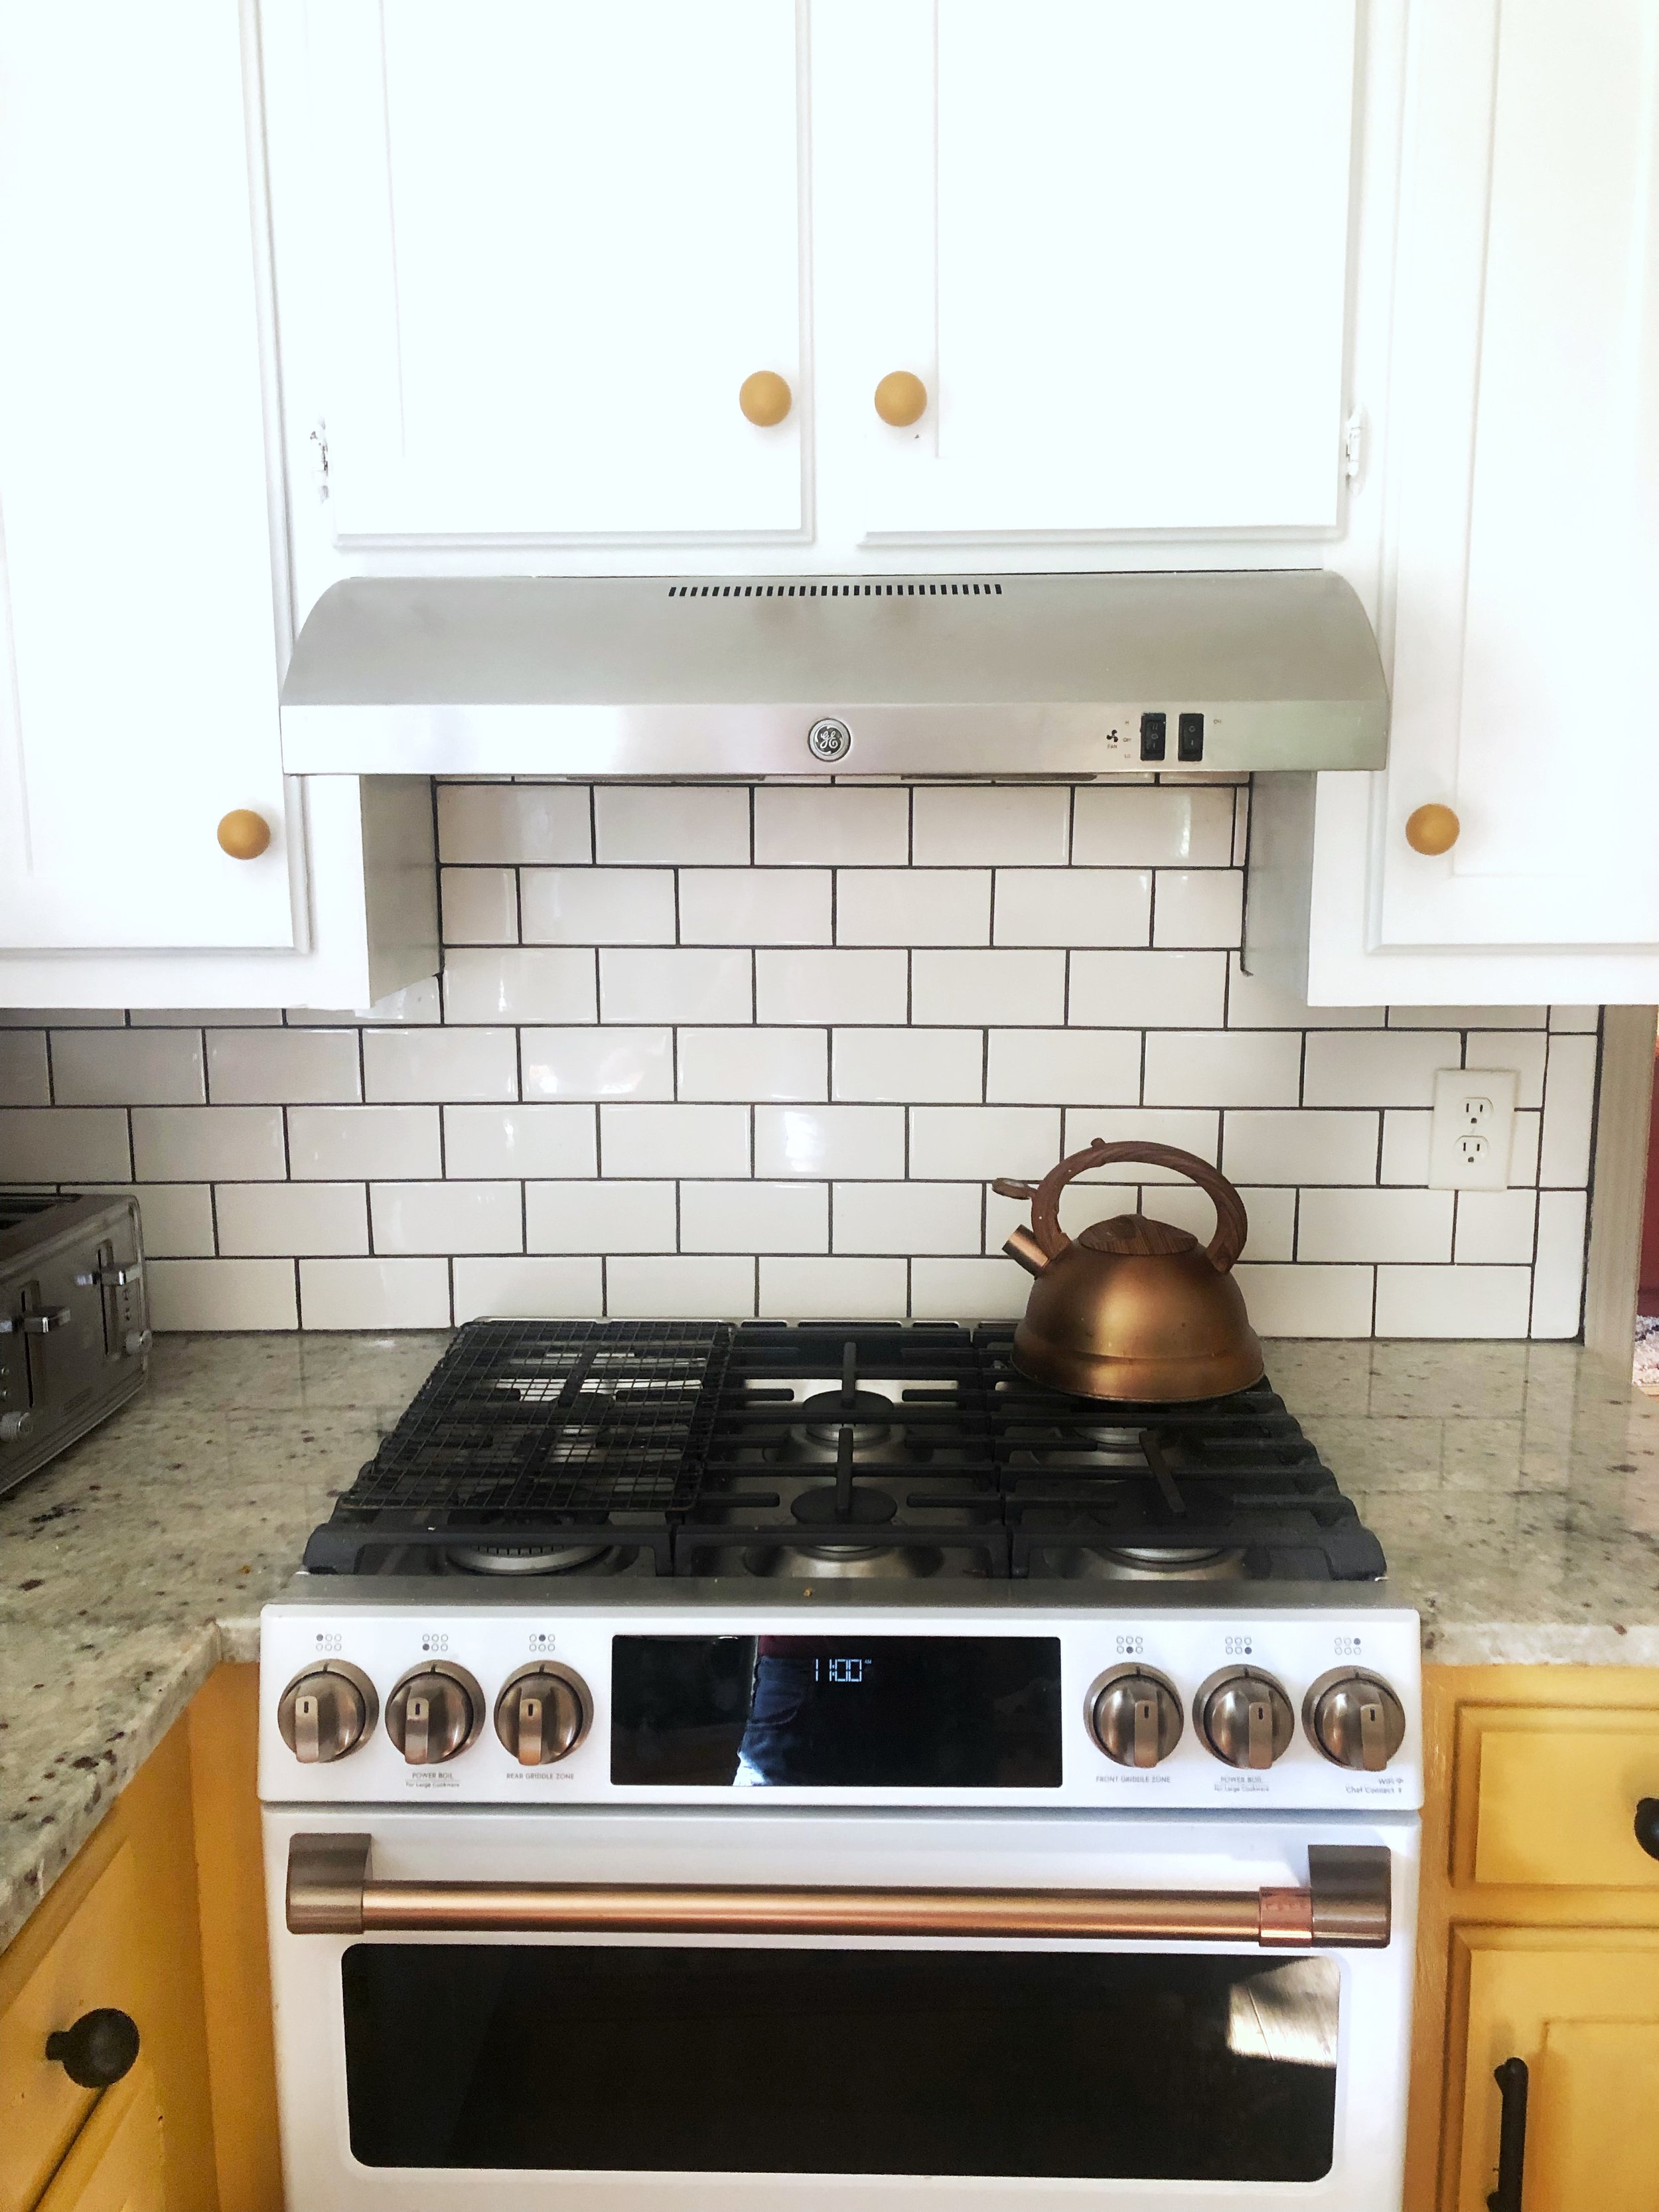
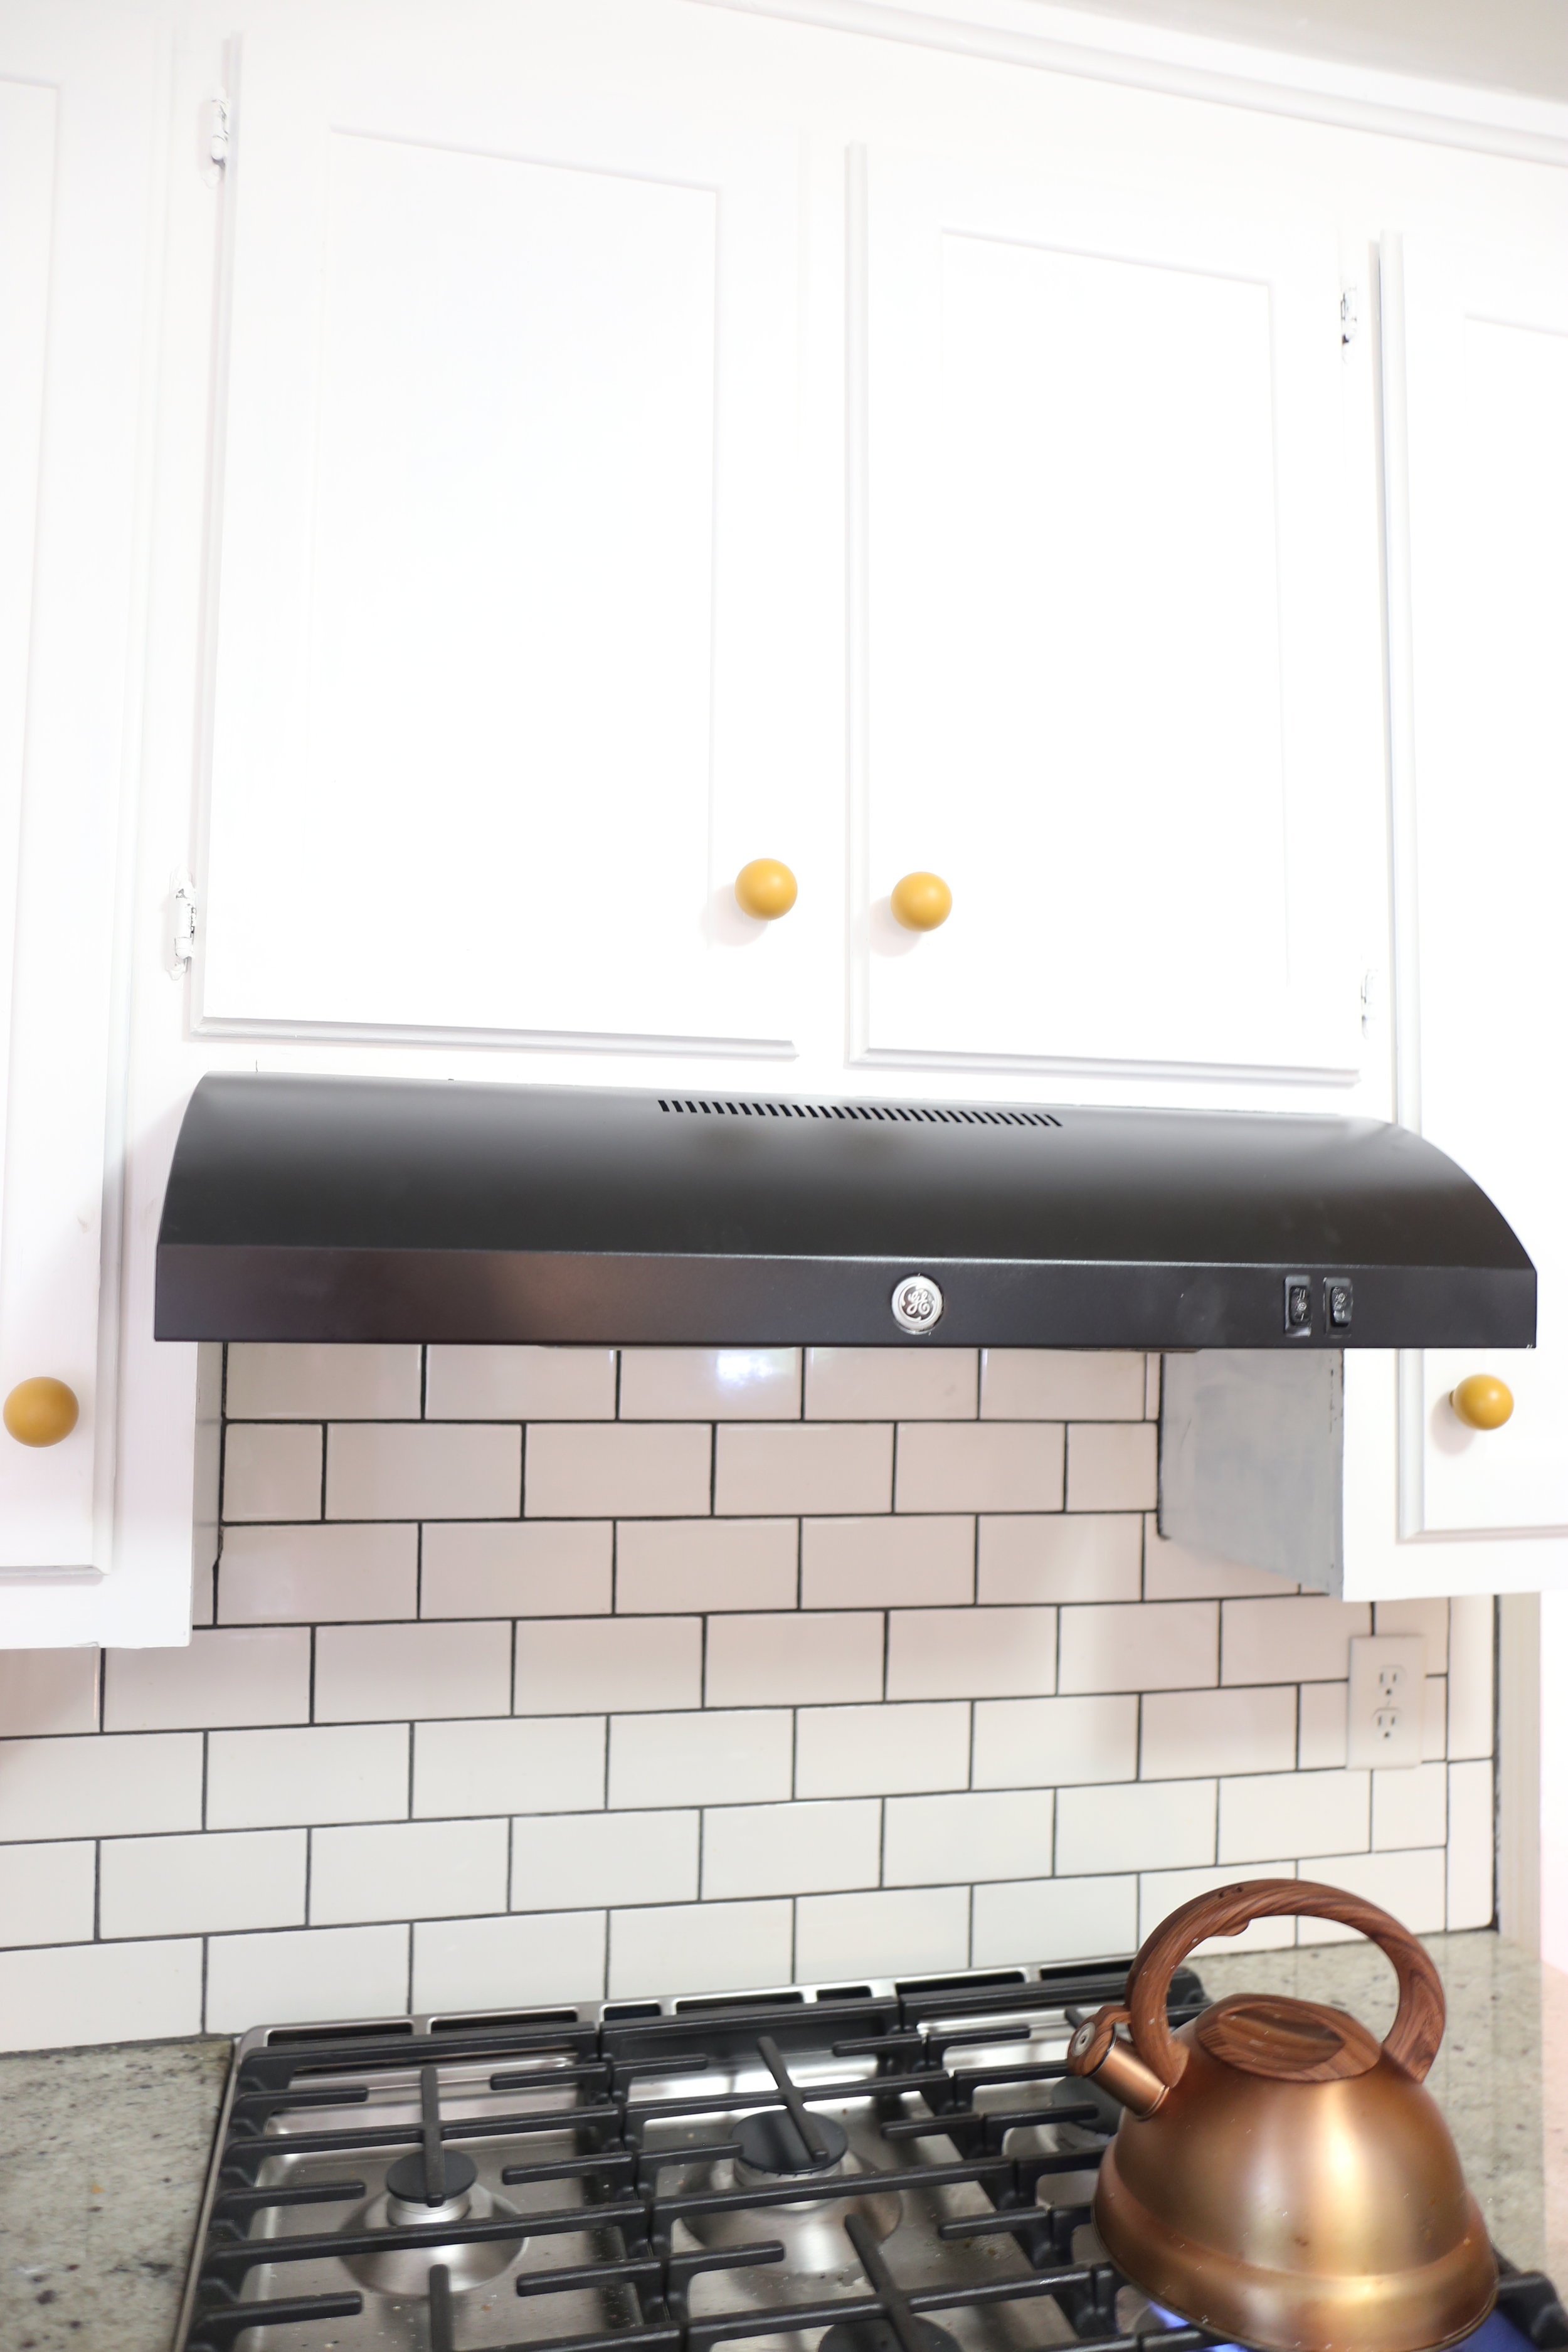
I recently updated all my appliances from stainless steel, to white. However, because of my cabinet situation, I wasn’t finding anything that would fit quite right that I loved. Instead of spending hundreds of dollars on a new vent that was just ‘meh’, I decided to find out if I could spray paint my vent hood black.

Sure enough, it’s actually quite possible, (and easy) to paint your vent hood! I was able to paint mine in an afternoon and even have it reinstalled again after a couple of hours.

Here’s everything you’ll need to know for your own range hood makeover.

how_to_spray_paint_vent_hood.jpg


While I took my vent hood down, it is possible to paint a hood while it’s still installed. If you do, make sure you turn off the breaker connected to your vent so you don’t risk an electric shock. Since I’d be using spray paint, it was just easier to take it down.

spray_paint_range.jpg

Once my vent was in the garage, I did a thorough cleaning with warm soapy water, and let it dry completely. When the hood had dried, I taped off the bits I didn’t want painted with painters tape, and using an exacto knife, cut carefully around each knob so the painters tape covered it precisely.

paint_a_vent_hood.jpg

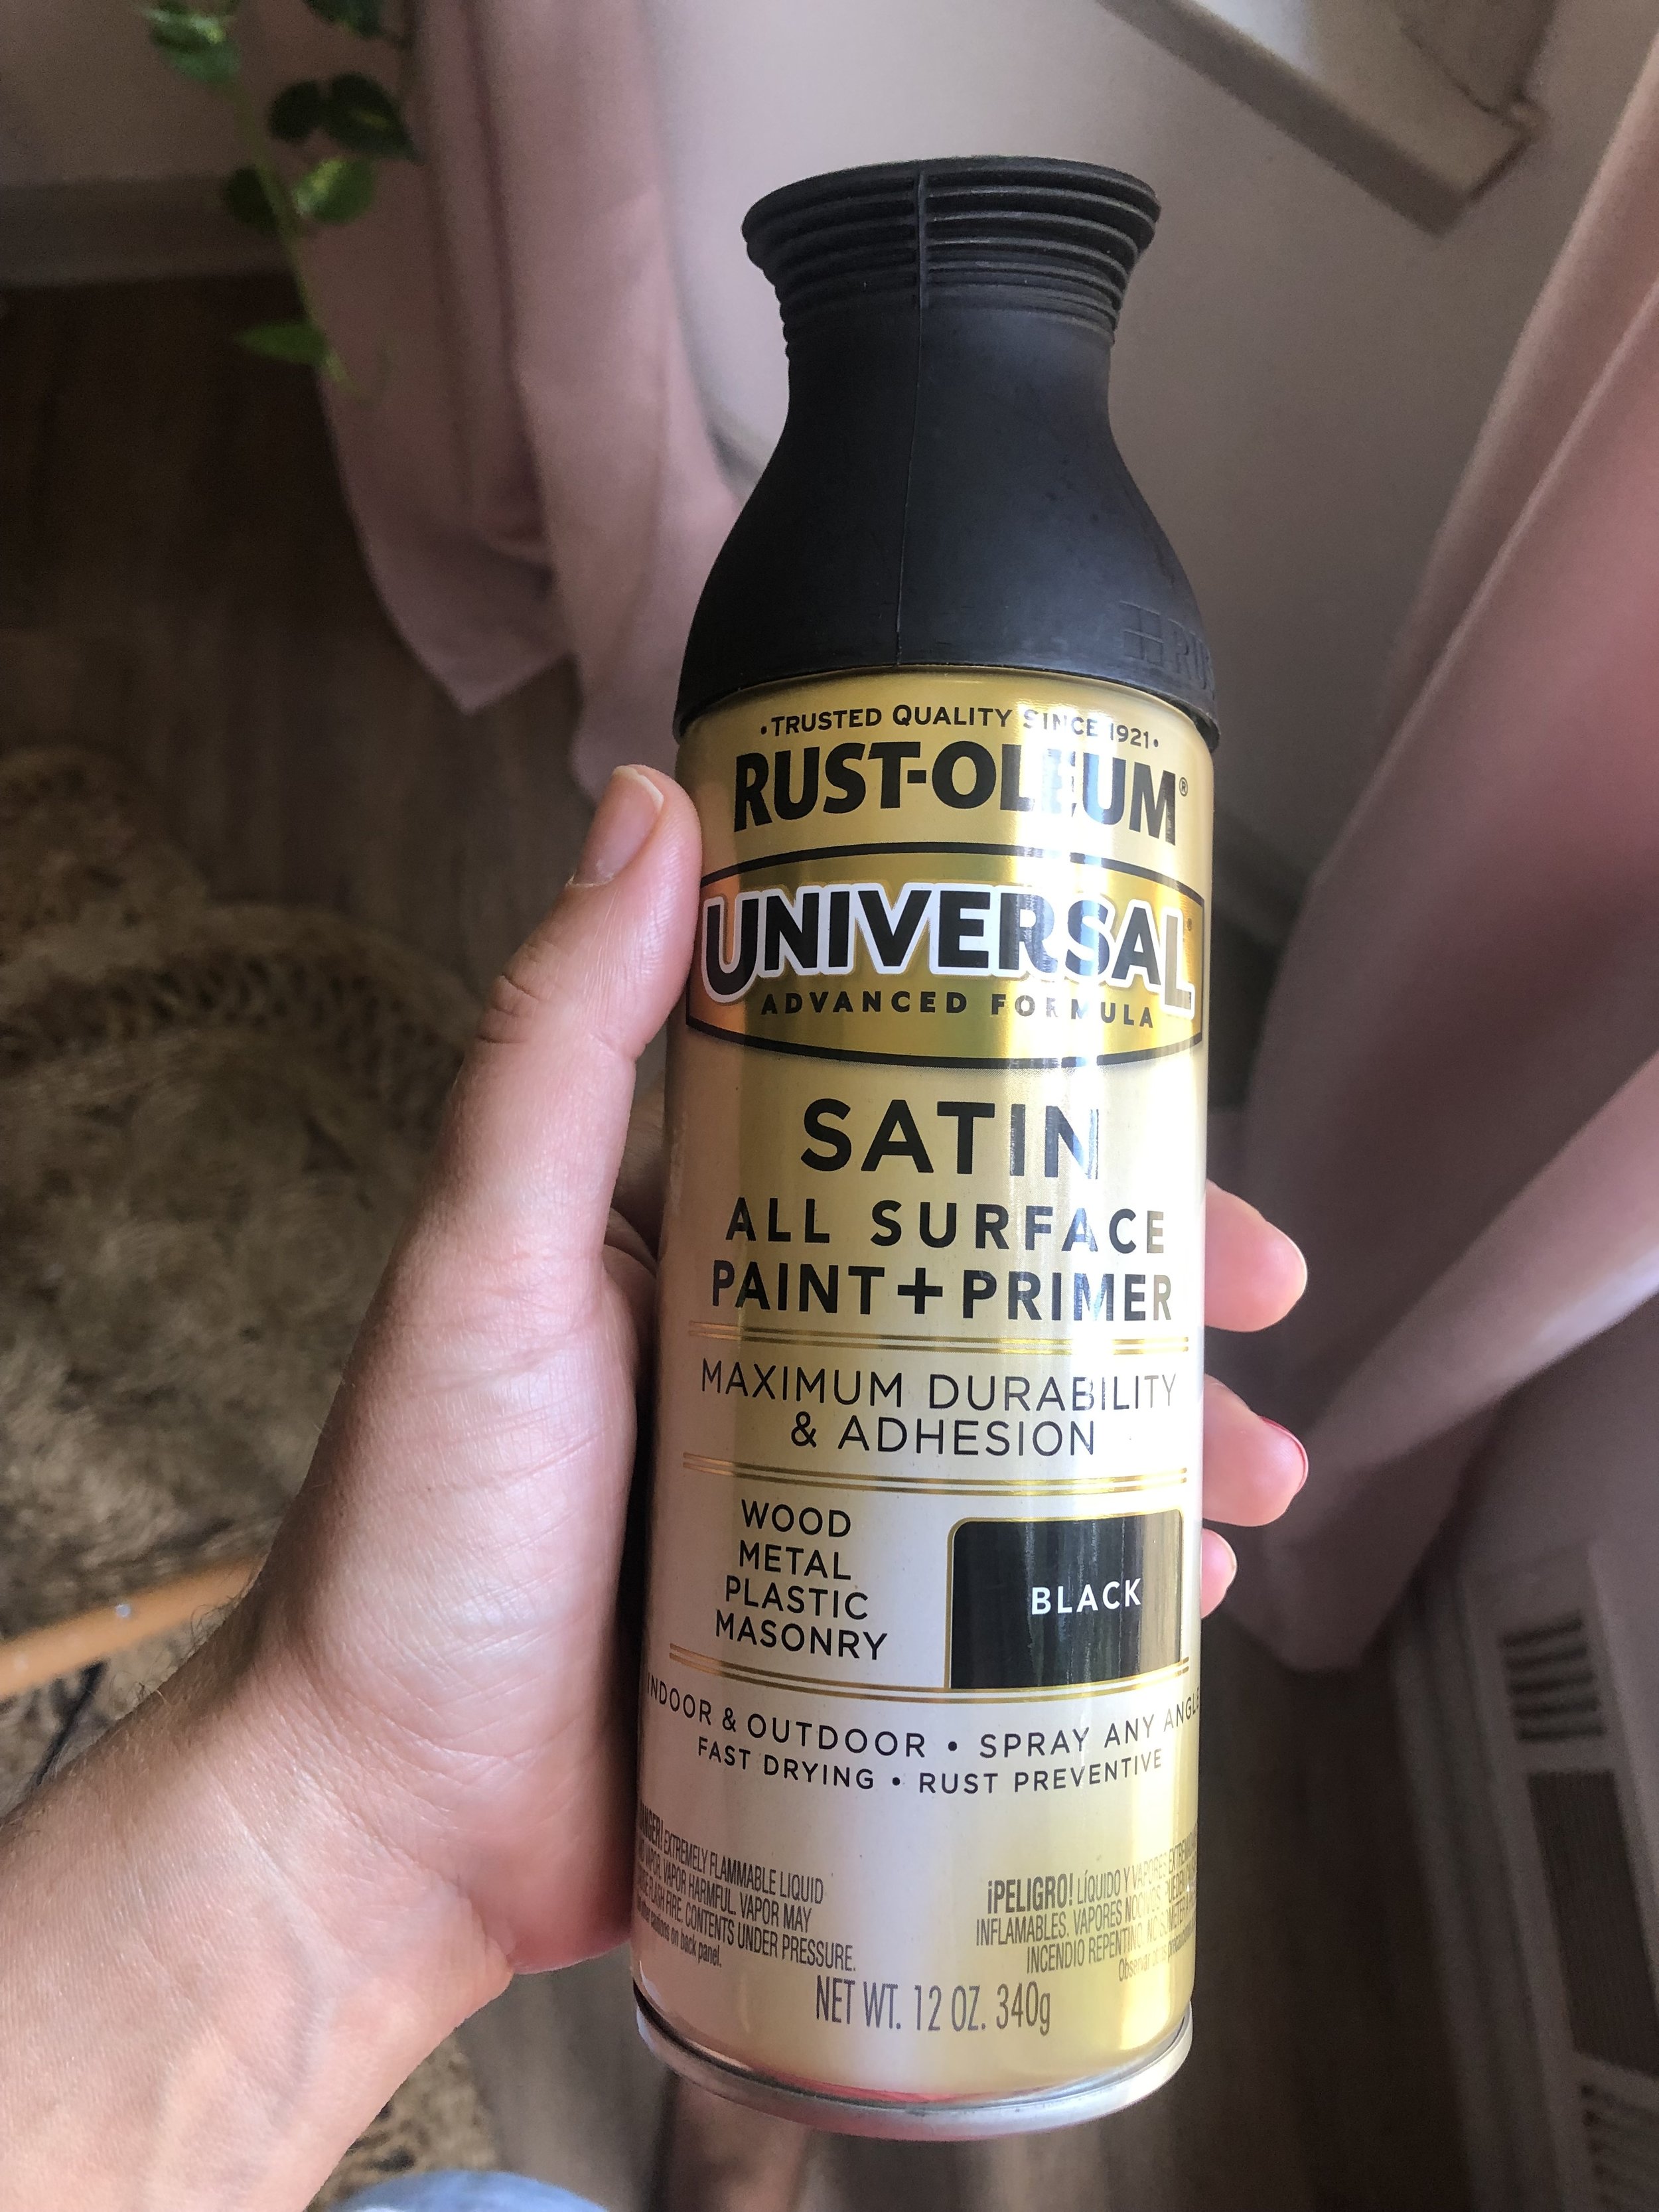
It is recommended to use High Heat Appliance Paint for your vent hood, and I’ll link that here. I talked to quite a few people who used regular paint for metal and said it worked just as well, so I went with that option because I had that lying around. If a day comes when it malfunctions, I’ll come back and edit this blog post to let you know!

Painting_a_vent_hood.jpg

I used THIS paint primer meant for metal, and it went on SUPER smooth and easy. The recommended wait time before recoating was around 30 minutes, so after the first coat dried, I came in with my black spray paint and gave the vent hood four thin coats to cover completely. Each spray paint may have different recommendations of application, so make sure you read the instructions carefully.

can_you_paint_vent_hood.jpg

One mistake I made was spraying one of the coats too thick, which caused the paint to drip on one side. It’s much better to do multiple thin coats then one thick coat.

We were able to reinstall our newly painted vent hood an hour after I applied the final coat. It’s recommended to let the paint on the vent hood dry 24-48 hours before you use it.

can_you_paint_range_hood.JPG


Look how great my spray painted black vent hood turned out!. Such a simple DIY, and WHAT an impact in my kitchen.

painted_vent_hood.jpg

Great to know with just a little effort, it is absolutely possible to give your range hood a color makeover after all!

I want to hear from you, would you ever paint your range hood? Drop me any comments or questions below!

xo

Jodi

Interested in discovering more DIY’S?

How to Replace Old Carpet on Stairs with an Inexpensive Runner.

10 Creative Ways to Decorate a Wall Without Using Framed Art.

How to Build an Inexpensive Desk in Around 15 Minutes.


Easy DIY Bench Tutorial

Want to know how to build an easy bench in about 15 minutes? Read below to find out how to build the easiest hairpin leg bench.

Read More

10 Easy Ways to Decorate a Large Wall (without using Framed Art)

10 EASY WAYS TO DECORATE A BLANK WALL (Without using framed art)

I don’t know about you, but the thought of “What do I put on a large wall?” can be overwhelming at times.   I’ve comPILed a list of 10 Easy DIY Wall art Projects that anyone can pull off. So Start Reading and say goodbye to blank walls forever.

10 Wall Decorating Ideas:

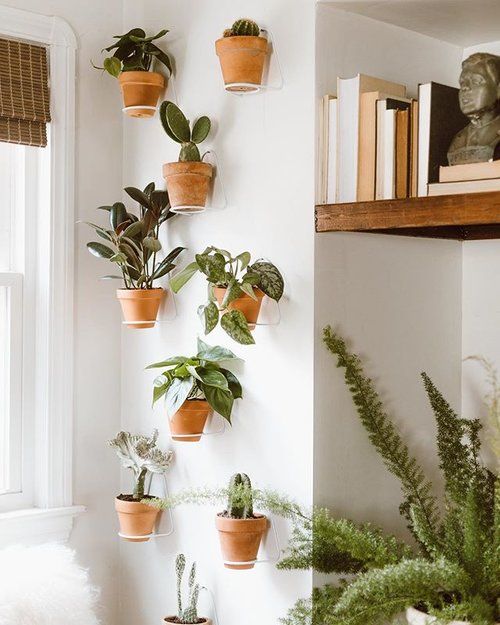
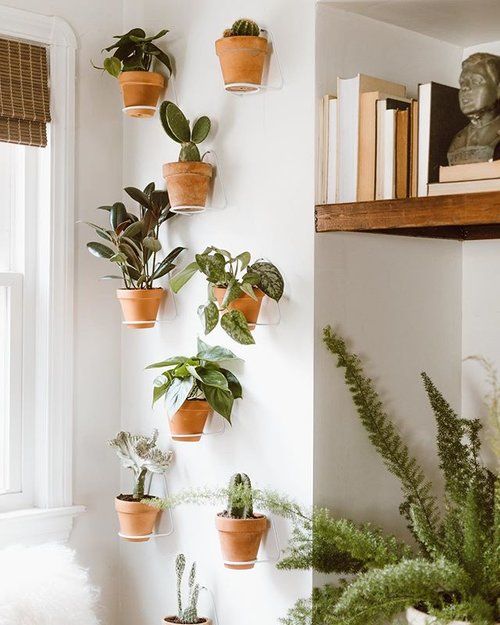
  1. Decorate your wall with Plants:

how to create a living wall — FORTHEHOME.jpeg

There are so many ways to incorporate a living plant wall, ranging from full blown built in’s, to hanging simple planters.   I love how Christine from @_forthehome decorated her walls with simple terra-cotta pots.  You can read her entire process HERE. This is such a beautiful way to cover a blank wall.  If you nervous about keeping so many plants alive, don’t be shy about using faux versions, there are so many realistic looking ones to buy these days.

2. Make a statement wall with a statement

DIYHomeDecor.jpg

The home decor world has gone through a few iterations of the classic letter board.  I love this oversized version from Alexi over at SeekingAlexi.  This X-large letter board is perfect for decorating a large wall in one shot! You can get a closer look at that awesome letter board on Alexi’s Blog HERE!

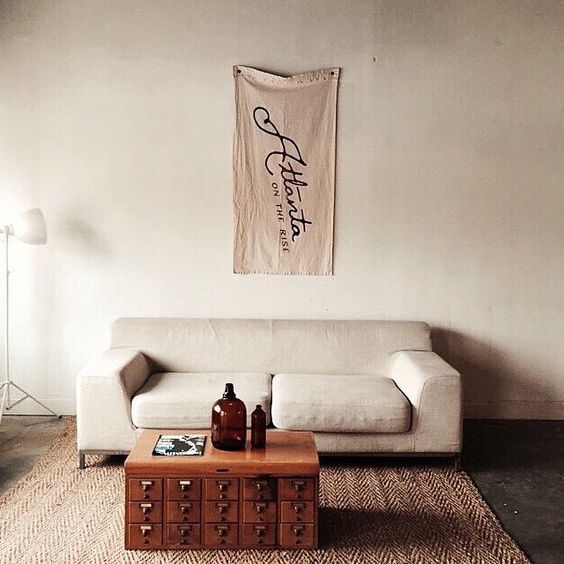
3. Fill a Blank Wall with a Flag

atlantaflag.jpg


There are so many cool flags to be found out there. Etsy is full of customizable options! I love this one HERE from Wild Standard, but using a vintage flag would be just as gorgeous. Some of the authentic flags are quite large so you could cover a large area with one of those. I’d love to find a vintage State flag to hang in my living room at some point.


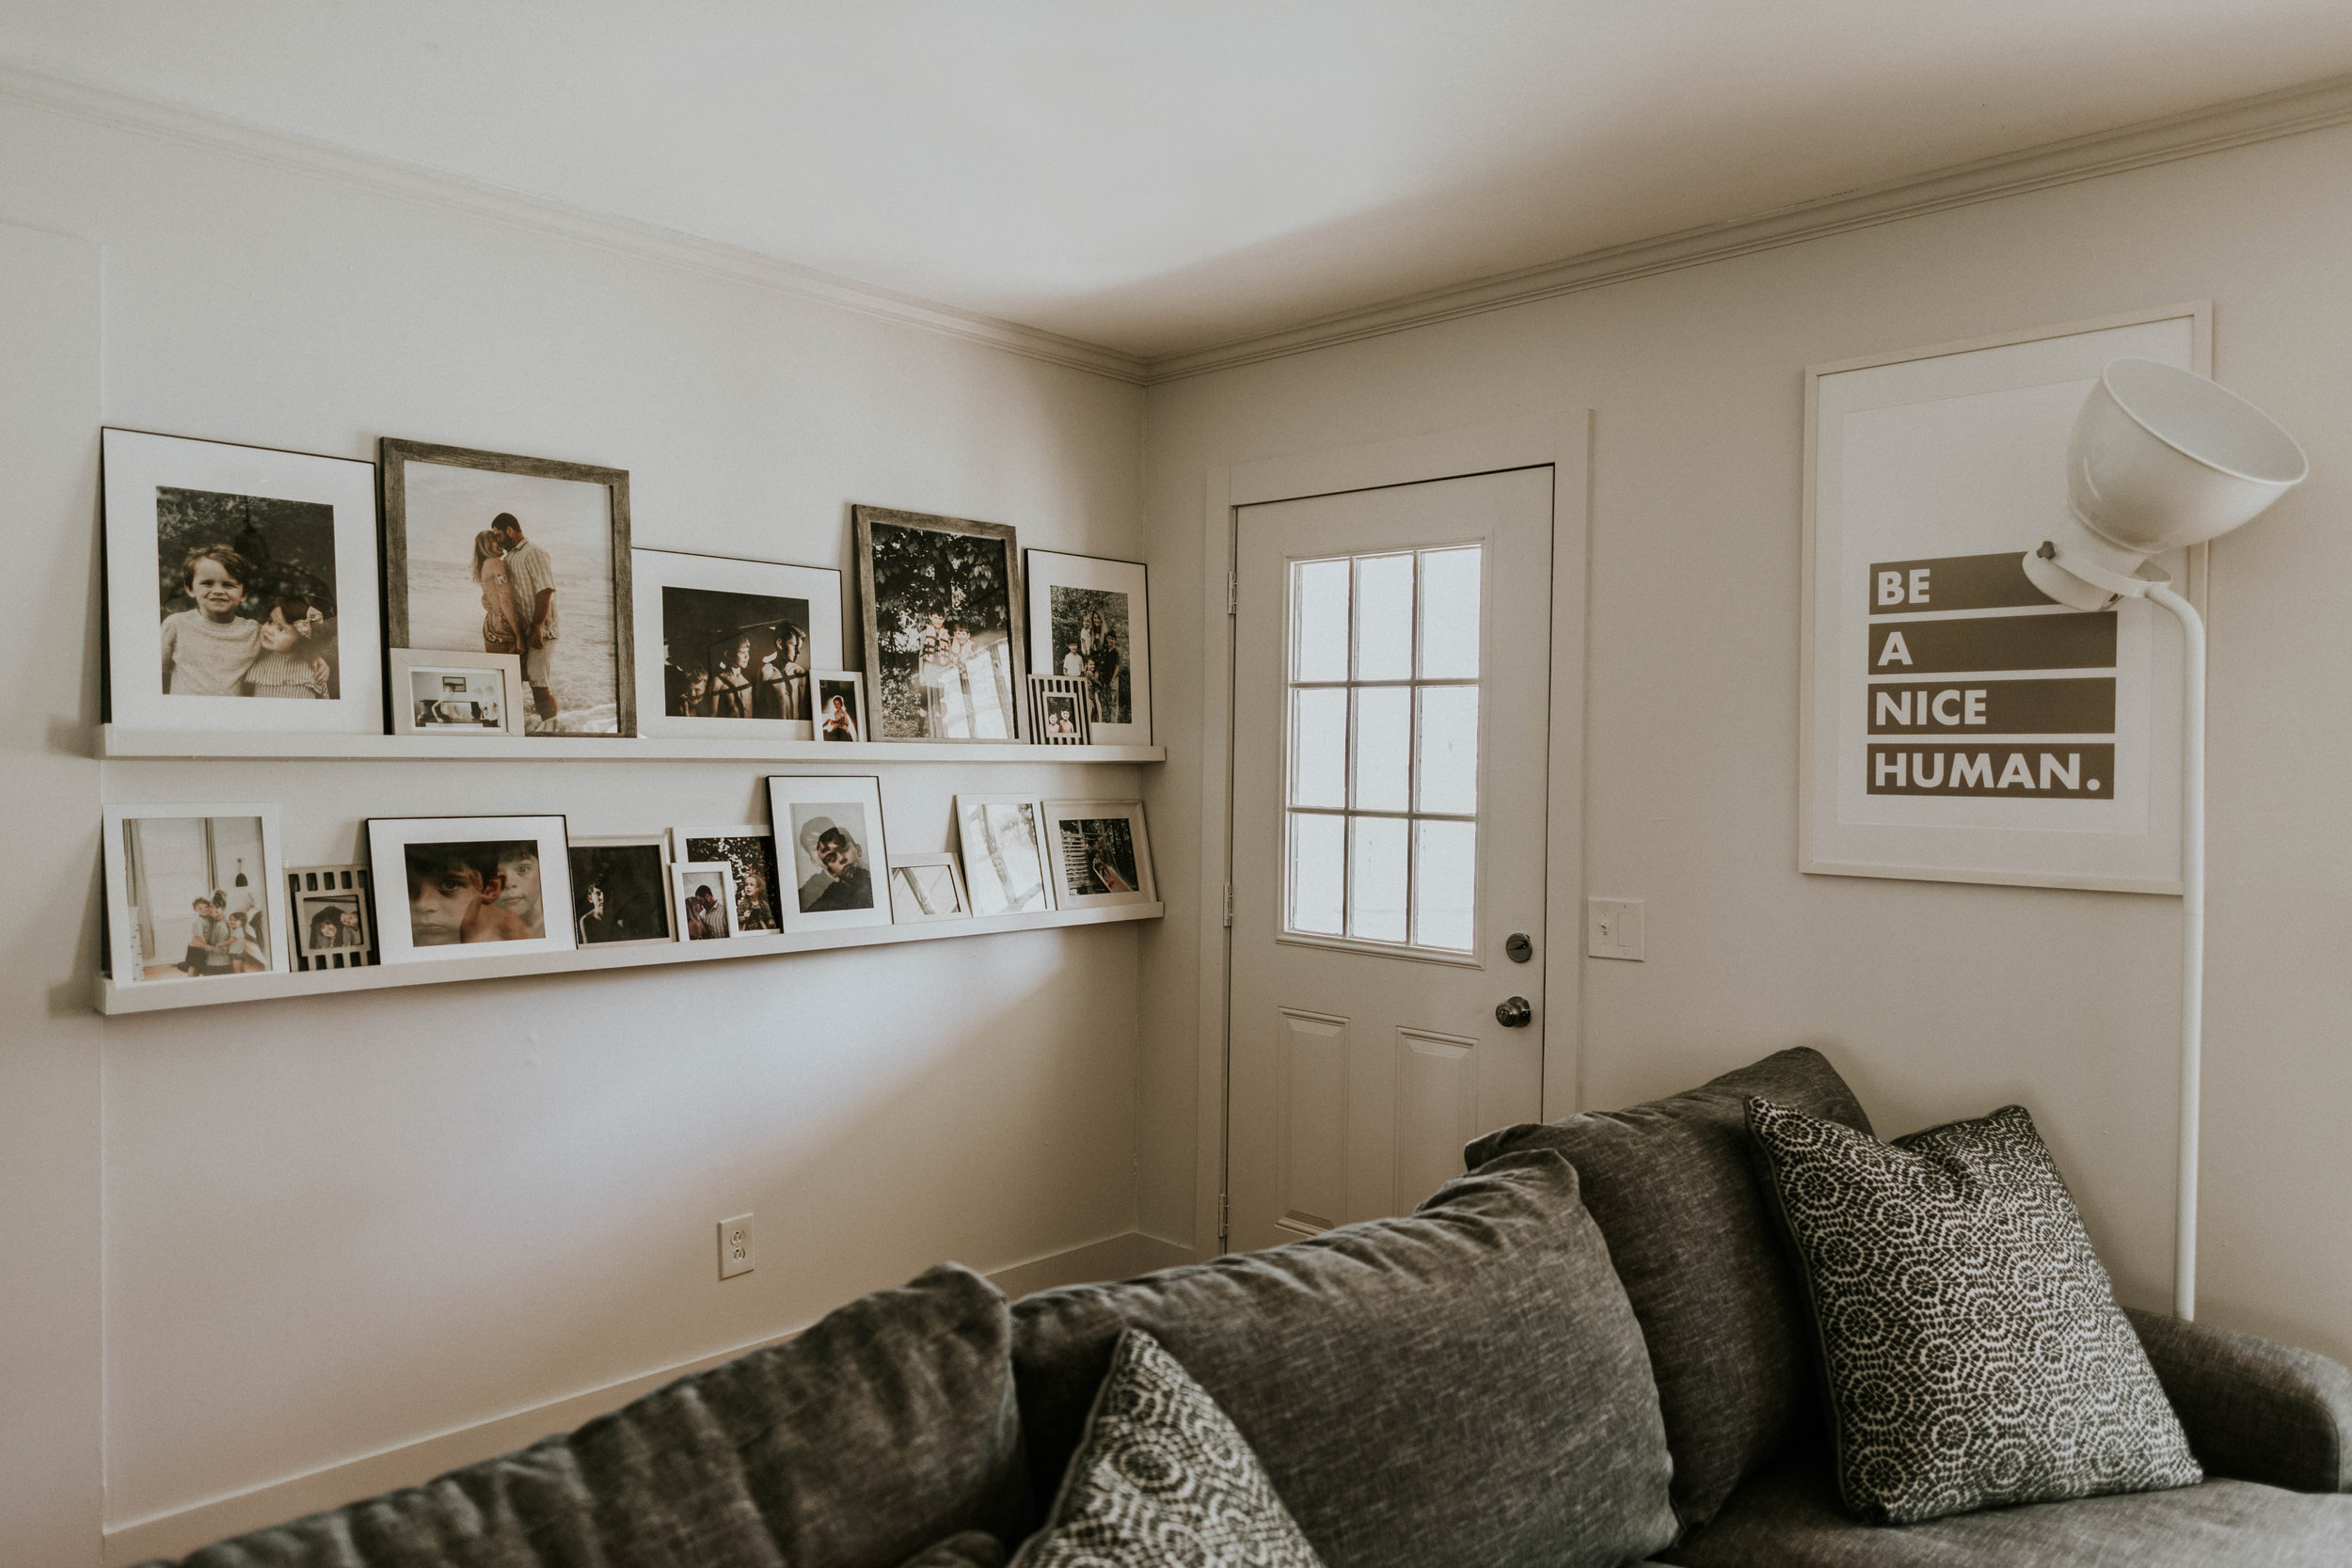
4. Decorate a blank wall with a DIY photo ledge (or Two)


HowDoIDecorateALargeWall.jpg

Okay, Okay, so technically this still incorporates using framed art, but the addition of the photo ledge gives some super awesome structure and interest. Depending on how long you make your ledge, this is a really easy way to cover a large wall. Bridgett from This Minimal House has a great DIY on how to make your own Photo ledge. You can read all about it HERE.

5. Decorate your wall with hats

WhatShouldIHangonMyWall?.jpeg

Have you been seeing this trend everywhere like I have? So fun and easy.  You can buy a simple hat rack from amazon, or do what I did in my bedroom and throw a couple nails in the wall to hang your hats on.  Use just a few hats like Sara Mueller did here, or cover your entire wall with hats! Both are equally stunning. Decorating your wall with hats is not only super cool and easy, it’s also practical, so there you go!


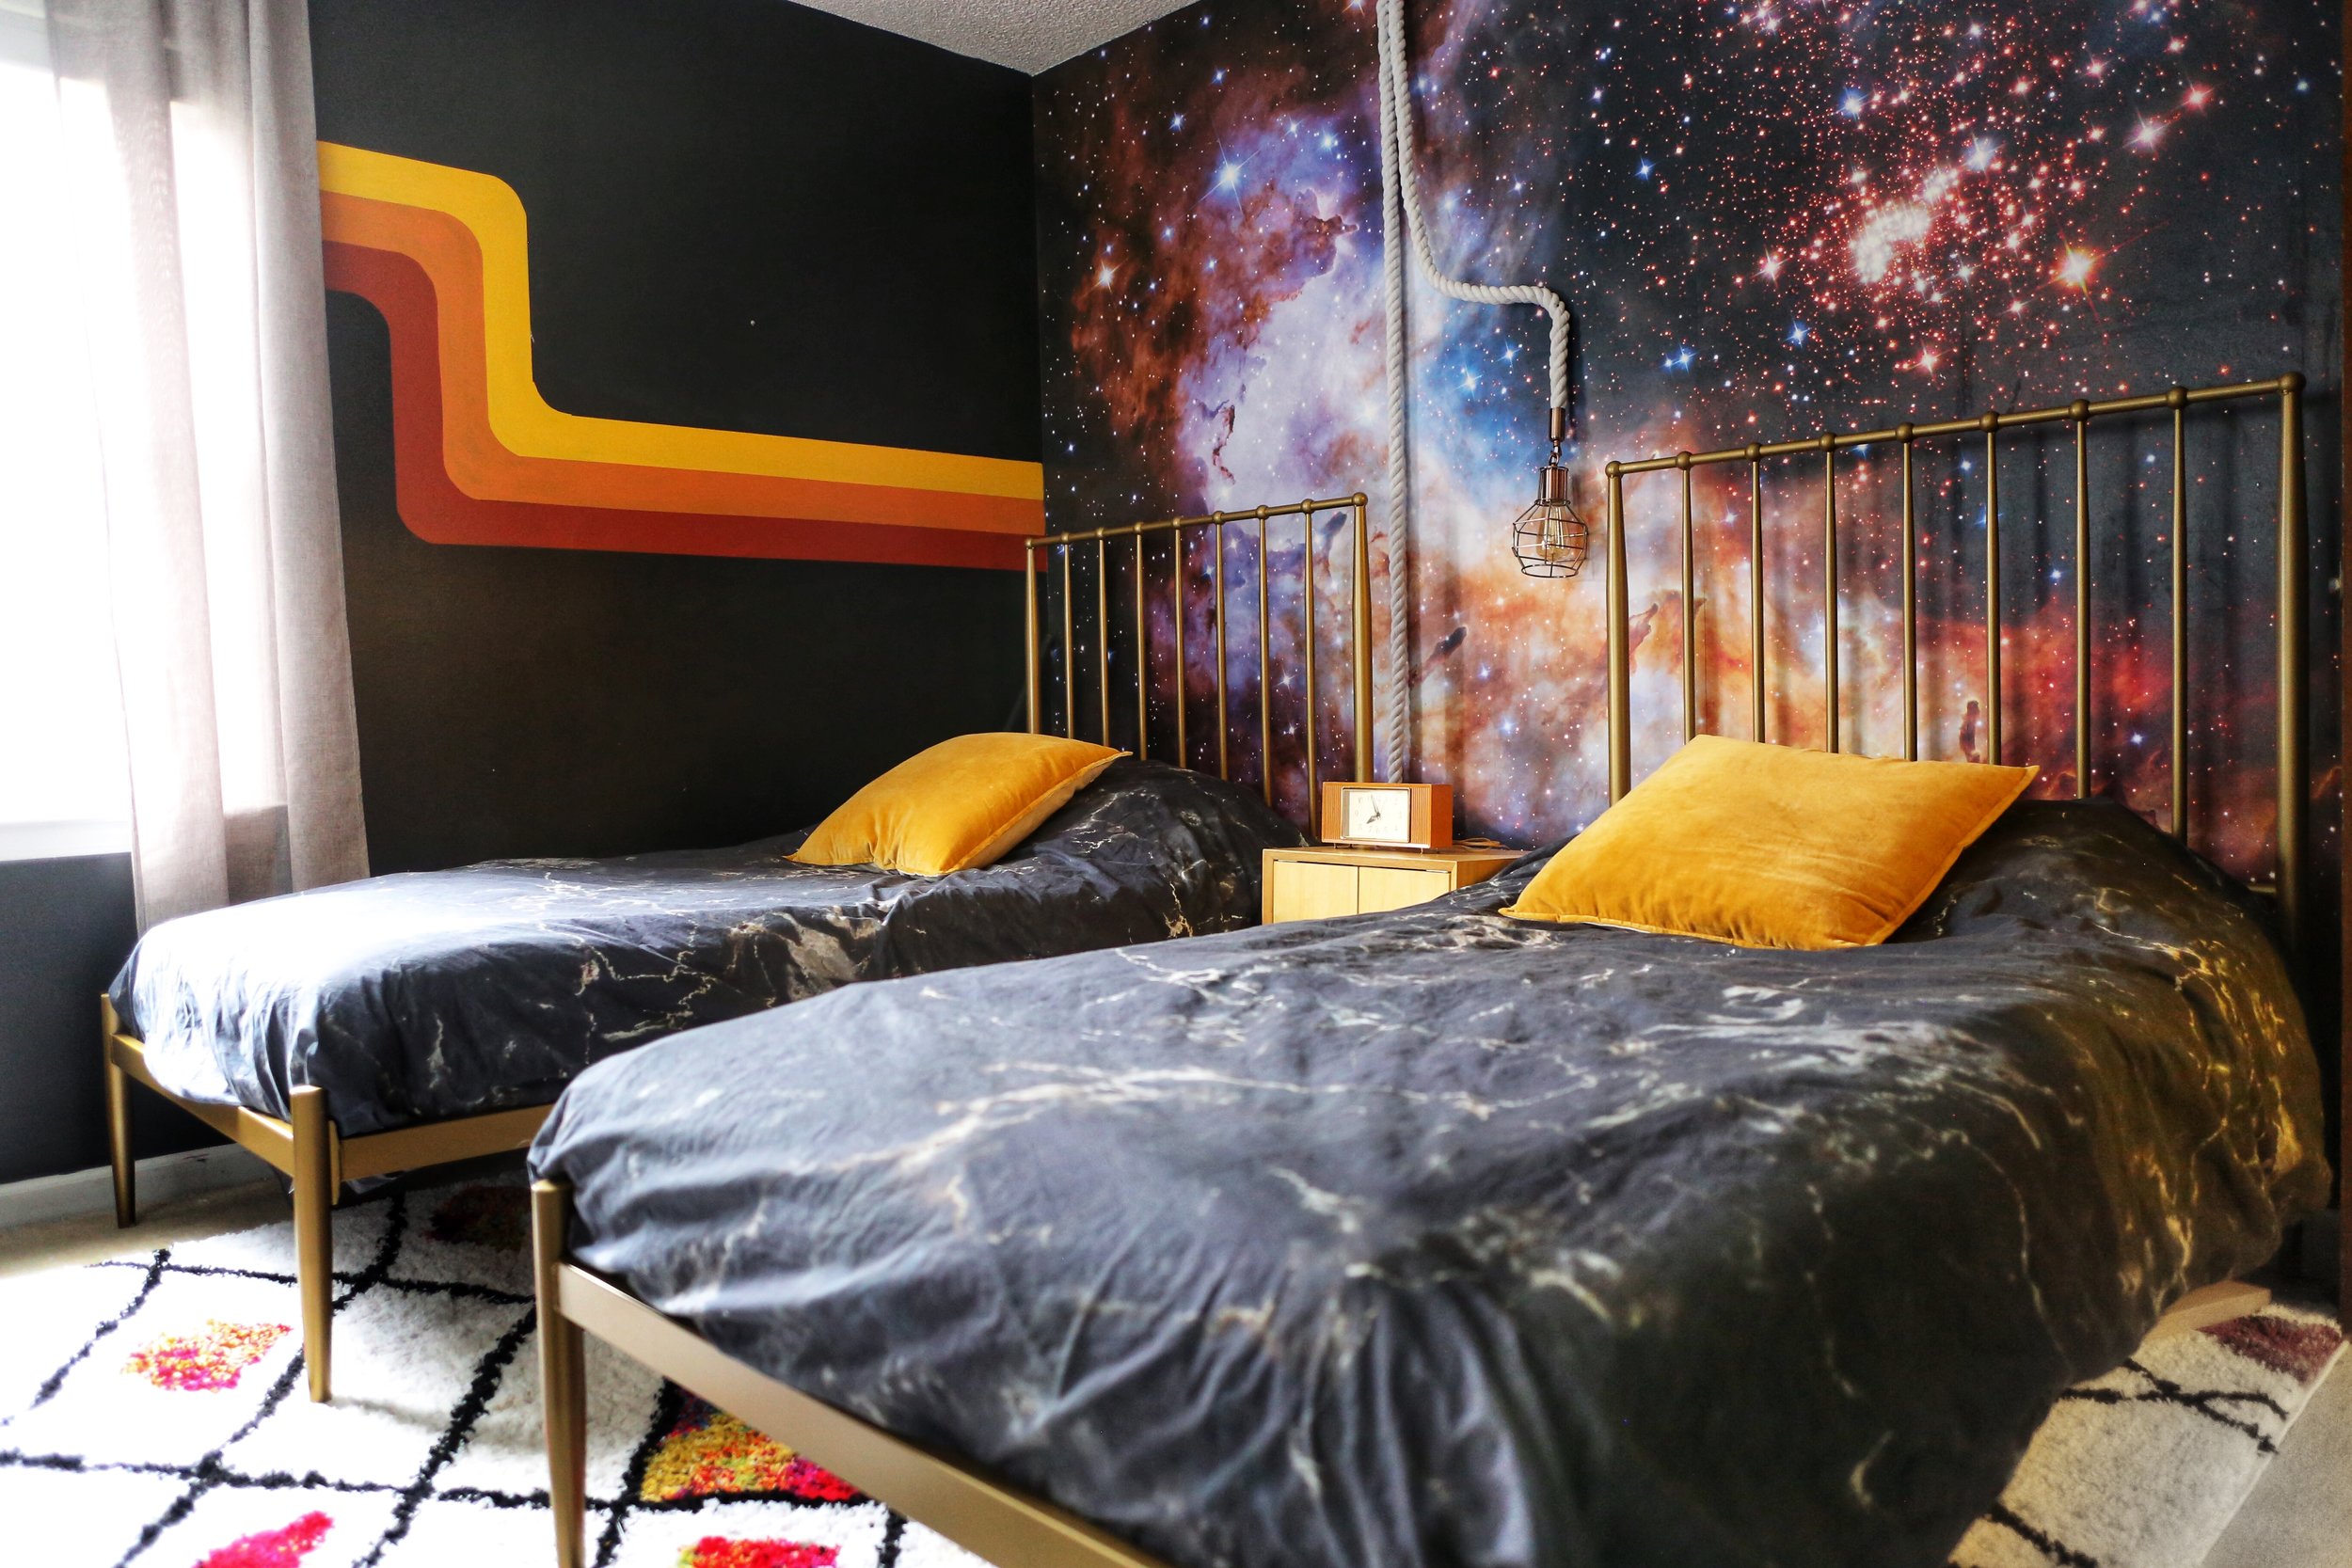
6. Paint a Wall Mural


diywallterazzo.jpg


Painting a Wall Mural is a fun way to transform an entire wall into a piece of art in and of itself.   There are so many amazing versions out there. Recently I painted this accent wall in a terrazzo pattern.  You can read all about the process HERE.   Painting your wall is an easy DIY wall art project that will really make an impact.

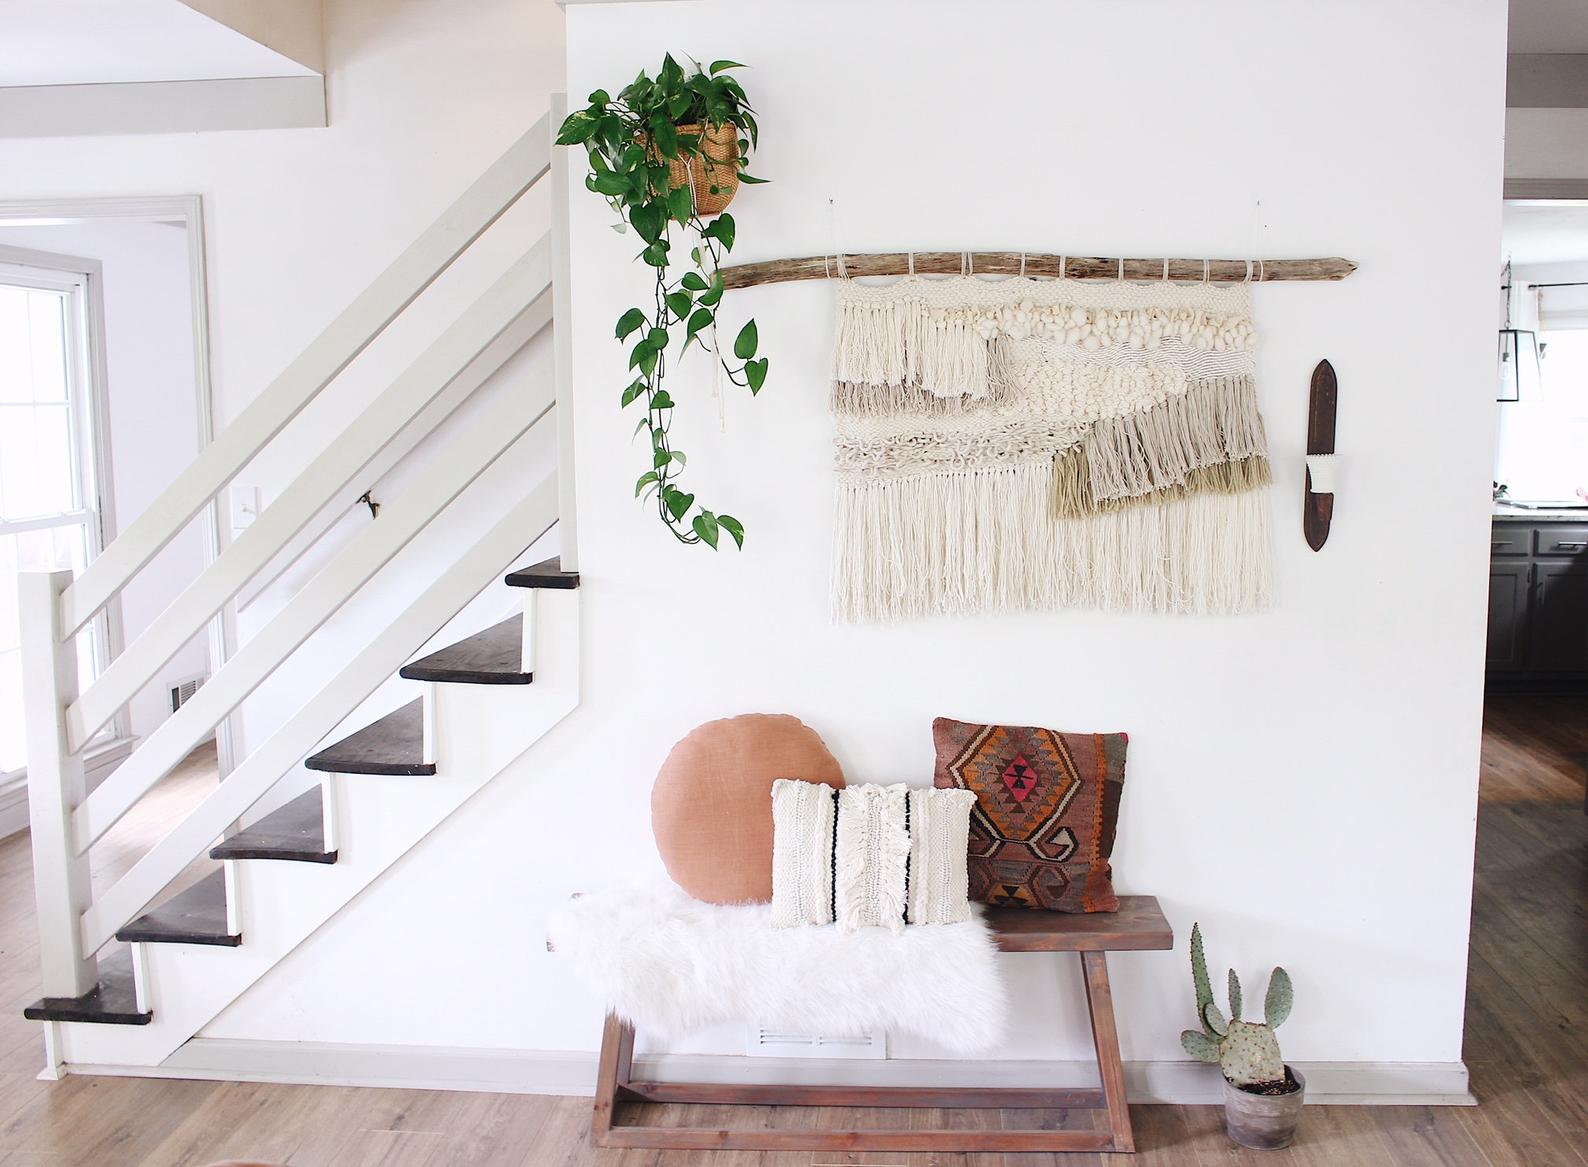
7. Decorate your wall using Macrame

DIYWallDecorations.jpg


Whether you purchase on Etsy, or make your own, the options are endless when it comes to macrame and weavings.   Fill in a corner of your wall, or make the macrame the focal point of the wall.  Either way, I’m still loving this breezy boho trend. The beautiful weaving you see here was made by my friend Happy Mountain Designs

8. Use washi tape to hang photographs 

Image Via Domino

Image Via Domino


For an easy wall decor DIY, hang your photos or prints on the wall using colorful washi tape.  I love how unexpected (and also temporary) this wall solution is.

9.  Decorate a large wall with a mirror collage

Image VIA House Beautiful

Image VIA House Beautiful

If you want to make a dramatic impact, try collection vintage mirrors and displaying them together to create a gallery wall.  An added bonus is that as the mirrors reflect light, they create the illusion of a larger room.

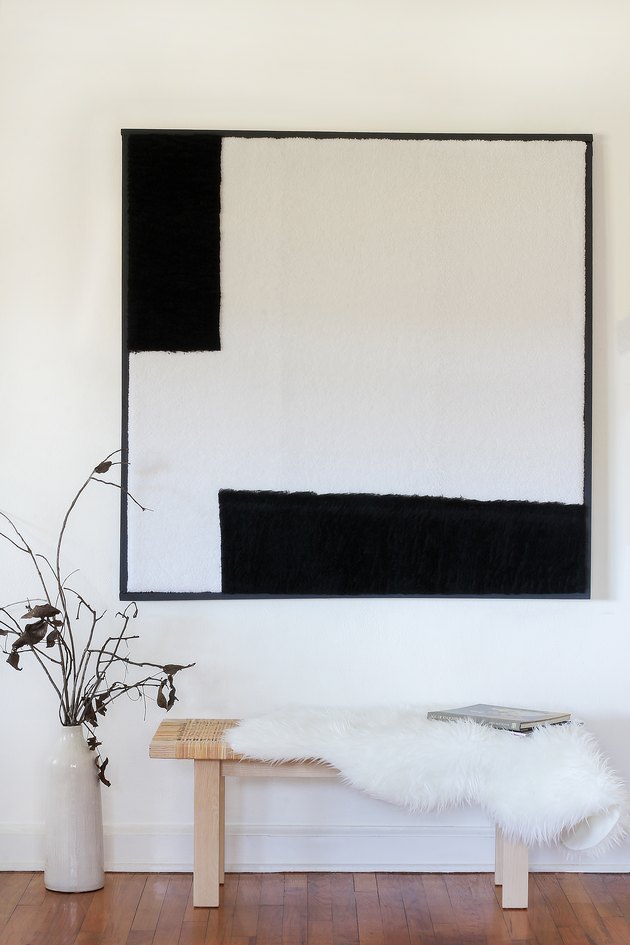
10. Frame fabric

fabric wall hanging.jpg

Another way to Decorate a large wall is to frame fabric. You could use a vintage piece, an authentic Batik, or try this simple DIY Mixed Media Art from Hunker Home.


I hope this article gives you some ideas of where to start next time you’re faced with that blank wall syndrome. Or maybe it’s sparked you own ideas of how to cover a large wall? If so, drop me a line below! I’d absolutely love to hear!


Interested in more decor ideas from House on a Sugar Hill? Here are some articles other readers have found interesting…