Living Wall Tutorial
When it comes to decorating a house, filling the walls with art and special things can become overwhelming. It’s easy to get into a rut of repeating the same types of displays over and over again (gallery walls anyone?).
For the accent wall in my living room I wanted to do a little something different, and a living wall seemed like the perfect option!

Some things to consider before deciding whether or not a plant wall is right for your home is whether the space gets amply natural light, and if you have the ability to keep those little plant babies alive. If you answered no to either of those questions, while a living wall might not be the best option for you, you could always do a version using faux plants. Hobby Lobby has a great selection of realistic faux plants that would look just as beautiful but with zero maintenance.
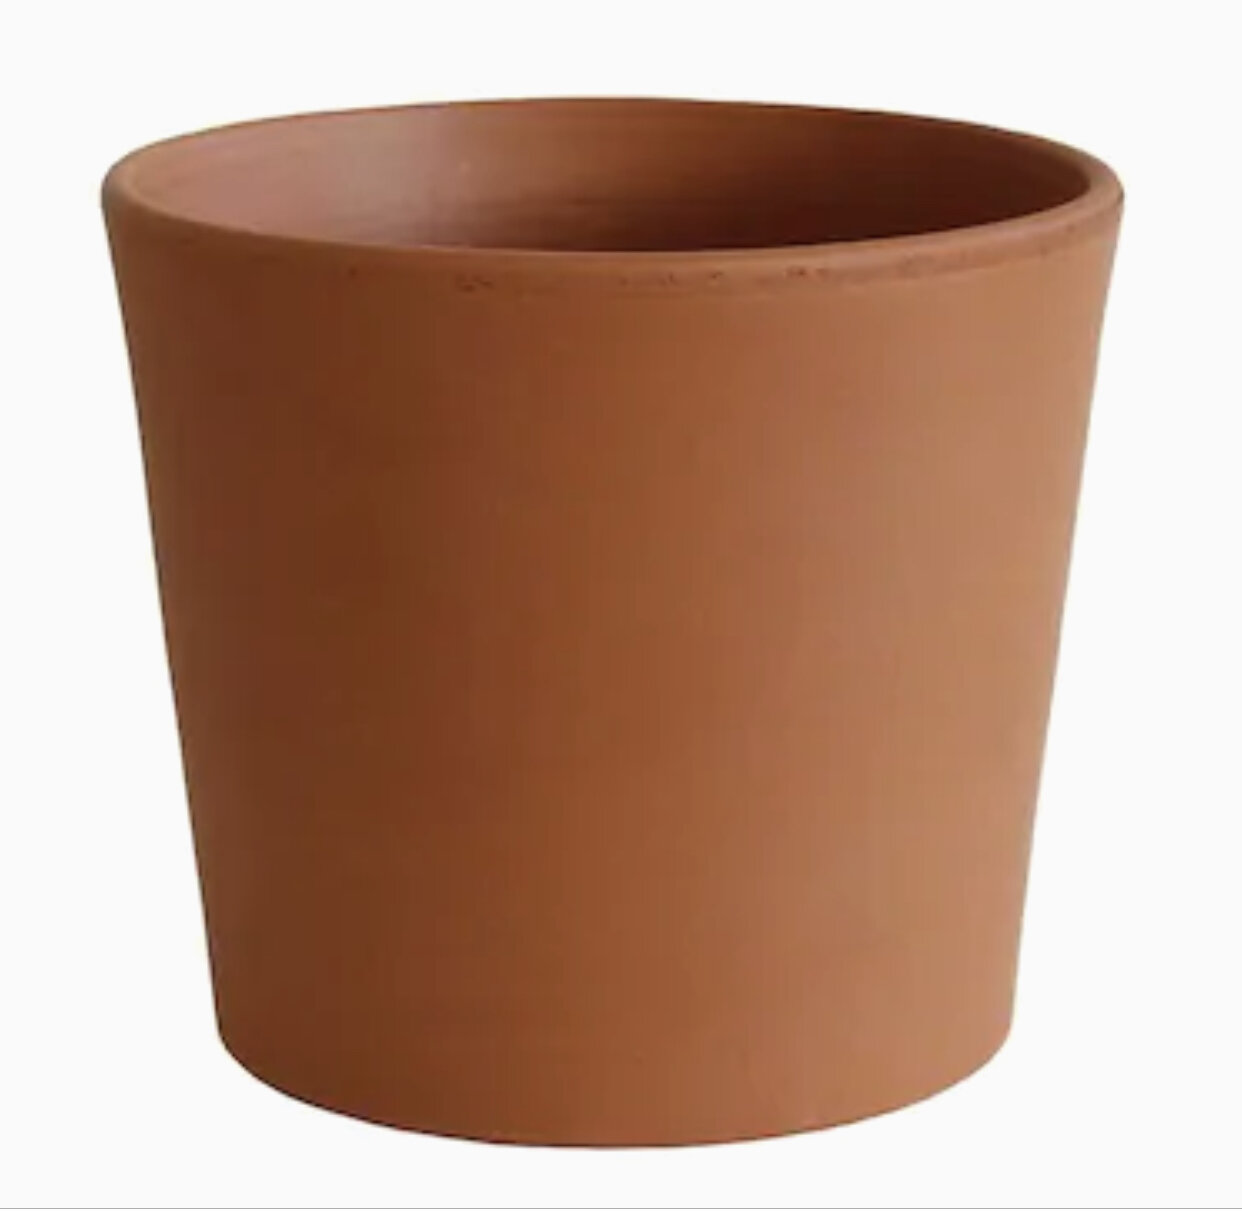
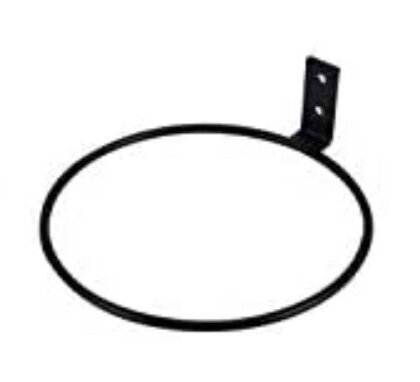
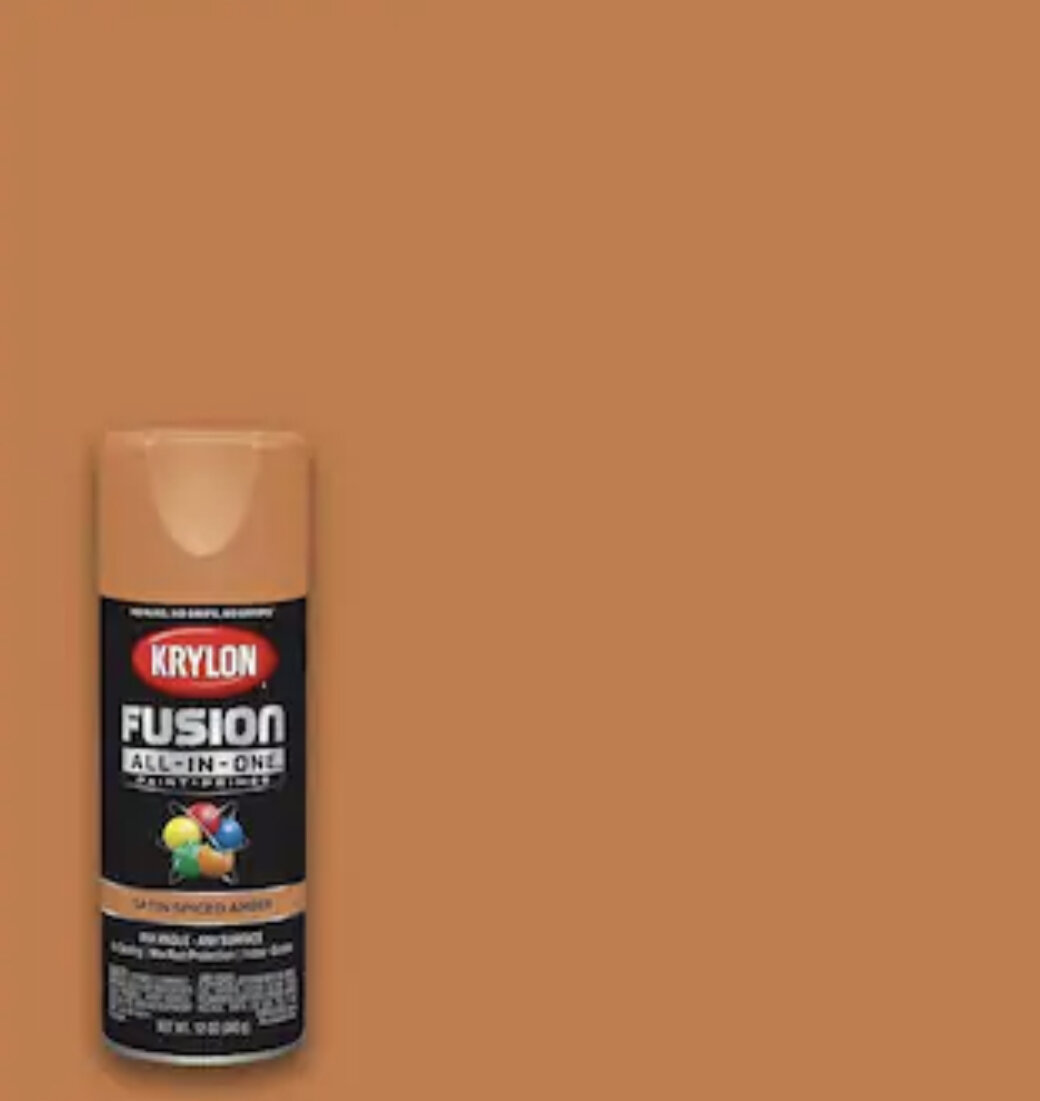
I’ve listed the supplies I’ve used below, but feel free to make this project your own, experimenting with different pots, sizes, or placement. The sky really is the limit with the different looks you could go for here. I decided to paint my planter rings in a matching color to my pots for a more minimalist look. I used Krylon’s Satin Spiced Amber and it was a perfect match.
SUPPLIES:
TOOLS:

Once you’ve decided on the size and placement of your planters, use your level and make sure all your markings are level and the correct distances apart. Then it’s time to install sturdy anchors to support your planter rings.
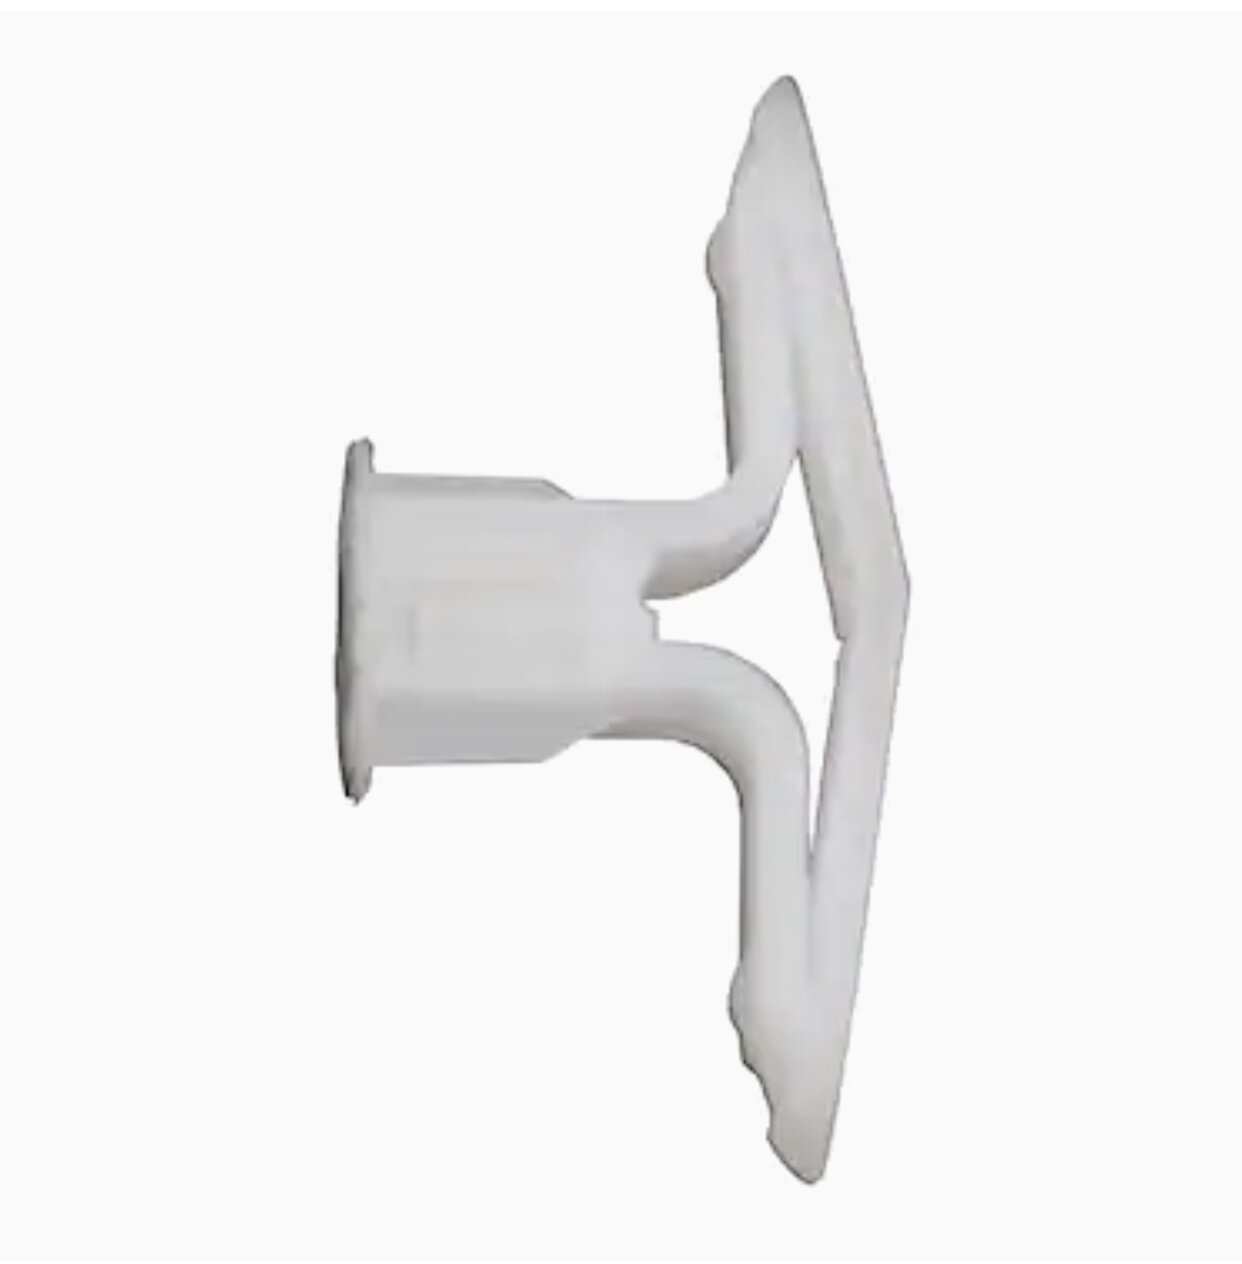
Unless you’re screwing the planter rings straight into a 2 x 4 behind the drywall, you’ll need to install a drywall anchor first. The last thing you want is a potted plant falling from the wall and breaking to pieces leaving broken pottery and dirt all over your floor.
My favorite anchors are these Toggle anchors. They are incredibly easy to install and are super sturdy. Using your drill and a 5/16 -inch drill bit, drill a hole in the drywall where the top screw will go into the ring. Next push the anchor into the hole. Using the red pin that comes with anchor, tap into the center hole with a hammer. The flaps of the anchor will expand behind your drywall, creating a sturdy hold for your screw. Now you are ready to screw in the planter rings. Because the particular anchors I choose hold enough weight, I only installed one per planter. You of course could do both holes, although I find that sometimes it’s hard to line the anchors up perfectly and it can leave a crooked ring. Instead I just drove a long screw in the second hole and called it a day!
Once all the anchors were in, before I actually installed the rings, I last minute decided I wanted my project to have a bit more pizzaz! Using chalk I traced out a simple wall mural, then painted it using paint I had in the basement from previous projects.

The colors I used are as follows, top to bottom: Florentine Clay by Valspar, Peach Maison by Sherwin Williams, Warm Beige by Valspar, and Honeycomb by Sherwin Williams.

Once the planters were installed, finishing my living wall was as simple as screwing in the planter rings and popping in their corresponding planters.
Since my planters have holes in the bottom, I’ve kept my plants in their original plastic containers. This makes them incredibly easy to pop out and water in the sink!
I’m loving the whole feel my new living wall had added to my living room! I love the way the terracotta pots seep up the water after I’ve watered the paint and look like pieces of watercolor art! And I’m loving how incredibly easy this DIY was.
Until next time!
Jodi