I remember the day I naively suggested to Tim that we tackle the kid’s bathroom remodel over the weekend. In my mind the project would be a hefty week’s project at most. Oh innocent me. I had truly no idea what an undertaking a bathroom remodel would be!
Here we are, 2 months later, and I can proudly say through my exhausted smile that we are finally finished. I am not exaggerating when I tell you that we had trouble at every turn. Every single turn. But we pushed through and have learned so much! Let me give you a tour!
Our bathroom was original to the house, not seeing any updgrades since it’s 1980”s builder grade beginning. Outdated fixtures, a yellow tinted plastic shower and tub combo inset, dark brown trim, and stained grout graced our bathroom desperate in need of a refresh!

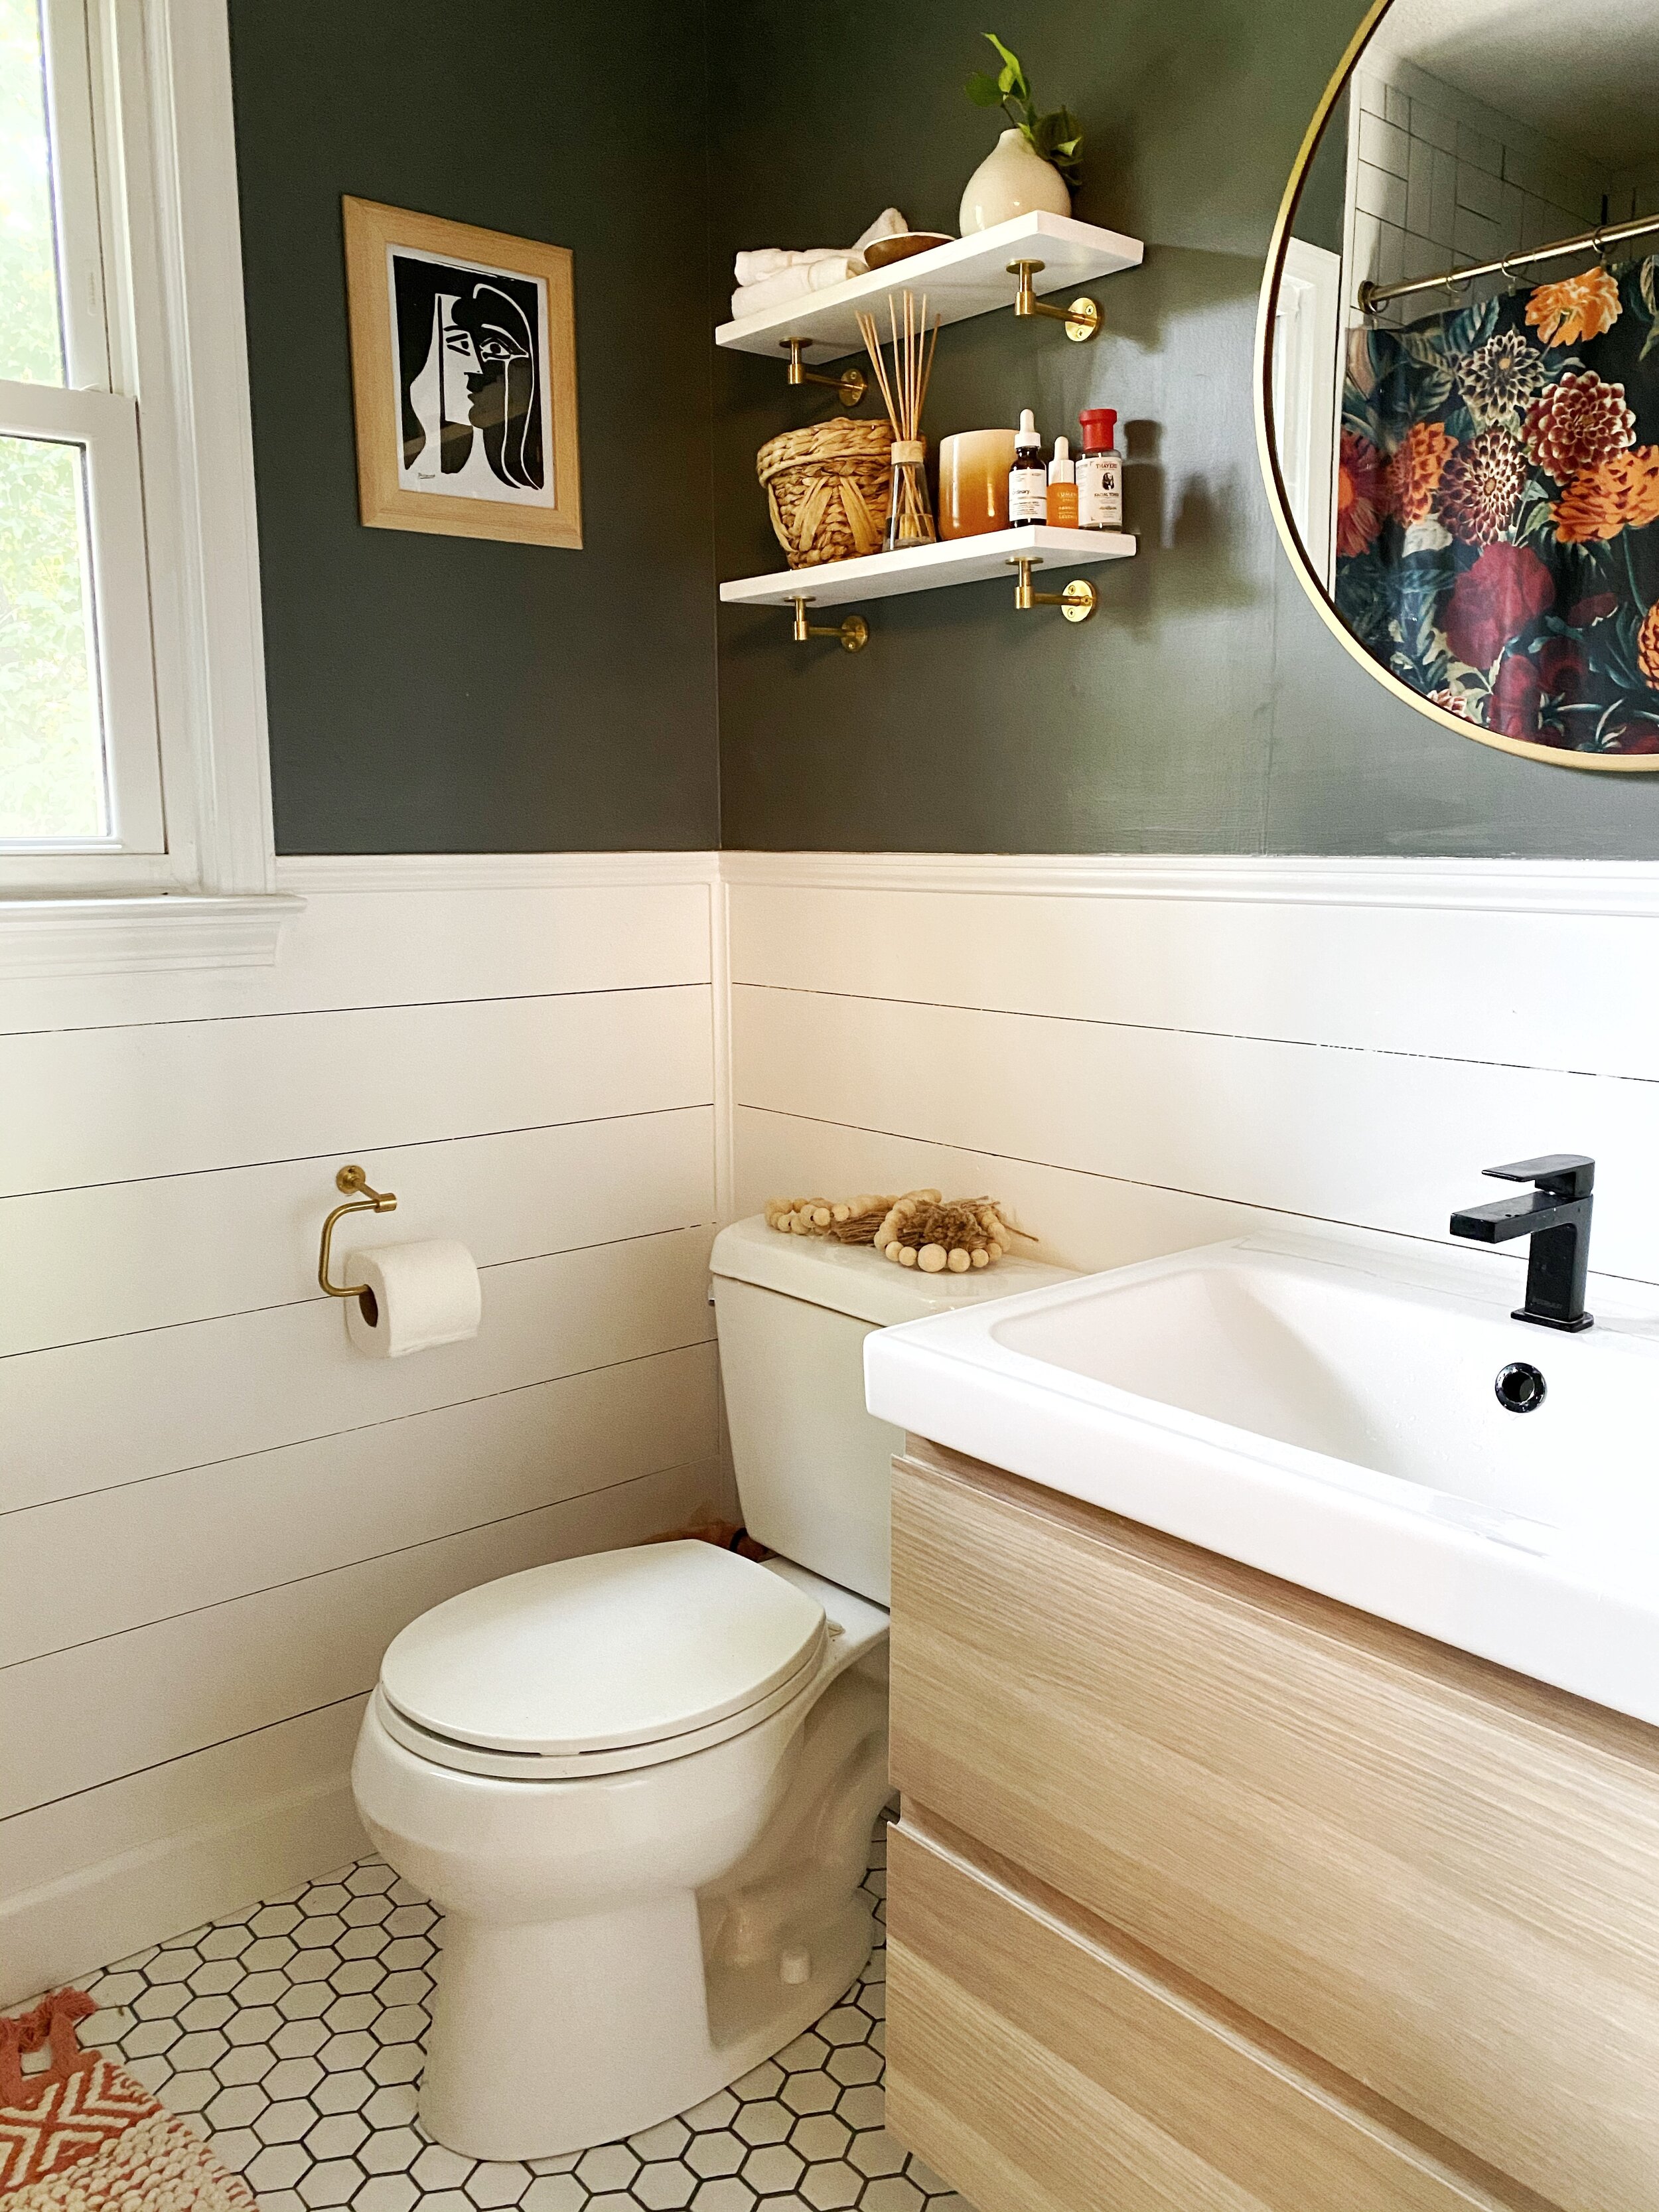
I went for neutral choices in this bathroom. We were working on a slim budget, so choosing classic color tones and tile options helped keep the bathroom costs down while allowing us to play with color using accessories..
For the shower I used budget friendly subway tile, but installed it in a basketweave pattern to creating an unexpected play on lines.

We originally hit a snag with our tile. Leaving a gap for grout lines between the tile was throwing off the dimension of the square in the pattern, as you can see from the photo above. We ended up installing the tile end to end with no gaps to solve this problem. Subway tile has a slight groove around it’s edges, creating a slim grout line even with no spacing between the tiles. Installing them with no gap ended up being the perfect solution. Our modern shower head and tub faucet are from Peerless Faucet and part of their Xander Collection, you can find them HERE.

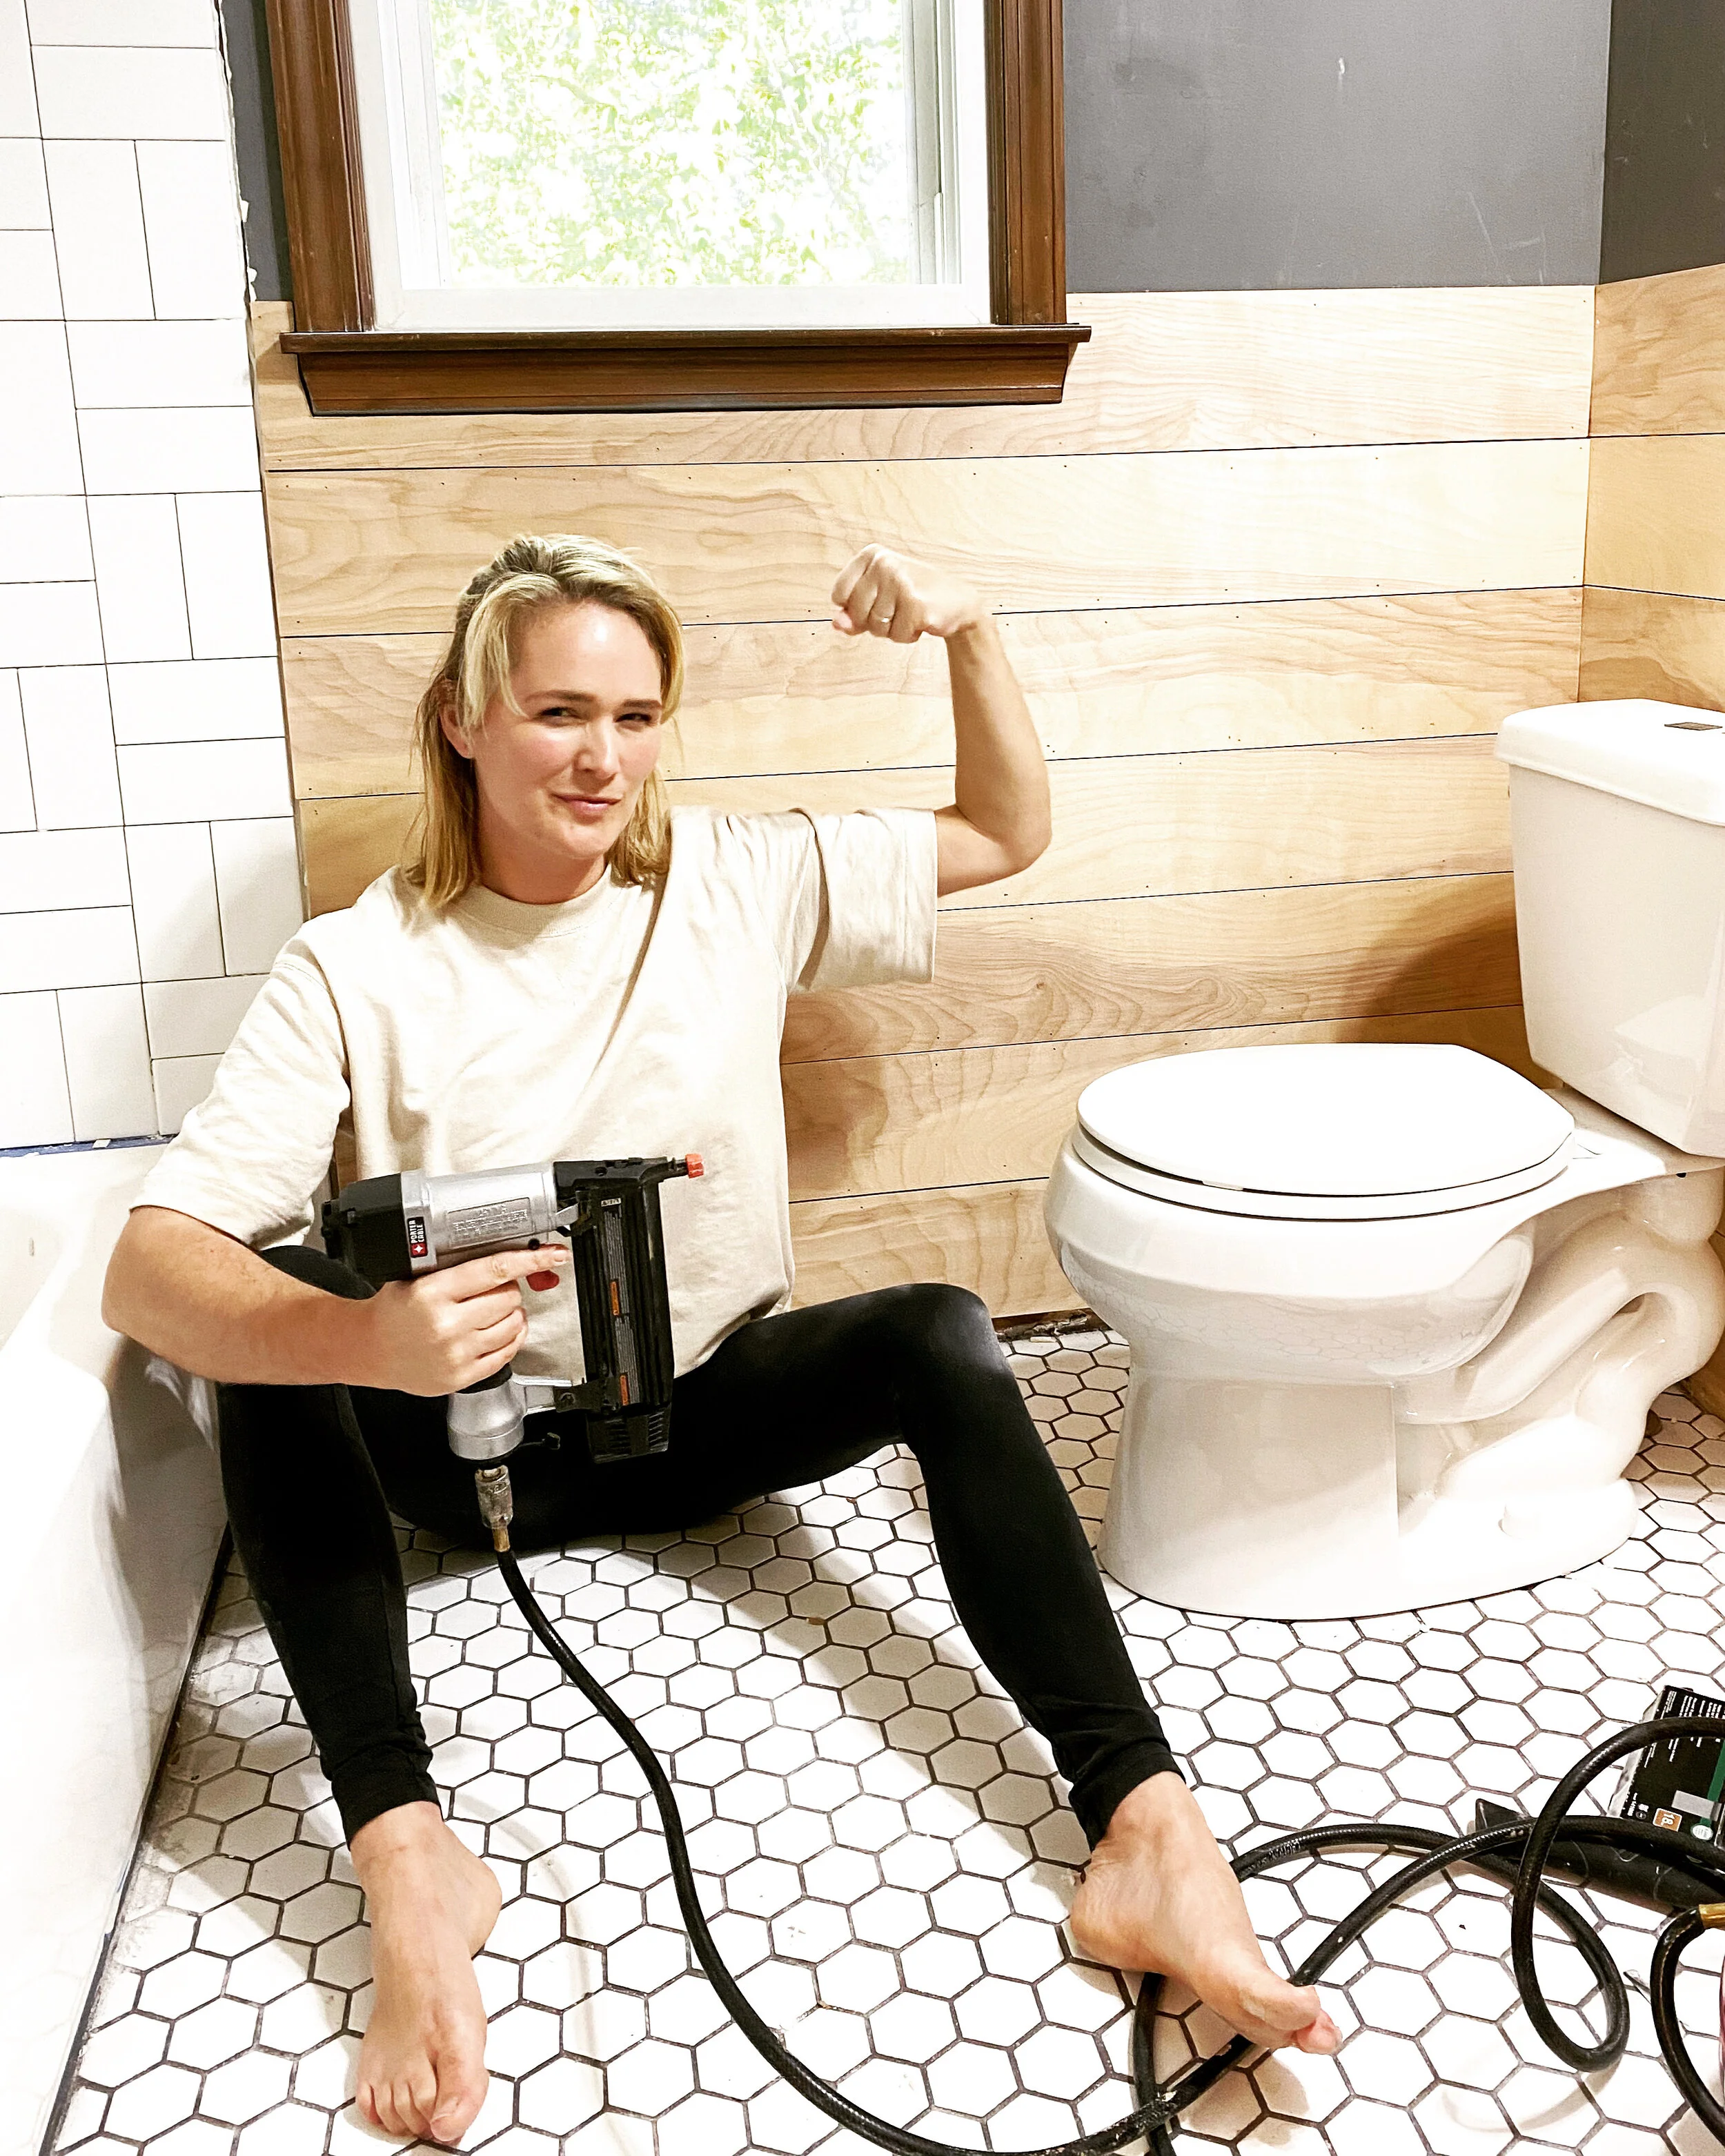
For the walls we added interest by installing faux shiplap using strips of plywood board cut into 8 inch wide strips. We applied them using liquid nails first, and then air nailed them in place. To finish the shiplap detail we added a small piece of trim at the top.
The Vanity is GODMORGON from Ikea. We had to configure our plumbing and the cabinet drawers quite a bit in order to get the vanity installed correctly. If you are considering the GODMORGON bathroom vanity, I would suggest watching a few Youtube videos on how to install it first and make sure you’e up for the challenge! In the end we lost a bit of drawer space on the bottom, but felt it was worth the trade to get it’s sleek modern look.
For the sink faucet we choose the Xander Single-Handle Lavatory faucet from Peerless Faucet in the striking Matte Black finish, matching our shower fixtures, you can find them HERE. I love the simple modern lines paired with the light wood of the vanity and the classic subway tile.

We tore down the old shelving unit about the toilet and added two minimal shelves from Pepe and Carols. Also from Pepe and Carols is the vanity wall sconce and the brass toilet paper holder.


I’m so happy to finally be finished with this what seemed like a never ending project! At the end of the day it was worth all the struggle, and we learned so much!
So what do you think? Should we tackle the Master Bathroom next!?