This blog post was created in partnership with Peerless Faucets
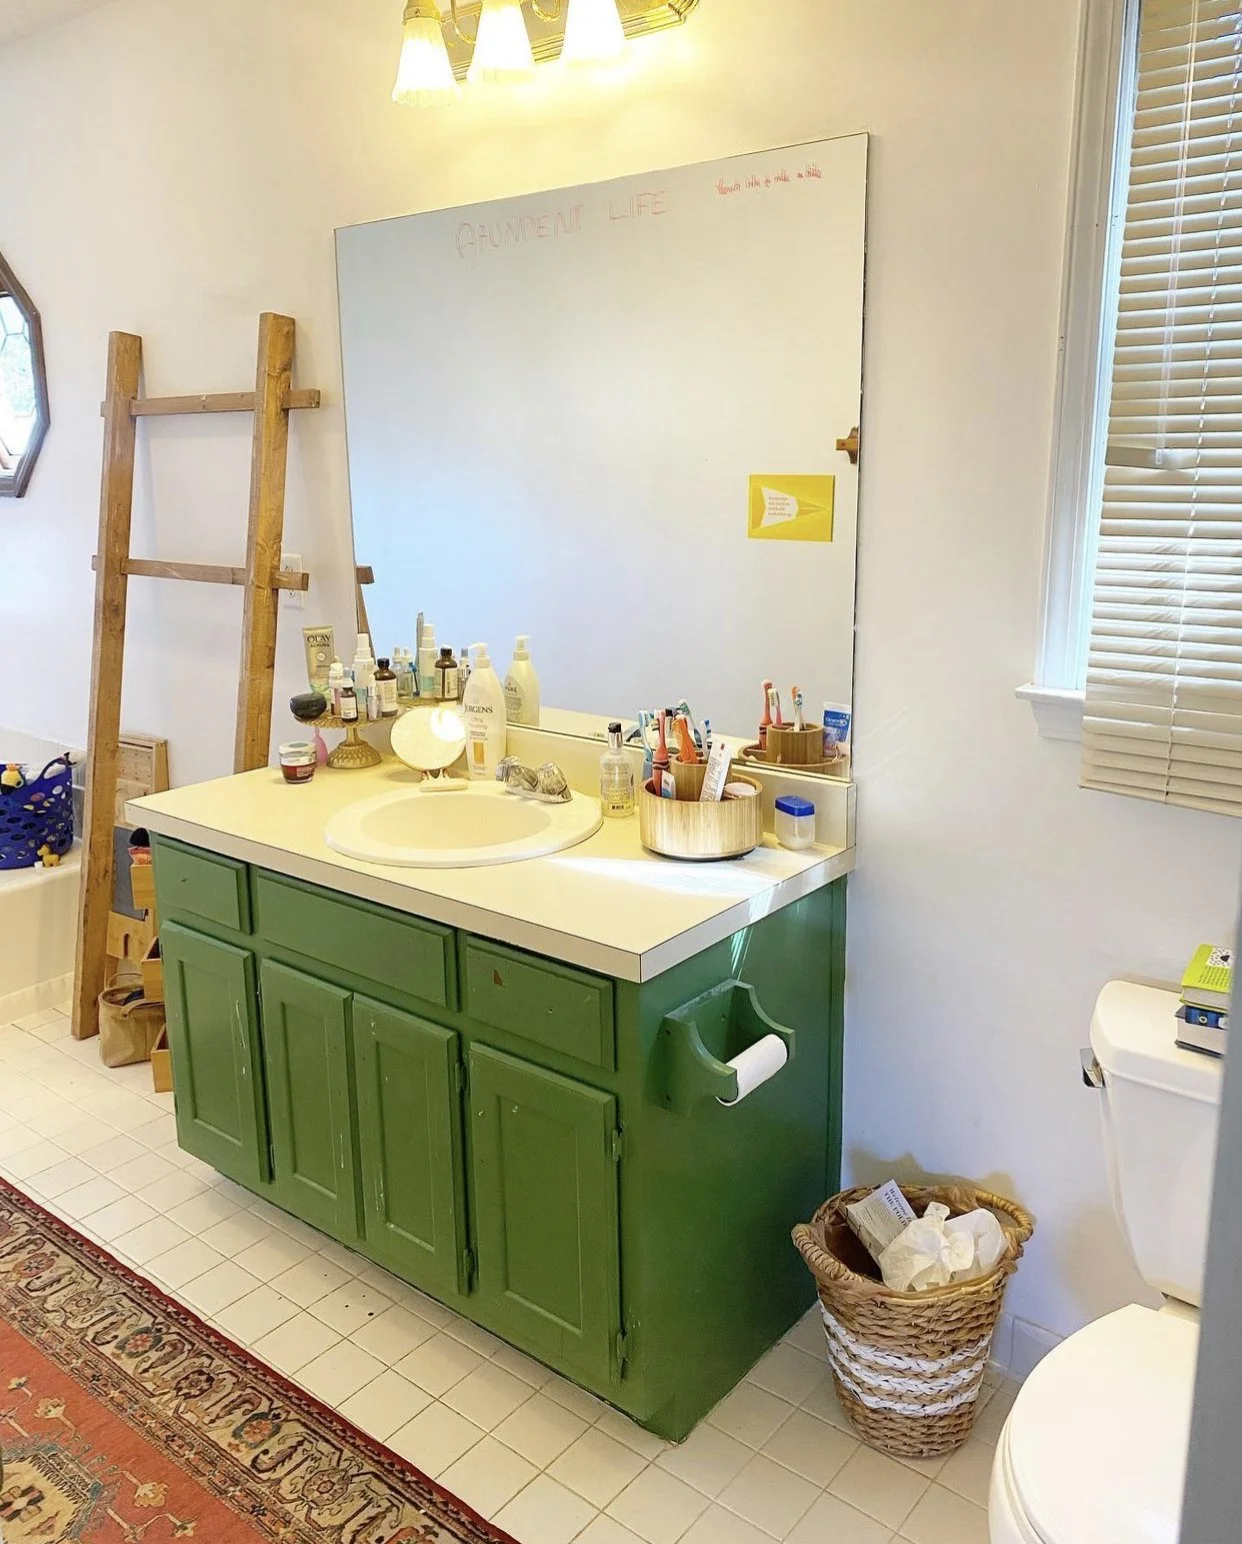
This master bathroom of mine has been an eye sore since the day we moved into our home 8 years ago. For years I’ve dreamt of completely reconfiguring it’s awkward layout design, a remodel that would extend into the adjoining closet space to create the master bath of my dreams. The reality is that a project that scale would be an investment of about $30,000, an amount that isn’t currently in this single Mom’s budget.

I was facing a dilemma though, because the state of this 1980’s bathroom wasn’t one that I wanted to simply live with while I waited to break ground on the official remodel.
Because of that, I decided to do what I like to call an ‘In the meantime makeover’, where I focus on small cost but high impact projects in order to create a more livable environment while I wait.

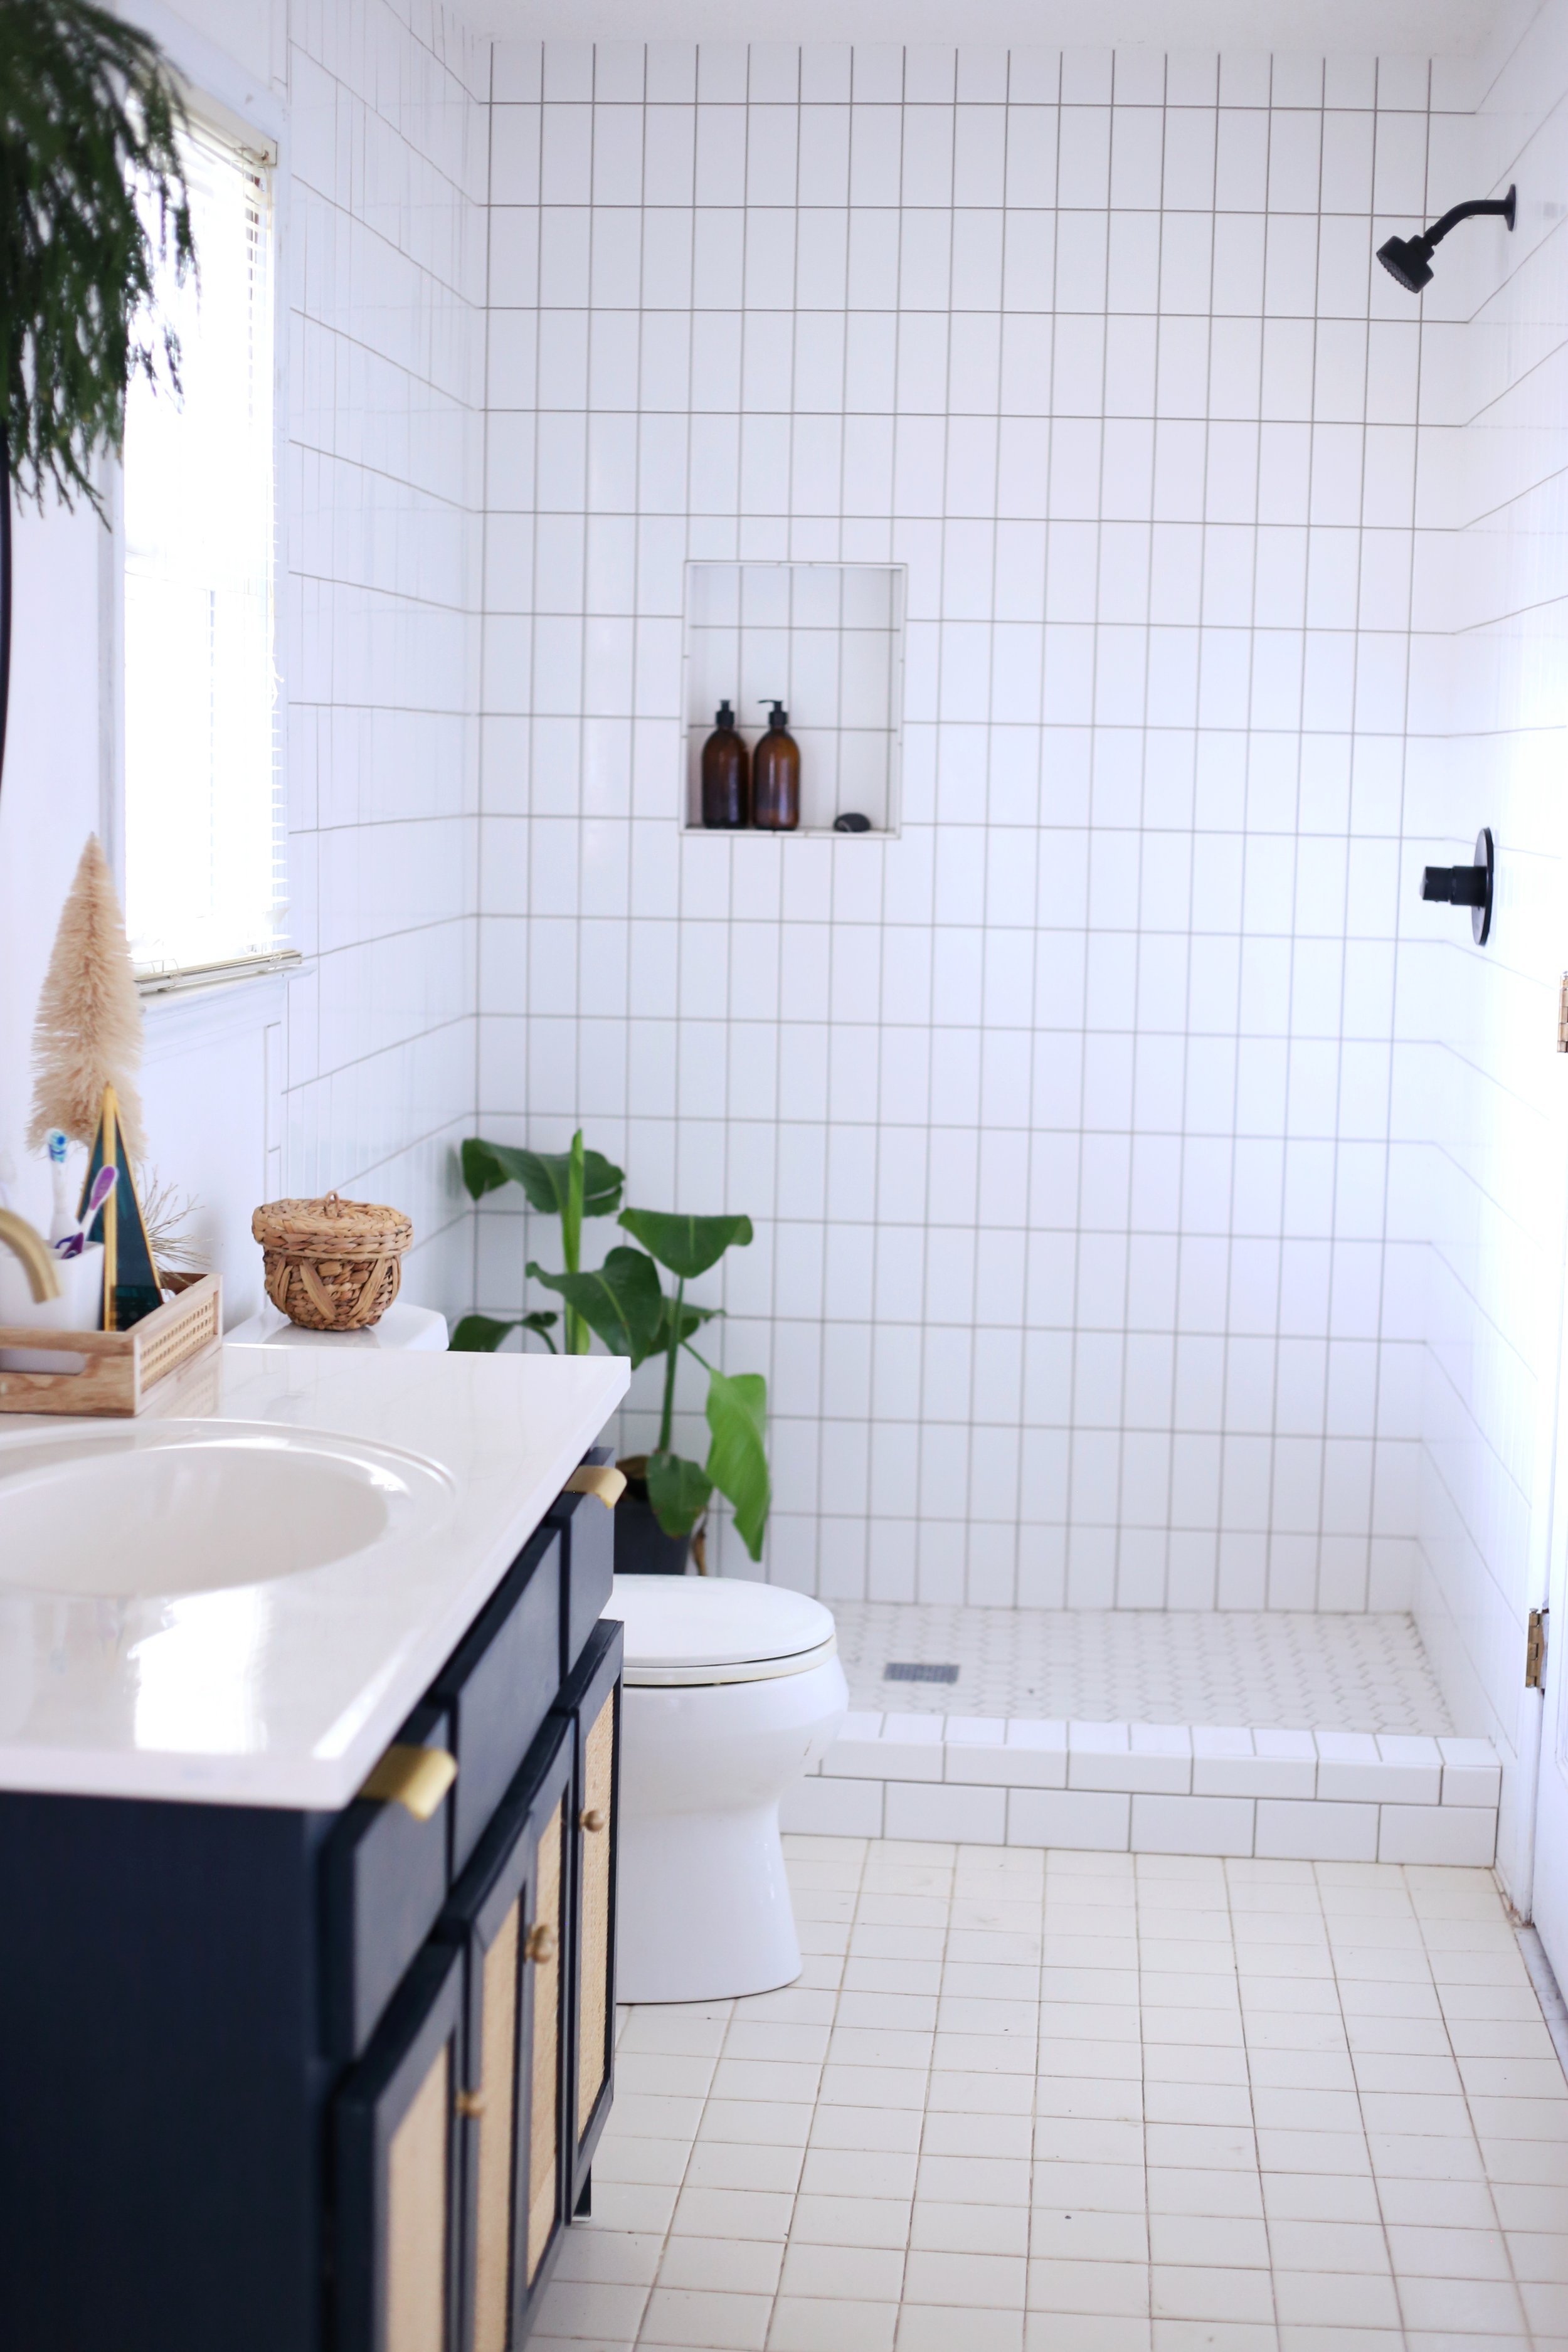
The first upgrade was to rip out the yellowing builder grade inset shower surround that was original to the house. In it’s place I created a tiled in shower. To save on cost, I used inexpensive 3x6 subway tile, installing them in a grid pattern to create a modern yet affordable look.
I replaced my old shower head with the Precept Shower Kit by Peerless in matte black. I’ve used Peerless faucets before and love their sleek modern look and functional durability. I chose the Precept design for it’s versatility in enhancing a variety of styles - In other words, a shower kit that would continue to work even if I chose to later go a different direction with the style of this bathroom’s remodel!

Updating my existing vanity was a bit more of a process. Vanity units typically take up a large chunk of a remodels budgets, and I knew that when I did my final remodel I would install a double sink vanity as opposed to this single sink. I didn’t want to spend the cash on a whole new vanity that I would eventually rip out, so I decided to give my current vanity a makeover!
I took off the old laminate vanity top and replaced it with a cultured marble top that I was able to source second hand.

I painted the base of the vanity a dark navy blue and built new doors featuring DIY cane centers, updating them with new cabinet knobs and finger pulls. I had a little trouble getting my DIY doors to hang straight, which made them naturally swing open instead of close. To fix this I installed cabinet magnets to the inside of the doors and they work like a charm keeping my doors closed.
I replaced the frameless wall mirror with an oversized round version, and updated the vanity scone with a rubbed bronze version.

There’s one more project I’m considering for my ‘In the meantime makeover.’ I will eventually need to replace the tile floor in this bathroom, but I’m considering trying out the painted tile technique to give my temporary floor tile a little love while I wait! What do you think? Worth the effort?
Stay tuned as I continue to take these projects over the finish line!
All the best,
Jodi